Preview -10, Date/time/temperature field -10 – Daktronics Venus 1500 Ver 1.x User Manual
Page 37
Message
5-10
5.10 Preview
The preview option previews the created
message as it will appear on the sign before it is
sent. This button is located in the lower left corner
of the editor window. The message will begin to
preview as soon as the button is activated.
To increase the size of the preview screen, click
on the up arrow next to the Zoom box. To
decrease the preview screen, click on the down arrow. The message can be paused by clicking on
. To start the message playing again, click on
|
. The preview can be stopped by pressing
<
ENTER
> or clicking on
.
m
Note: Be careful not to click the mouse on a window behind the preview screen while it is
running. The window clicked on will take precedence and the preview screen will disappear. If
this occurs, press and hold down the <
ALT
> key while pressing <
TAB
> until the preview screen
reappears.
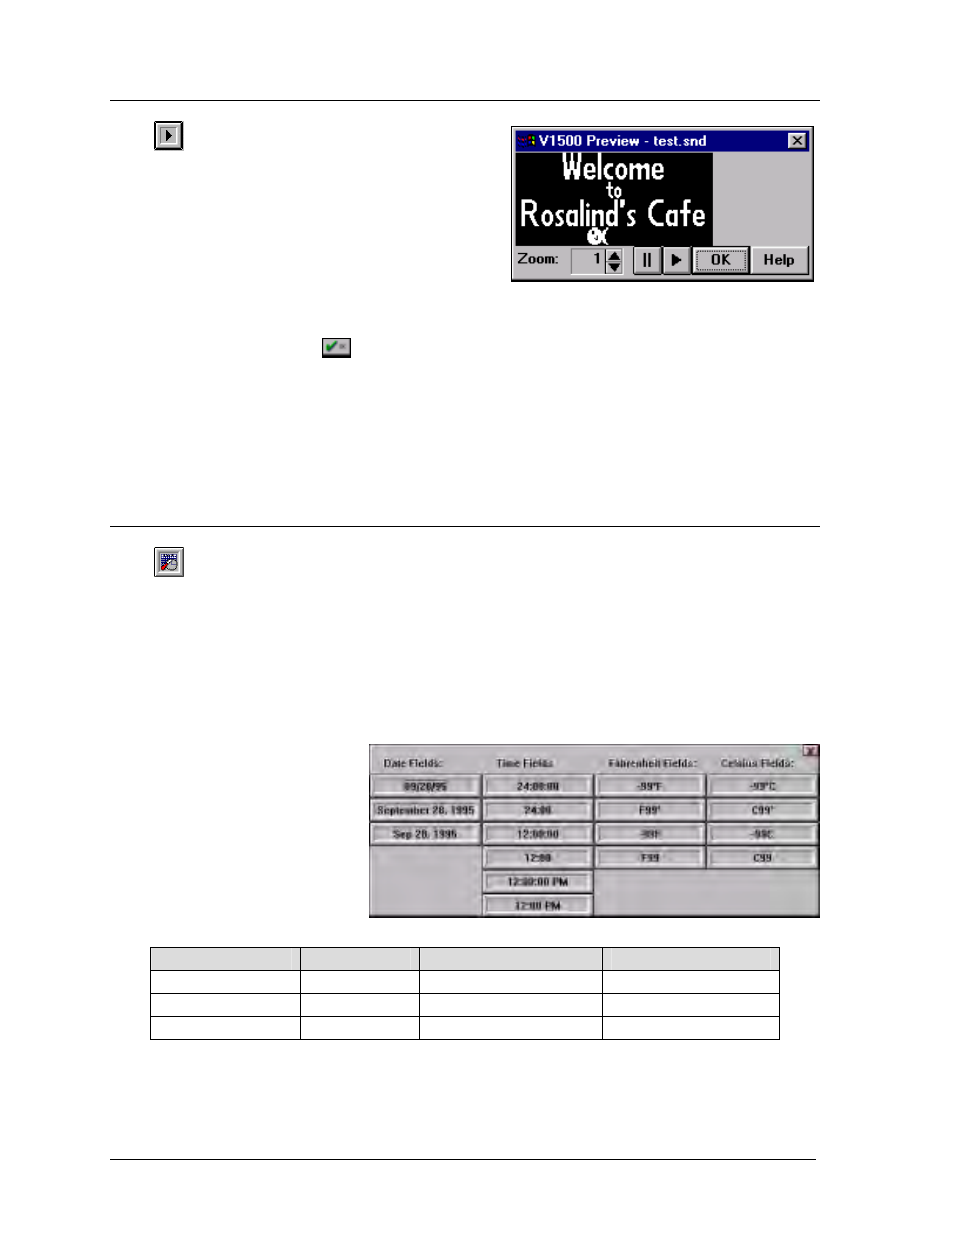
5.11 Date/Time/Temperature
Field
This button inserts a date or time field at the cursor location on the grid. It can be activated
by either clicking on it with the mouse or by pressing <
CTRL
><
T
>. Choose a format from the
examples shown when this option is activated. Temperatures can be presented in Fahrenheit or
Celsius.
The field will appear on a blue background on the grid but can be manipulated as regular text
(effect, color, flashing and justification). Any attributes chosen will affect the entire field and
cannot be applied on a character-by-character basis. The text that appears on the grid represents
the field width.
m
Note: Some signs do not
have a configuration wide
enough to accommodate all
of the Date/Time field
options.
Examples:
Date Fields
January 1
July 4
September 16
December 25
01/01/95
01/04/95
09/16/95
12/25/95
January 1, 1995
July 4, 1995
September 16, 1995
December 25, 1995
Jan 1, 1995
Jul 4, 1995
Sep 16, 1995
Dec 25, 1995