Casella CEL CEL-310 User Manual
Page 11
1.
Make sure the Dose Badge is in Stop Mode.
2.
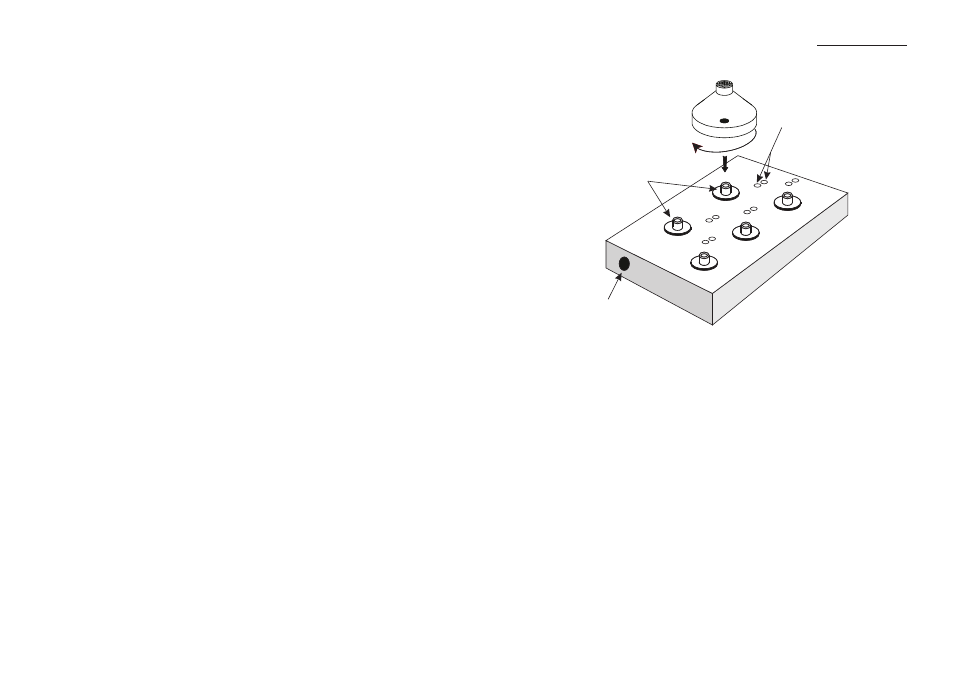
Carefully screw it on to the charging stud of a CEL-6807 Charger.
The five badge CEL-6807/5 charger is shown in Figure 4.
3.
Connect the Charger unit to the mains supply and switch the
power ON.
When the charging process begins, the battery will first be fully
discharged to ensure that it does not develop a “memory”.
During this period, which may take up to 2 hours, the green
charge indicator should give “short” flashes (i.e. off more than
lit).
Once the battery has been discharged, the green charge indicator
will give “long” flashes (i.e. lit more than off) to indicate that the
battery is receiving a charge. Charging may take up to 12 hours.
When charging is finished, the green indicator will remain on
continuously to show that the Dose Badge is receiving a trickle
charge to keep it topped up.
Preparation
Charging indicators
Charging studs
03004
Carefully screw
the Dose Badge
on to the stud
Power socket
Figure 4: Fitting a Dose Badge on to a Charger
CEL-310 Dose Badge Users Handbook - Page 11