SOR TA Nuclear Qualified Pressure Switch User Manual
Page 2

2/4
Form 654 (04.13) ©SOR Inc.
To check the set point of a switch, monitor either the common (C) and normally open (NO)
or the common (C) and normally closed (NC) contacts for change of state. Connect the
process connection to a regulated hydraulic or pneumatic pressure source. Monitor with
an accurate pressure measuring standard. Slowly increase or decrease the pressure to
accurately capture the precise moment that the switch changes state. To assure the most
accurate and repeatable results, the switch must be tested in an identical manner each time
the calibration is checked.
Store switch in a dry area in the original shipping package. Shelf life is 10 years for a maxi-
mum ambient temperature of 80°F, based on aging data in SOR Test Report 9058-102.
Site Storage
Calibration
Minimum Bend Radius for Wire
Permanent Training
1/2”R
Pulling Tension
1”R
Terminating Junction
1/4”R
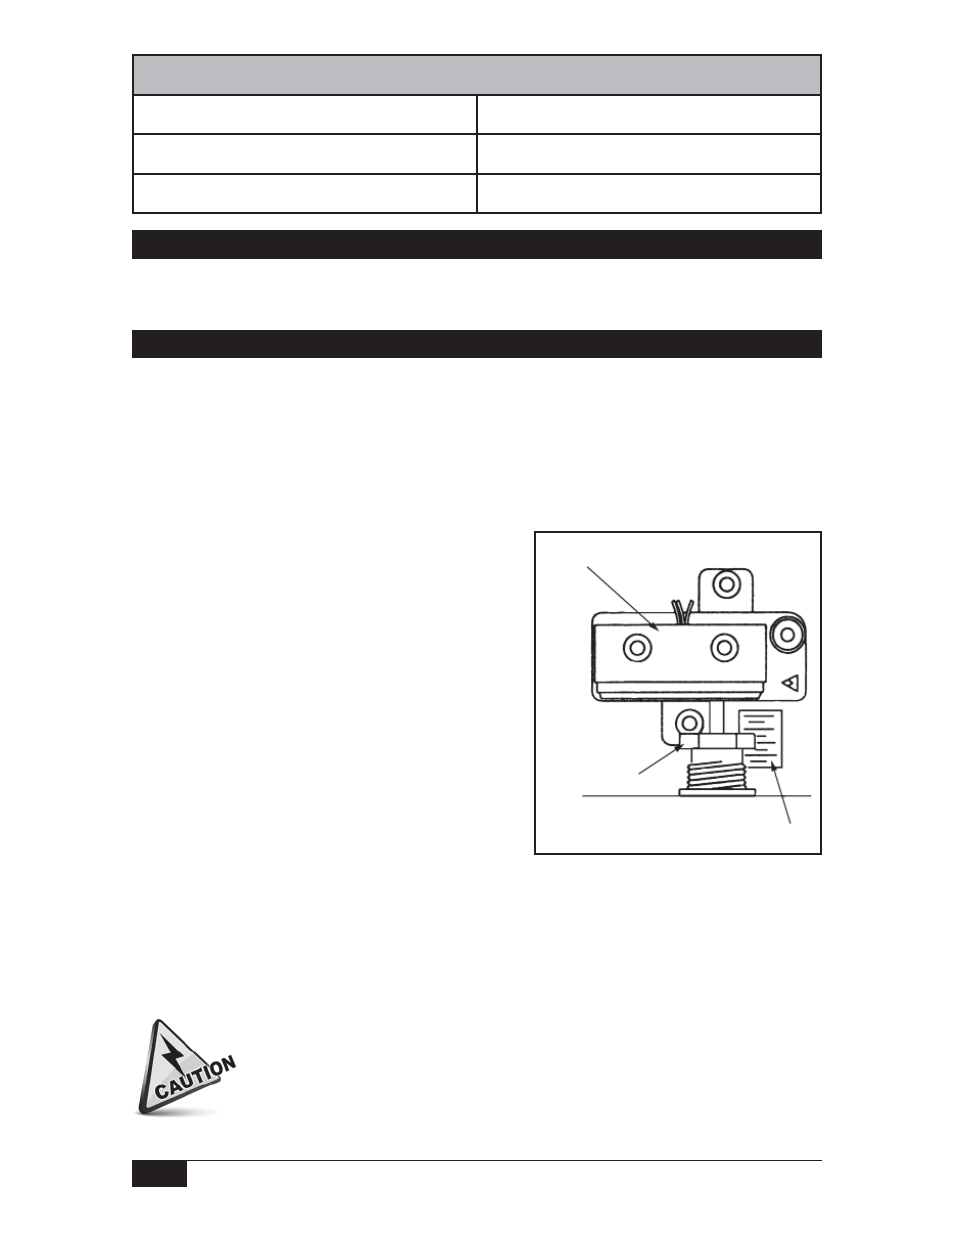
Switching Element
Calibration Scale
Adjusting Nut
The switching element has been positioned with a dial indicator to a tolerance
of ±.002 inches. Do not move this switching element! Its position has nothing
to do with the set point adjustment. Any movement can either render the switch
inoperative or cause the switching element to be damaged with overpressure.
Increasing Set Points
If the normal operating pressure is below the set point,
then the pressure should be increased from 0 PSI up to
the increasing set point and then back down to the
reset point. Repeat this cycle as necessary.
Decreasing Set Points
If the normal operating pressure is above the set point,
then the calibration should be checked by first pressur-
izing to the normal operating pressure, then reducing the
pressure to the decreasing set point, and then increas-
ing the pressure to the reset point. Repeat this cycle as
necessary.
To adjust pressure at which switch will operate, remove cover and tighten the hex head adjusting nut
with a 3/4” wrench to increase pressure; loosen to reduce pressure. Sighting across the top of the
3/4-inch hex adjusting nut to the scale gives approximate set point pressure.
After calibration is complete, reinstall the cover with new gaskets or o-rings as required by
the Maintenance instructions.
