Typical workstation installation – Pitney Bowes MapInfo Professional User Manual
Page 23
9. Click Next to continue.
10. Do one of the following:
• If your organization purchased node-locked licenses, the third character of your serial number is
"N". Skip this step and go to
.
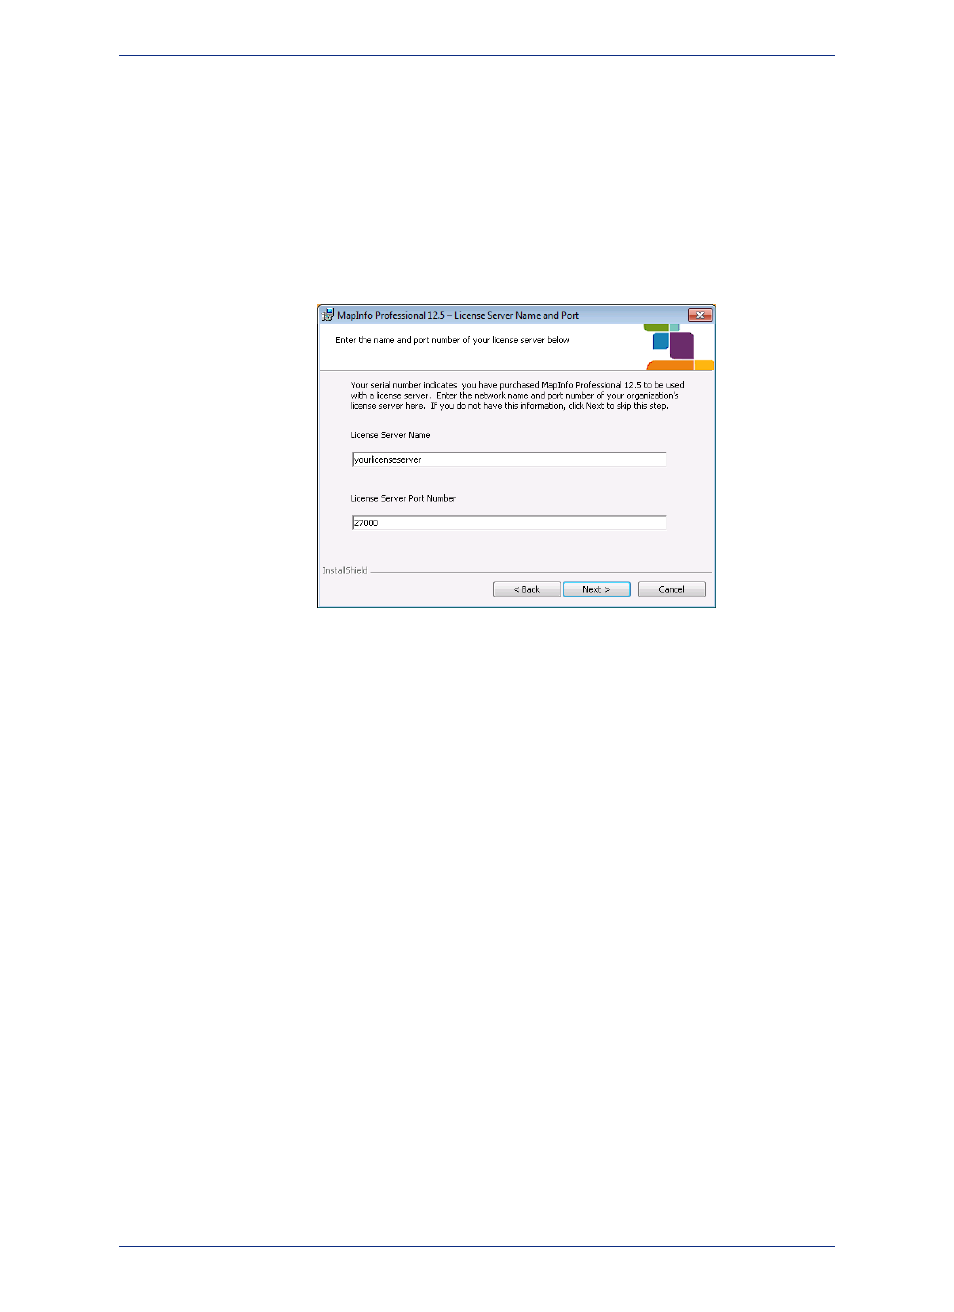
• If your organization purchased concurrent licenses, the third character of your serial number is
"S". In this case, the License Server Name and License Server Port Number fields display on
the screen.
For more information about node-locked and concurrent licenses, see
and Activating MapInfo Professional.
Note:
If you know the license server name and port number, type them here. If you do not, you can
continue with the installation without filling in the license server name and port number. You will
have another opportunity to supply this information when you start MapInfo Professional.
11. Click Next to continue.
12. Select one of the following options:
• Typical – Choose this option if you will be using MapInfo Professional as a desktop application
including remote database access and connectivity. Continue to
Typical Workstation Installation
• Custom – Choose this option to restrict the components that are installed by the installation
program. For example, you can prevent the installer from adding the help system and tools. Continue
to
Custom Workstation Installation
13. Click Next to continue.
There are no special installation instructions for installing MapInfo Professional in a Citrix environment.
Citrix users follow the instructions in
Typical Workstation Installation
to install MapInfo Professional.
Typical Workstation Installation
Make sure you have completed the directions in
Installing MapInfo Professional
before beginning
these instructions.
Choose the Typical option to install all MapInfo Professional program files including the Online Help,
Tools, Universal Translator, and Crystal Reports.
To continue installing MapInfo Professional:
1. On the Setup Type screen, choose Typical Workstation Installation.
2. On the Destination Folder screen, do one of the following:
• Click Next to accept the destination folder indicated.
23
Install Guide
Chapter 2: Installing MapInfo Professional