44 user controls, Osd menu overview, On screen display (osd) menu introduction – Hatteland Display 26 inch - HD 26T21 STD (Widescreen) User Manual
Page 44: Osd keycode / osd lock mode
44
User Controls
IND100064-41
OSD Menu Overview
On Screen Display (OSD) Menu Introduction
The OSD menu consists of main menus and submenus which is very easy to navigate through. All functions are
explained in-depth later in this user manual. You should prior to using the OSD menu and functions, be sure to
familiarize yourself with how to physically access the menu, how to navigate up/down/left/right, how to modify values,
exiting menus and more.
Please note: Factory default illustrations only! Available functions, icons and text may deviate slightly from actual OSD menu on
your product due to different OSD software configurations and customized solutions.
OSD Keycode / OSD Lock Mode
During use, a small requester may pop-up on screen asking you for a 3 digit “Key Code”. This is a safety feature (due
to ECDIS Compliance) that might be predefined in your setup. To quickly understand how to enter a code, navigate
and finally access the underlying main menu, simply follow the illustration below. The “Key Code” is by factory default
“321”. If the “Key Code” requester do not appear on screen, you can skip reading this section for now and proceed to
the next page.
0
0 0
Full Menu
Active Display Area + Requester
0
0 0
Full Menu
Close-up of Requester
3
0
0
Full Menu
Close-up of Requester
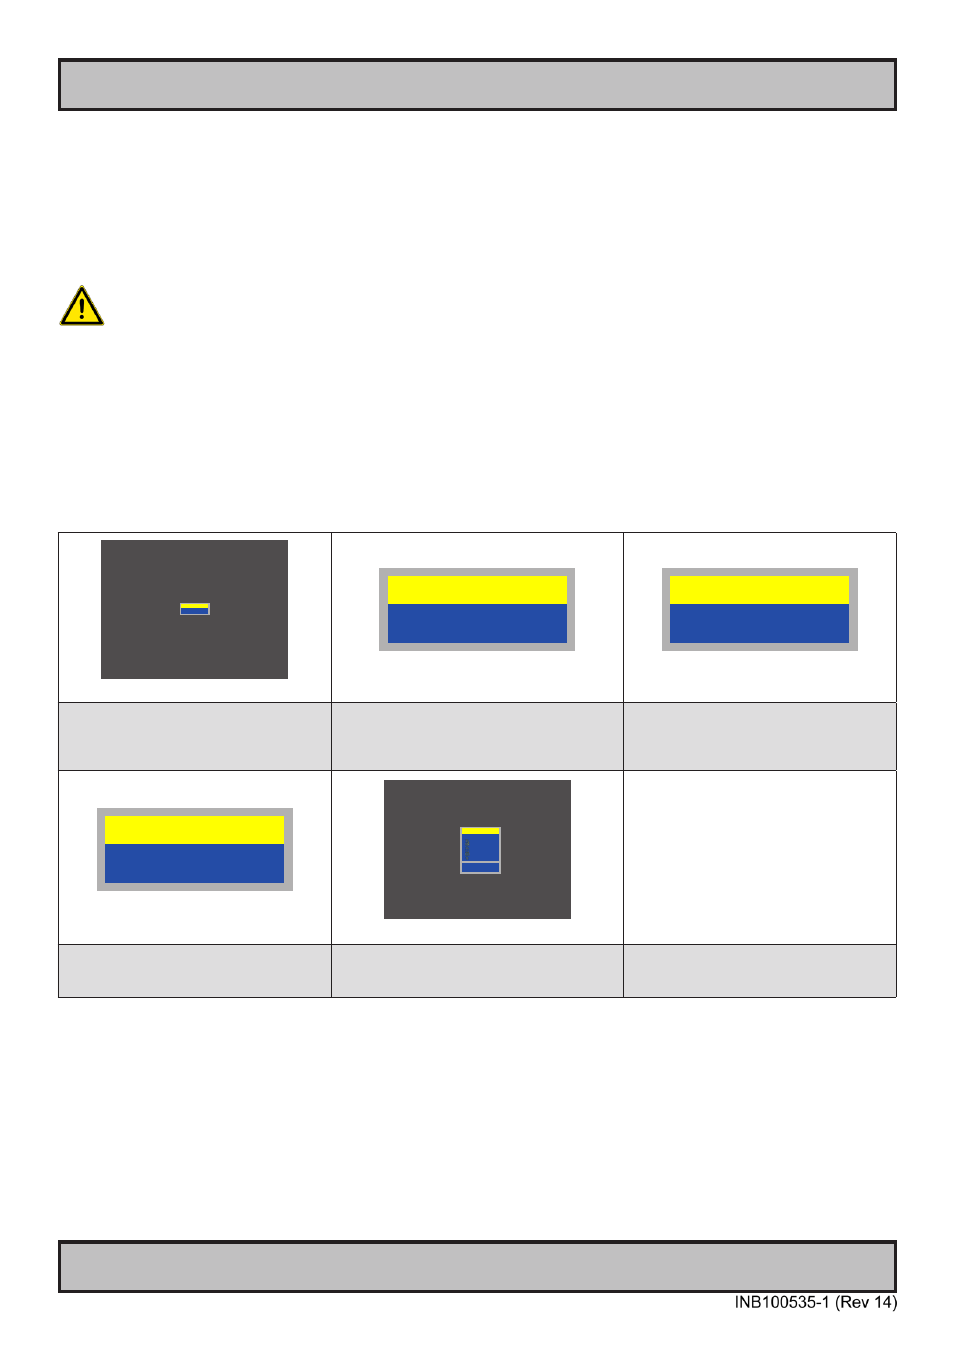
1: Typical position of requester on screen.
Red number indicate number position,
default loaction is always on first number.
2: Enter first number (from 0 to 9).
Use “(-) Brilliance (+)” touch buttons to
increase/decrease. Number change in real time.
3: Now touch “(<) Navigation (>)” right button
to store first number and proceed to second
number. You may use left button to go back
editing the previous number if you like.
3 2
1
Full Menu
Close-up of Requester
EXIT
Input Source Settings
Image Settings
Color Mode Settings
Management Settings
OSD Settings
Service
MAIN MENU
VGA
Active Display Area + OSD Menu
4: Repeat step 2 and 3, until
“Key Code” reads “3 2 1” and finally touch
menu button to continue.
5: The OSD menu appear in “Simplified” or “Full
Menu” mode (if confgured to do so)
After the code was successfully entered you will gain access to the OSD Menu and a multitude of functions will be
available for adjusting or reviewing. Please proceed to the next page, where you will learn the differences between
“Simplified” and “Full” menu modes and a complete map of all the underlying functions available within.