Preparation, 1 insert the tape to be recorded on into deck 1, To record part of the cd – Aiwa Z-R555 User Manual
Page 12: Sound adjustment during recording, Mono, To erase a recording, Press • on deck 1 to start recording, Jfn 93.00, To record selected tracks of the cd, Recording
Attention! The text in this document has been recognized automatically. To view the original document, you can use the "Original mode".
RECORDING
Preparation
• Use Type I (normal) tapes only.
• Set the tape to the point where recording will start.
• Note that recording Is done on only one side of the tape.
1
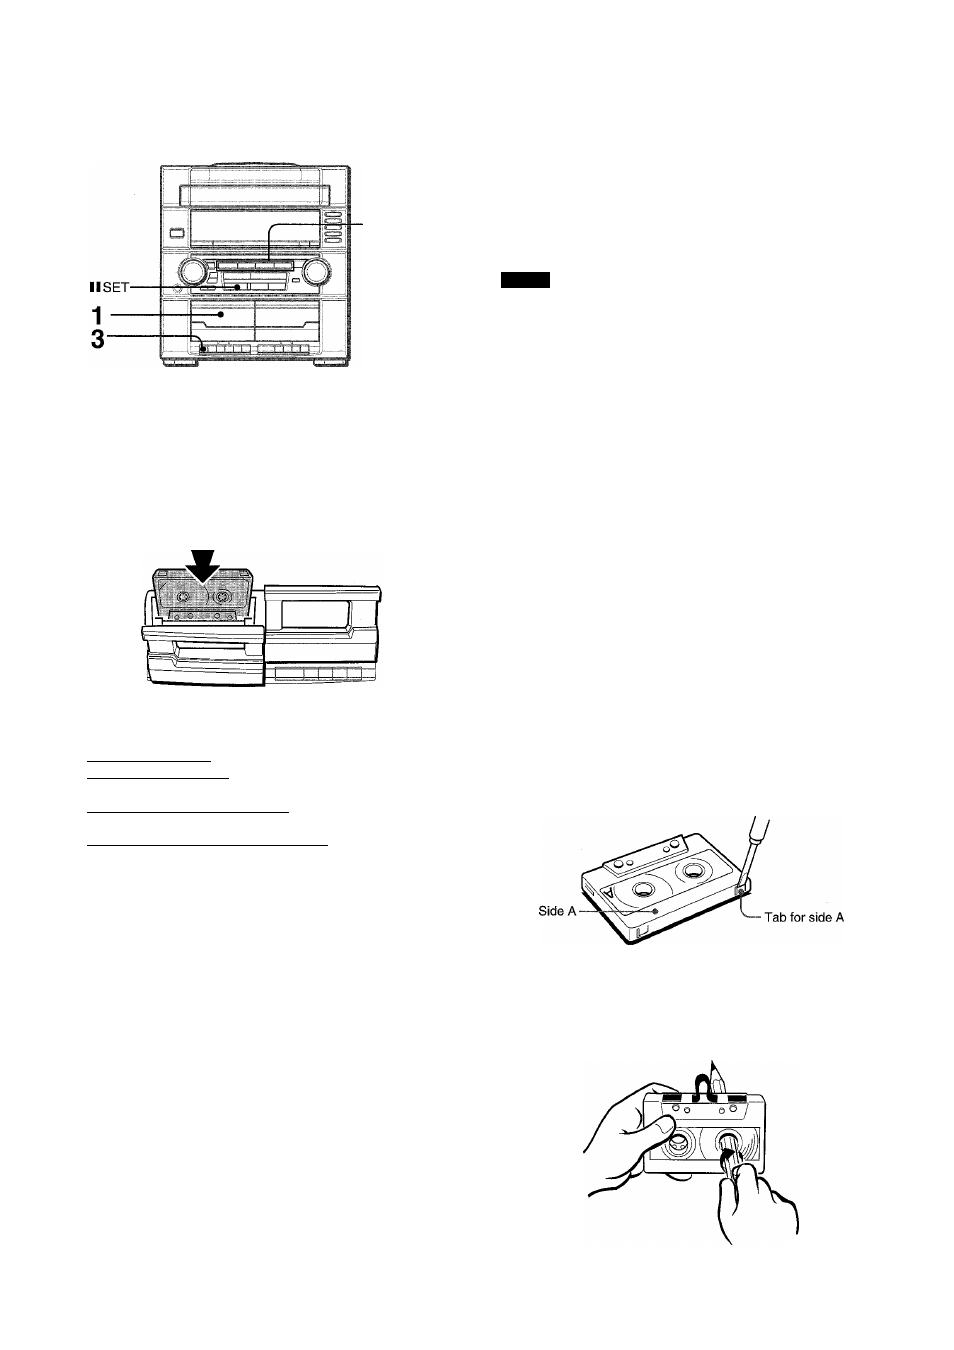
Insert the tape to be recorded on into Deck 1.
Insert the tape with the side to be recorded on first facing out
from the unit.
To record part of the CD
When # is pressed, recording always starts from the first track.
To start in the middle of a track, play the CD first and press 11 SET
for CD at the point you wish to start recording from. Then, press
9. The pause mode for CD button is released automatically
and recording starts.
Sound adjustment during recording
The output volume and tone of the speakers or headphones may
be freely varied without affecting the recording.
NOTE
’ Do not press the buttons on Deck 2 during recording.
'
9
cannot be depressed if the erasure prevention tab on the
side of the tape to be recorded is broken off.
’ If squealing or beating sounds occur when recording an FM
broadcast, press MONO TUNER while pressing SHIFT on the
remote control, so as to eliminate the noise.
Each time these buttons are pressed, “MONO” is turned on
and off on the display.
MONO
iST?' !/Ff1 43::00........................................
To erase a recording
A previous recording is erased when a new recording is made
on that part of that tape.
1 Insert the tape you want to erase into Deck 1.
2 Press TAPE and stop all the tape operation in Deck 2.
3 Wind up the tape to the point where the erasure is to be started.
4 Press
9
on Deck 1 to start the erasure.
Press one of the function buttons and prepare
the source to be recorded.
To record from a CD. press CD and load the disc(s).
To record from a tape, press TAPE. Then, insert the original
tape into Deck 2 and play it.
To record from a radio broadcast, press TUNER/BAND and
tune in to a station.
To record from a connected source, press VIDEO/AUX/
PHONO and play.
Press • on Deck 1 to start recording.
► is depressed simultaneously.
When the selected function is CD, playback and recording
start simultaneously.
JFn
93.00-'
To stop recording, press
M/±.
on Deck 1.
To pause recording, press
II
on Deck 1.
To resume recording, press it again.
To record selected tracks of the CD
Before pressing
9
,
program the tracks (see page 10).
r
^
About cassette tapes
• To prevent accidental erasure, break off the plastic tabs
on the cassette tape after recording with a screwdriver or
other pointed tool
To record on the tape again, cover the tab openings with
adhesive tape, etc.
■ 120-minute or longer tapes are extremely thin and easily
deformed or damaged. They are not recommended.
' Take up any slack in the tape with a pencil or similar tool
before use. Slack tape may breaker jam in the mechanism.
1 1 ENGLISH