Caution, Turning around, Warning – Troy-Bilt 12069-7HP User Manual
Page 30
Attention! The text in this document has been recognized automatically. To view the original document, you can use the "Original mode".
7. To stop forward motion: tap or
lift Wheels/Tines/PTO Drive Lever
up to NEUTRAL and let go of the
Forward Interlock Levers. The
wheels and tines will stop and the en
gine will continue running.
8. In an emergency, stop all for
ward motion by letting go of all
handlebar control levers- this
shuts off the engine too.
9. For reverse motion:
a. Do not till while in RE
VERSE.
b. Put Tines/Wheels/PTO
Drive Lever in NEUTRAL
and reduce engine throttle
speed. Verify that the area
behind you is clear.
c. Move Wheel Speed Lever to
the SLOW position.
d. Move the Tines/PTO Clutch
Lever to DISENGAGE.
e. Lift up handlebars until tines
are off the ground, then
move (and hold) Wheels/
Tines/PTO Drive Lever all
the way up. The Forward
Interlock Levers do not need
to be squeezed to use reverse.
10. To stop reverse motion:
Release the Wheels/Tines/PTO
Drive Lever- it automatically re
turns to the NEUTRAL position.
This stops the wheels immediately.
(The Forward Interlock Levers will
not stop REVERSE motion.)
Move the engine throttle lever
to the STOP position (and turn key
to OFF on electric start models).
Remove the key for safekeeping.
CAUTION
To Help Avoid Personal Injury
or Damage to Equipment:
• Be sure no obstacles are
behind you before operating
the tiller in REVERSE.
• Disengage the tines, reduce
engine speed, and move the
Wheel Speed Lever to SLOW
position before operating in
REVERSE. Avoid using FAST
wheel speed until you are
used to reversing.
To Stop the Engine
Turning Around
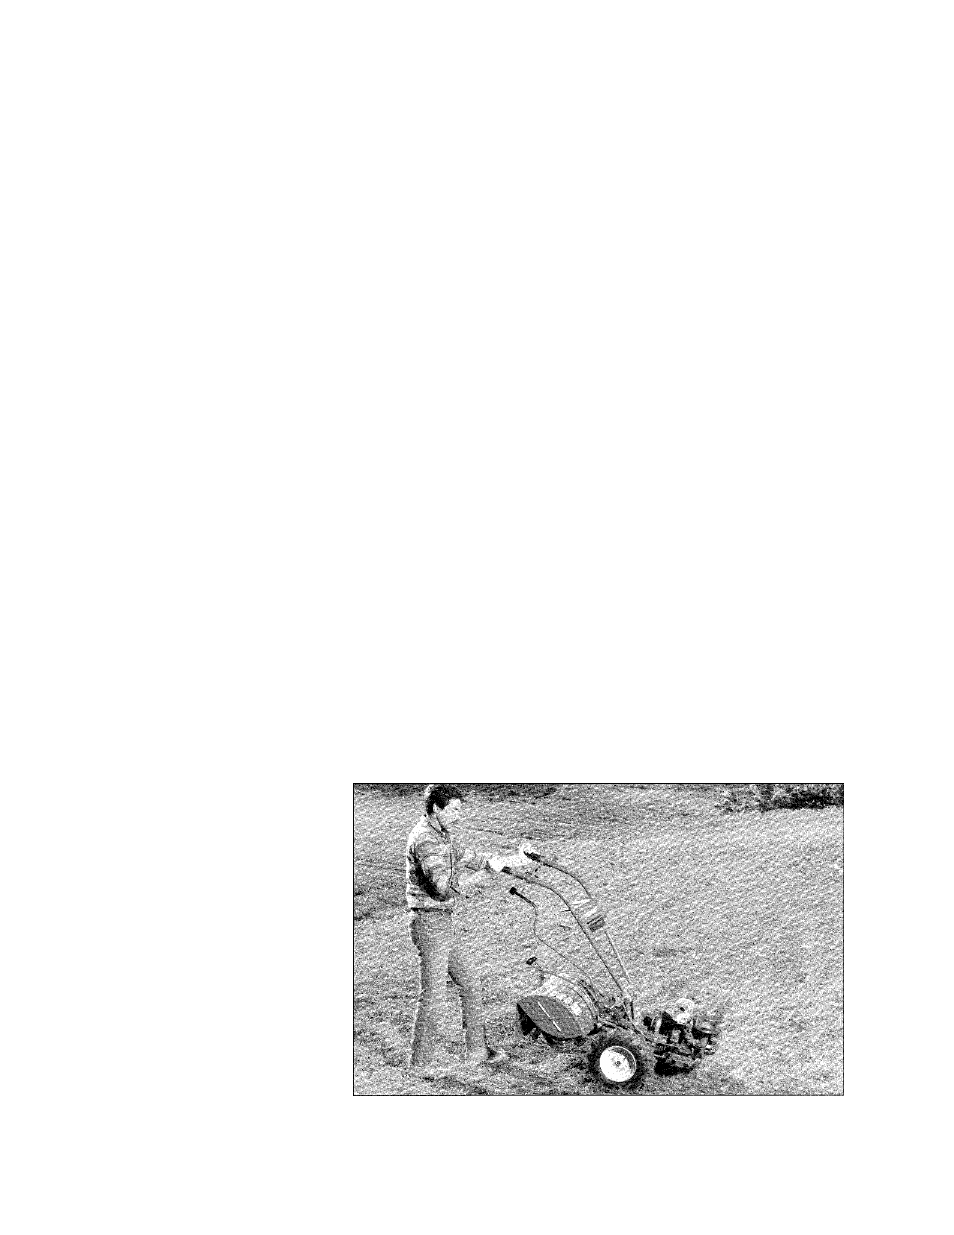
Turning the tiller around is easy
and just requires practice. First
find the balance point between the
engine and the tines by lifting up
the handlebars. Once you have
found the balance point, then let
the powered wheels do the “turn
ing” as you push sideways on the
handlebars in the direction of the
turn. Practice the turning maneu
ver described here in a large open
area. Once comfortable turning
the tiller, you can then take it to the
garden area. See Photo 4-9 below.
Turning Procedure:
1. At the end of a row, move the
Wheels/Tines/PTO Drive Lever to
NEUTRAL position and reduce
the engine speed.
2. Move the Tines/PTO Clutch
Lever to DISENGAGE position.
3. Resume forward operation, and
lift handlebars until tines are above
the ground. Find the balance point
between the engine and the tines.
Then PUSH the handlebars to
swing the tiller around. Be very
careful to keep your feet and legs
away from the tines (which should
be disengaged). Let the powered
wheels do the hard work. The in
side wheel will pivot in place
while the outside wheel drives the
tiller around in the direction of the
turn. Refer to Photo 4-9.
Note: Use REVERSE if necessary
to turn in a limited space.
4. When the turn is complete, shift
to NEUTRAL and lower the han
dlebars. Move Tines/PTO Clutch
Lever back to ENGAGE position
and resume forward operation.
WARNING
To help avoid personal injury
from revolving tines, always
put the Tines/PTO Clutch
Lever in DISENGAGE before
turning tiller around.
Photo 4-9: To turn the tiller around most easily, lift up handlebars to find
“balance” point between engine and tines, then push against handlebars in
the direction of the turn while the powered wheels do the hard work.
30