Attaching a button – SINGER 9113 User Manual
Page 36
Attention! The text in this document has been recognized automatically. To view the original document, you can use the "Original mode".
ATTACHING A BUTTON
Flat buttons can be sewn on quickly and easily using the plain zig-zag stitch
RECOMMENDED SETTINGS
Stitch Selection:
Zig-Zag Stitch
Stitch Width:
Stitch Length:
0
Foot:
Button Sewing (H)
Needle Plate:
General Purpose (A)
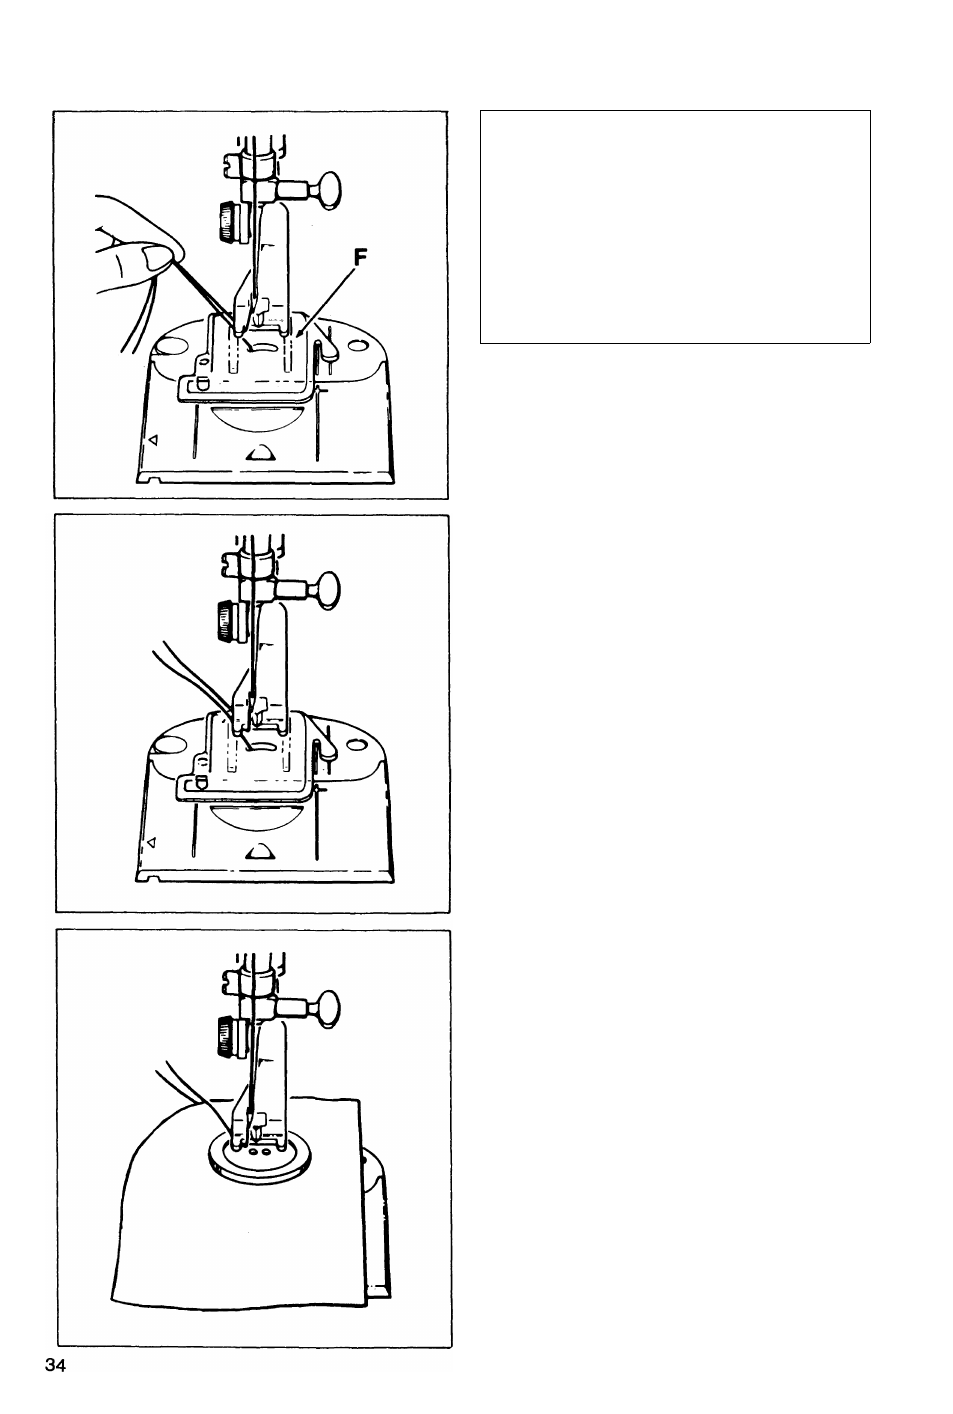
Attach Feed Cover (F)
The space between the holes in the
button determines stitch width setting.
Before you can attach a button, the
bobbin thread must be brought up
through the hole in the feed cover (F).
Raise foot lifter.
Position both threads under button foot
toward rear of machine.
Hold needle thread while lowering needle
into hole ip feed cover. Raise needle
and gently pull needle thread, undo loop
of bobbin thread that comes up with the
needle. Details on “Raising the Bobbin
Thread” are on page 17.
1. Place garment under button foot.
• Position button on garment making sure
the holes in the button are between the
toes of the button foot.
•
• Lower foot lifter.