SINGER W510 User Manual
Page 25
Attention! The text in this document has been recognized automatically. To view the original document, you can use the "Original mode".
I X . A P P L I C A T I O N S O F T H E ZIGZAG
66
/■
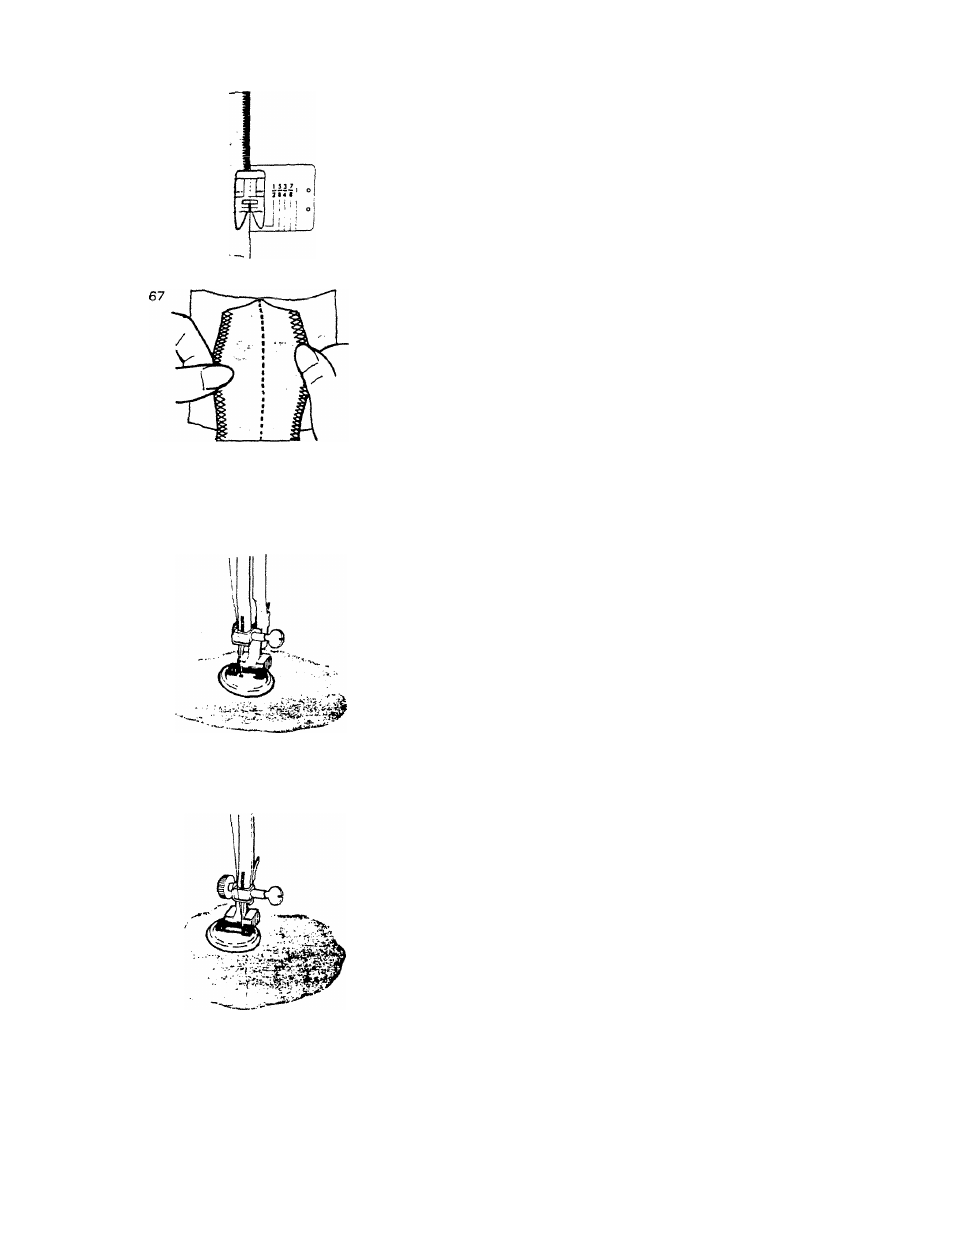
OVERCASTING
Place the edge of the material underneath
the opening of the sewing foot and guide
raw edge along the center groove of the foot,
allowing stitch to form half on and half off
FooT'All'Purpo“se
the fabric. (Fig.
66
)
Needle Position; M
jhe multiple stitch zigzag is a wiser choice
for most fabrics. See page 34.
Pattern;
Length; 2—4
yyjHth,;
5
Feed Dog; Up
Pressure; Normal
SEA.iVfiNG K.NITS
Pattern;.^
Length; 2
Width; 1
.
u ..j ■
X
Feed Dog; Up ' narrow zigzag can be used in seams of
Pressure;
Normal firm knits for added Strength. After sewing.
Foot; All Purpose open seam and press flat. Tiny zigzag
Needle Position;M stitches can hardly be seen and the seam will
give when stretched. ( F i g . 6 7 }
68
Pattern;^
SEWING ON BUTTONS
Length; 0
.
u- ■
.
Width;
2-5
Zigzag Stitching is a very easy ana conve-
Feed Dog; Down
nient method of sewing on buttons without
Pressure; Normal
a shank. (Fig.
68
)
Foot; Button Foot
Needle Position; L
p|gj,g
button
SO
its left hole comes
directiy under the needle, then gently lower
the button sewing foot. Take a stitch in
the hole.
Raise the needle and move zigzag width dial
to the right until the needle comes down
exactly over the right hole in the button.
Note: Be sure rne neteiie clean; the holes
c
Vie
:n:::or
m
tvowic
the
hj.nc
c.nee' .0\
oefar; running t/ie
inu: -ninr’ :
js
:
Usually
6
to
8
stitches are adequate for
securing a button in place. Stop with the
needle in the left hole. To lock the threads,
set the stitch width at
0
, and take a few
stitches in the left hand hole.
23