SINGER W510 User Manual
Page 19
Attention! The text in this document has been recognized automatically. To view the original document, you can use the "Original mode".
42
(A)
(B)
Pattern:
Length: 2-5
Width: 0-5
Feed Dog: Up
Pressure: Normal
Foot: All Purpose
Needle Position;
NEEDLE
POSITION
&
BUTTON-HOLE
CON
TROL DIAL
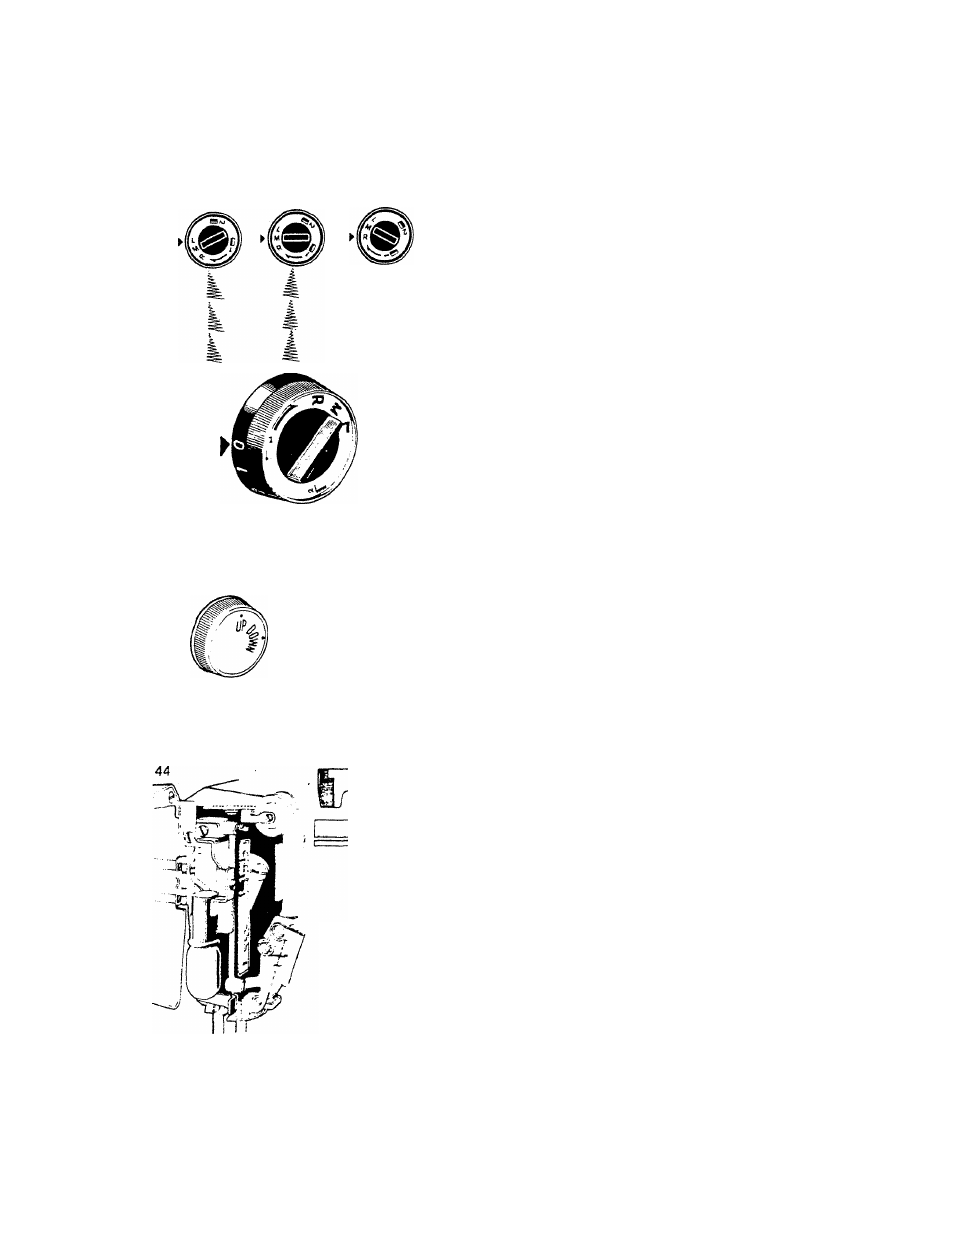
This dial (Fig. 42-A and 42-B} is used for changing
needle position and when making two-step button
hole.
Needle Position;
Three different needle positions, L-left, M-middle
and R-right can be selected. Also, those inter
mediate positions between left and middle and
between middle and right can be selected with the
dial at the middle between L — M, and M — R.
With the dial at L, M and R, the straight stitch line
is formed at left, middle and right respectively.
The etched guide lines on the needle plate are
measured from the needle in the middle position.
Never change the needle position while the needle
is in the fabric because it will bend or break the
needle.
Buttonhole Control Dial;
The first buttonhole picture sews the bartack
and the right side. When the second buttonhole
picture is chosen, the bartack is sewn and then
the left side. Only two steps are necessary to
make buttonhole the size desired.
43
o
l
Pattern:
Length: 2—5
Width: 0—5
Feed Dog:
Pressure; Normal
Foot: All Purpose
Needle Position: M
o
o
r
Pattern:
Length: 2-5
Width: 0-5
Feed Dog: Up
Pressure:
Foot; Allpurpose
Needle Position: M
ADJUSTING FOR THE FABRIC
• Feed Dog Control
This dial (Fig. 43) will raise and lower the feed
dog as indicated. Since the feed dog moves the
fabric through the machine, this dial allows the
feed to be regulated for various types of sewing.
UP — for the greatest height of the feed dog
and the best grip on the fabric. This is
the position used for most sewing.
DOWN — In this position, the feed dog is com
pletely below the needle plate surface
and therefore does not move the fabric
at all.
Down position is used for sewing on but
tons, darning, and free hand embroidery.
• Pressure Control
This control (Fig. 44) regulates how heavily the
presser foot rests upon the fabric. To completely
release the pressure for freehand work, push the
pressure release button backward until the upper
plate pops up. To set half pressure for heavy bulky
fabrics, push the upper plate halfway down as
indicated on the picture panel inside the face
cover. Push the upper plate all the way down for
regular sewing. Light weight fabrics need more
pressure for better hold against the feed, whereas
heavier, bulkier fabrics require less pressure to
eliminate pushing of the top layer.
17