SINGER 3314 User Manual
Page 44
Attention! The text in this document has been recognized automatically. To view the original document, you can use the "Original mode".
Recommended settings
Stitch Selection: Zig-Zag Stitch (Pattern
Disc 1)
Needle Position; 11 I
Stitch Width: To suit Button
Foot: Button Sewing (H)
Needle Plate: General Purpose (A)
Attach Feed Cover (F)
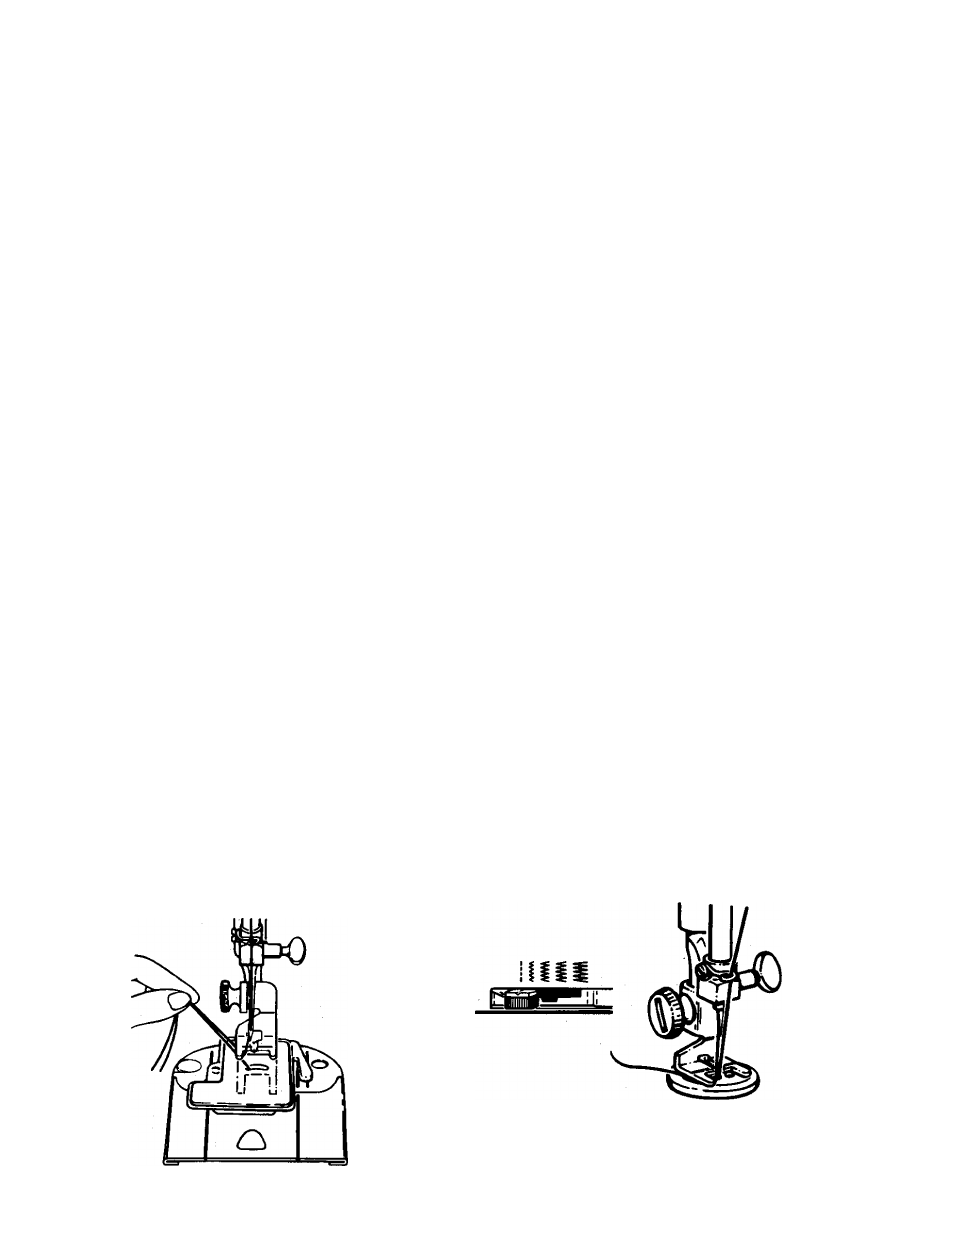
Before you can attach a button, the bobbin
thread must be brought up through the hole
in the feed cover.
1. Set stitch width at ( | ), and needle
position selector at ( ^ ). Position button
under foot and lower the needle into the
center of the left hole. Lower the foot Turn
hand wheel toward you until needle rises
out of button and is above the foot
Posiciones recomendadas
Selección punto; Zig-zag
I l I
Posición aguja:
Anchura punto: Apropiada al botón
Prénsatelas: Para coser botones (H)
Plancha aguja; Uso general (A)
Colocar plancha cubre arrastre (F)
1. Coloque el ancho del punto en (
\
), y el
selector de posición de aguja en ( ^ ). Situé
el botón debajo del prénsatelas y baje la
aguja dentro del centro del agujero
izquierdo. Baje el prénsatelas. Gire el
volante hacia Vd. hasta que la aguja salga
del botón y esté por encima del prénsatelas.
Antes de pegar un botón, el hilo de la bobina
debe sacarse por el agujero de la plancha cubre
arrastre.
Réglages recommandés
Sélecteur de point; point zig-zag
Position d’aiguille: Q
I I I
Largeur de point: en fonction du bouton
Pied presseur: pied bouton (H)
Plaque à aiguille universelle (A)
Plaque à repriser (F)
1. Positionnez le sélecteur de largeur de
point sur point droit ( I ) et le sélecteur
d’aiguille en position gauche ( ^ ).
Positionnez le bouton sous le pied
presseur et descendez l’aiguille dans le
trou du bouton à gauche. Baissez le pied
presseur. A la main, tournez le volant vers
vous pour sortir l’aiguille du bouton.
Avant de commencer à coudre les boutons,
remontez le fil de canette à travers le trou de
la plaque à repriser.
42