SINGER 1200 Athena User Manual
Page 61
Attention! The text in this document has been recognized automatically. To view the original document, you can use the "Original mode".
Replacing Lingerie Elastic
® Stitch; muiti-stiich zig-zag <
® Stitch width; 2 to 5
® Stitch length: 1.5
® General purpose needle plate
« General purpose foot
o-'*: ■
1.
Fit elastic for desired snugness at
waistline, allowing one inch (2.5cm) for
joining. Lap ends and stitch together as
shown using a ball point needle.
2. Divide elastic band into four equal seg
ments and mark with pins. Do the same to
the garment Then pin together a! corres
ponding points, pinning elastic over right
side of fabric, top edges even.
3. Select multi-stitch zig-zag. Plain zig-zag,
elastic
stretch
stitch,
honeycomb
or
featherstitch are also effective for replac
ing lingerie elastic.
4. Take a few stitches to anchor elastic to
fabric. Then hold elastic and garment edge
taut as you stitch so that It will remain
stretchable after stitching is completed.
Caution: Do not puU the fabric vrhUe you are
stitching as this may deflect the needle, caus
ing it to break.
FIMISHES FOR HEMS
A U B
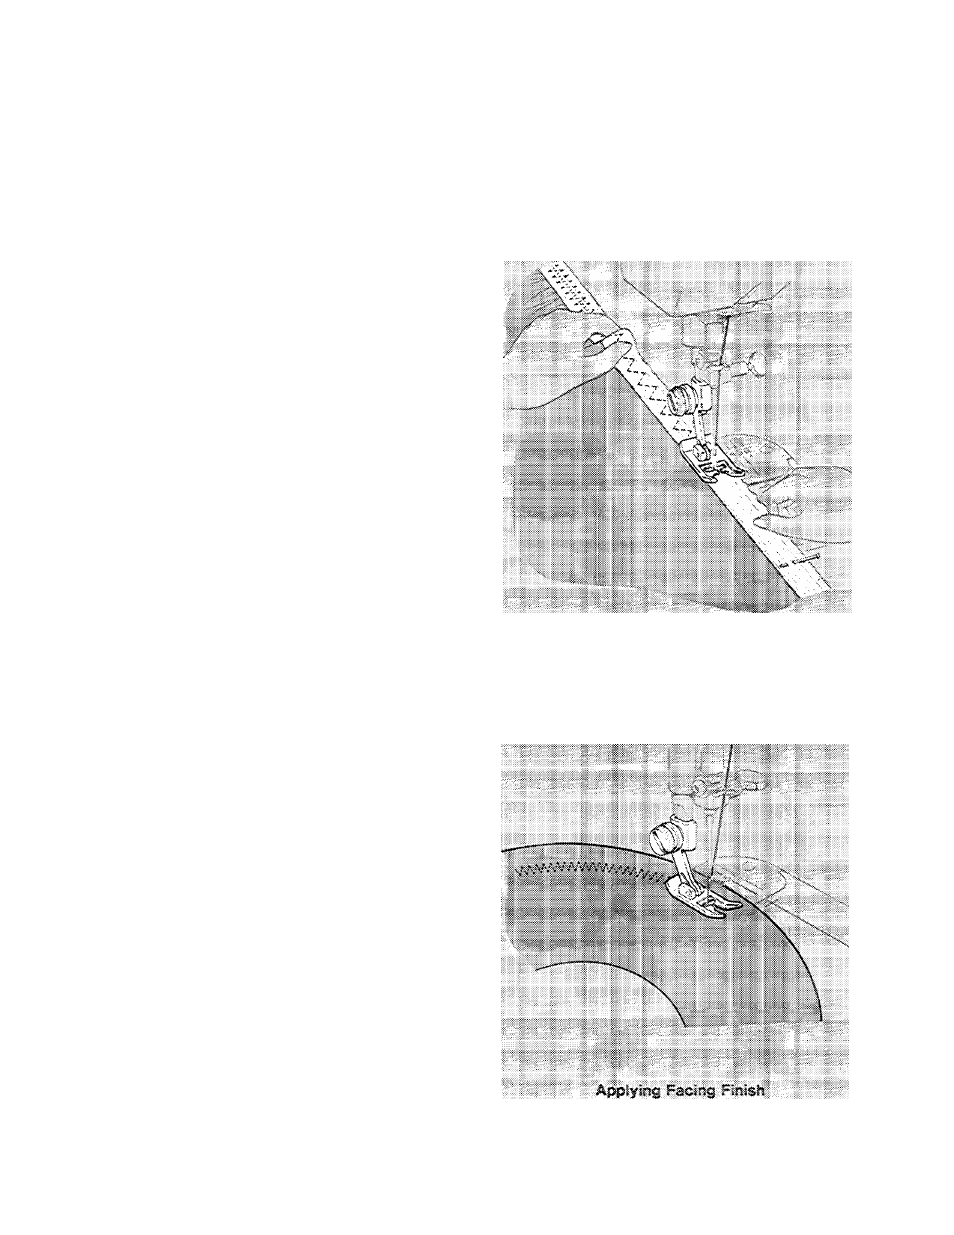
FACINGS
® Stitch; mulil-stitch zig-zag <
® Stitch width; 5
« Stitch length; 1.5 to 3
® General purpose needle plate
6 General purpose foot
Hem and facing edges in knit and stretch
fabrics will be less apt to press through and
mark when given a flat edge-finish. Edge
finishing with the multi-stitch zig-zag elimi
nates the bulk of turned-in edges and retains
fabric flexibility.
1. Make a test sample to check thread ten
sion and stitch length if you are using the
multi-stitch zig-zag.
2.
Place stitching about 1/2-inch {1.3cm)
from hem or facing edge.
3. Press after stitching and trim away excess
fabric close to the stitching line.
'■J'
:
5
Vic:
Jcin.ng E cstic
Beplacing Lingerie Elastic
59