Ordinary buttonholes, Buttonholes – SINGER W8910 User Manual
Page 29
Attention! The text in this document has been recognized automatically. To view the original document, you can use the "Original mode".
Buttonholes
Ordinary buttonholes
Press the stitch selector until the light under the sym
bol for buttonhole goes on. The machine will automati
cally make the most suitable settings and adjust the
thread tension. Presser foot C should be used, which is
also indicated on the guide panel.
The buttonhole is automatically sewn with zig-zag and
the stitch width and length is adapted to the material you
have set.
It is advisable to use a fine cord and the stretch needle
as indicated on the panel at the bottom left, when sewing
a buttonhole in stretch fabric. Refer to page 28.
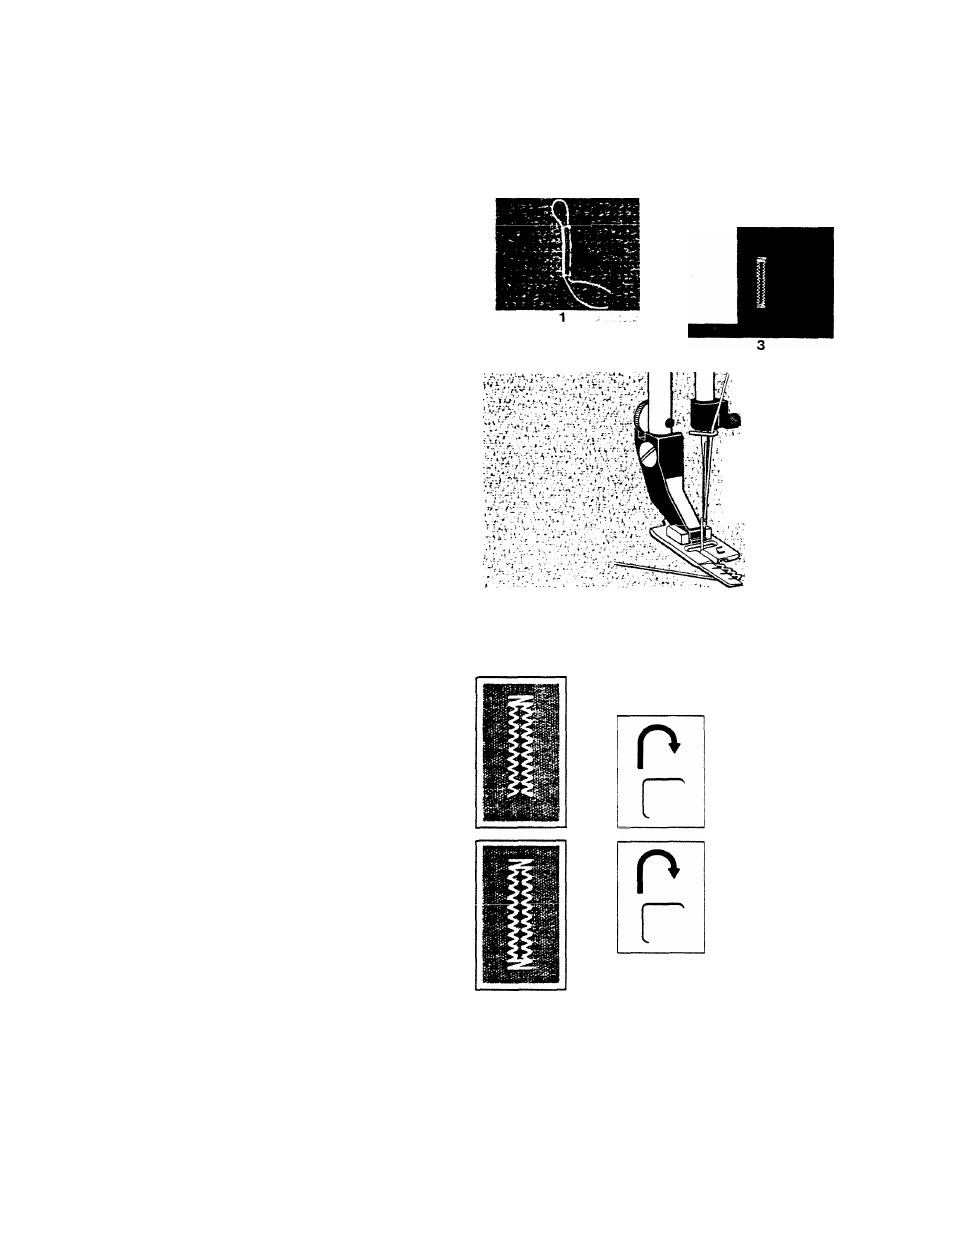
Mark on the fabric where you want to place the
buttonhole. Insert the fabric under the presser foot,
remembering that the machine will begin to sew in
reverse. Hold the upper thread at a right angle to the left.
Start to sew. Stop when you reach the required column
length.
By holding the thread end as illustrated it is easier to
check that the second column is the correct length.
. .-.v/'-.y-V.HV
'■ '■■■■•■ V'V-.-.uv'.'
'* '■?- -
• ^
tr I ■
•
- -
Press the reverse feed button and the machine will sew
the bar tack and then automatically sew the other col
umn forward.
When the second column is even with the first one,
repress the reverse feed button. The machine will now
sew the other bar tack, reduce speed, fasten off the
threads and stop automatically. As soon as you lift your
foot from the foot control the machine is ready to start
sewing the next buttonhole in the same way.
27