Guide, Jr ^ jr ^ ^ o, Control panel – SINGER W8910 User Manual
Page 21
Attention! The text in this document has been recognized automatically. To view the original document, you can use the "Original mode".
Control panel
\
m
«’X1V/
xww
w
JL VXV.WAX
When you switch on the main switch, the machine will
always be set for sewing straight stitch. You can then
select a stitch from the top row of symbols and the
machine will indicate general information about a suit
able presser foot, not specially adapted to any particular
fabric. The machine will also be automatically set at the
most suitable stitch length and width and adapt the
thread tension.
If you require more detailed information set the
machine for the material you will be sewing. When you
then select a stitch from the top row of symbols there will
be an indication on the guide panel as to which presser
foot, presser foot pressure, needle etc. is suitable.
8 •
C •
0
•
H •
rrinKWi lUWl w w
Strstch needle •
Pr.foot pressure 1-4 •
Rnecordi ^
interfacing |
G U I D E
Non-1 rnedium •
stretch) heavy •
I
terry •
^ I
light •
Stietch
I
( other •
Leather/vinyl •
Manual settirtg •
material
!
1
s/
2
)^ ^
^ jr ^ jr
^ ^ O
7
^ Z
0
W
/ 2 3^4 5 6
The machine will automatically select the correct stitch
length and width and adapt the thread tension. If, how
ever, you change the setting for the material, it will be
necessary to re-select the t5q3e of sewing by pushing the
stitch selector.
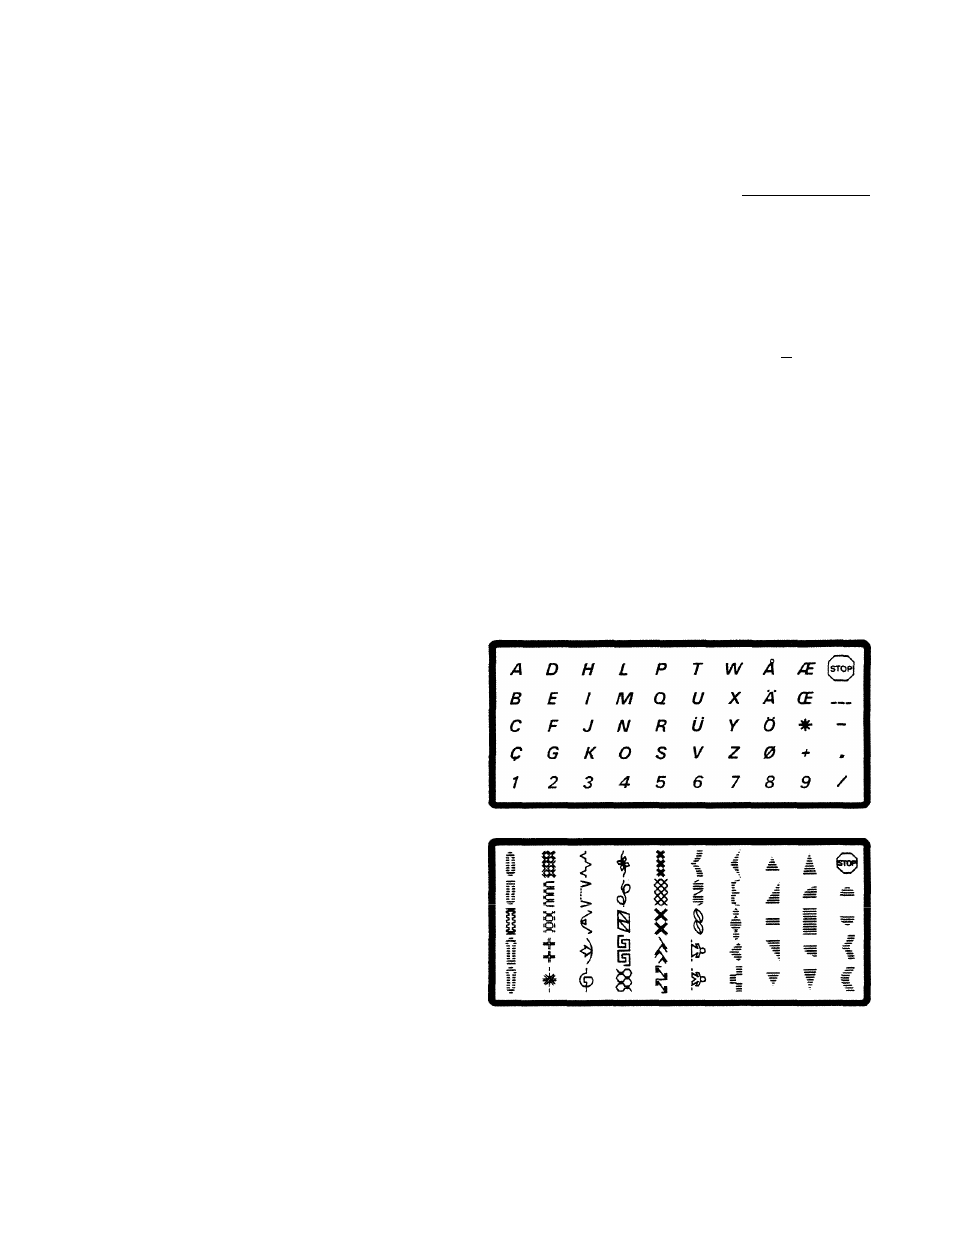
There are three different cassettes delivered with the
machine. By pressing the left-hand side of the cassette, it
will be released and you can remove it. Insert another
cassette from the left and press it against the machine.
One of the cassettes mainly contains decorative
stitches. Read more about the use on pages 46-47.
At the other two cassettes you will find letters, num
bers and characters. There are two types to choose from-
-monogram/script letters and block letters. Read more
about this on pages 48—50.
19