Carrier 50YQ User Manual
Page 14
Attention! The text in this document has been recognized automatically. To view the original document, you can use the "Original mode".
6. Reassemble in reverse order.
To clean fan wheel and housing, use a brush,
warm water and detergent. Do not splash water on
motor.
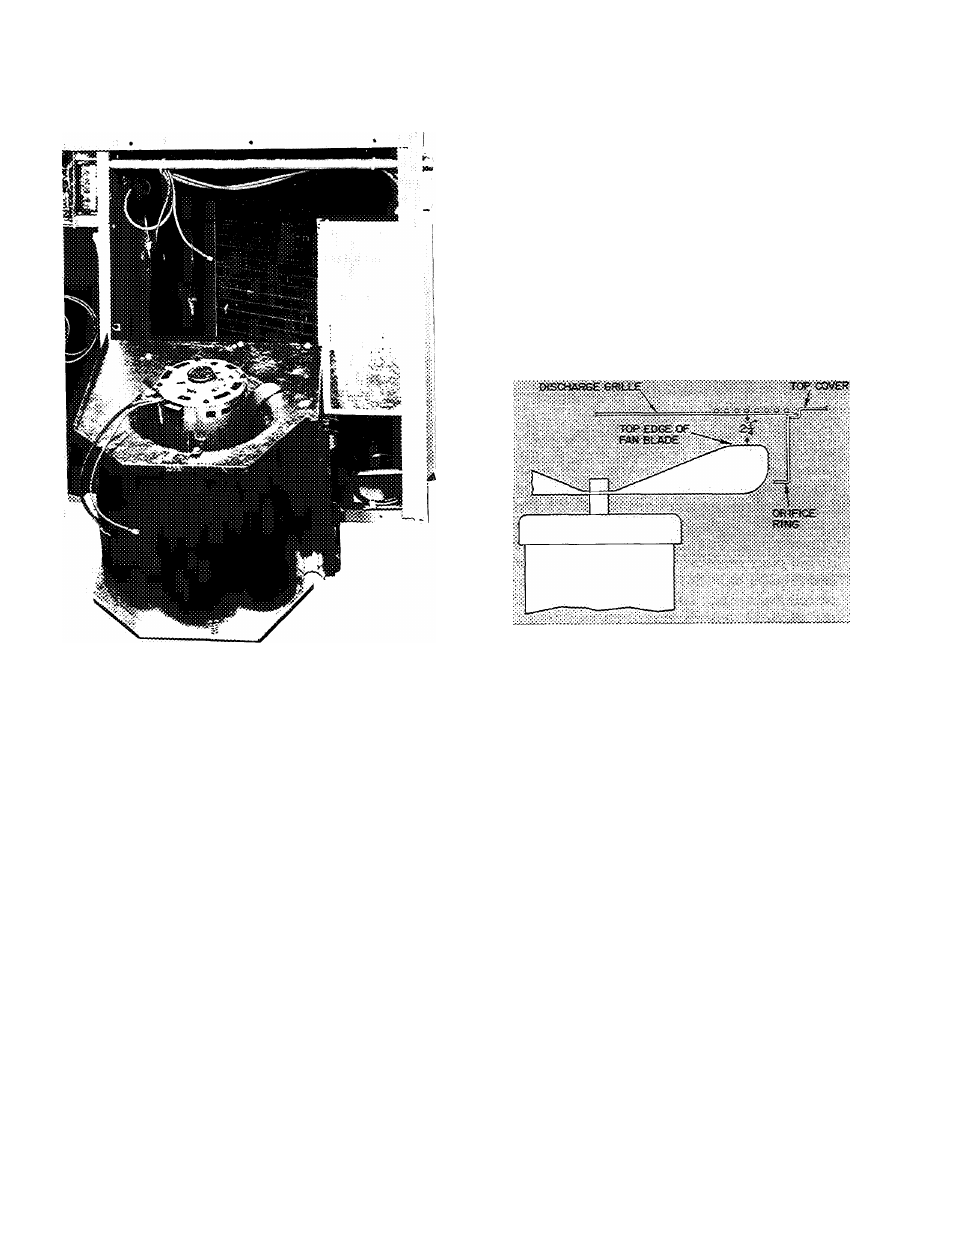
Fig. 25 — Indoor Fan Assembly Removal
Outdoor Coil
— Lift or remove top cover for access
to outdoor coil. See Fig. 24. Inspect coil periodically.
Clean coil with water at the beginning of every cool
ing season or more often if required. Use ordinary
garden hose at a pressure high enough to clean effi
ciently. For best results, spray coil fins from inside-
to-outside the unit or top to bottom between rows of
tubing. For 2-row coils, separate rows by removing
screws at hairpin end. Do not strain connections.
Spread coils slightly to wash between rows. Replace
screws after cleaning. Flush dirt from basepan by
spraying water thru top of unit. Avoid splashing
mud on coil or water on the fan motor and electrical
control box.
Outdoor Air Fan
— Fan position is shown in Fig.
26. Adjust fan by loosening setscrews and moving
blades up or down. To remove outdoor air fan and
motor: remove screws holding discharge grille in
place. Disconnect fan motor leads from controllers
and capacitor. Lift complete fan, motor, and orifice
assembly (Fig. 24) out of unit. After replacing fan
motor assembly, reconnect fan motor leads.
Fig. 26 — Outdoor Air Fan Adjustment
Return Air Filter (Field Supplied)
— Replace
throwaway filter 4 times a year. Clean permanent-
type filter a minimum of 4 times yearly. Flush per
manent filter with hot water, steam or soak in mild
solution of soap or detergent and water. Allow
filters to dry and replace. Refer to filter manufac
turer’s instructions, as required, for other types of
filters.
1 8 4
1 4