USL PSA-200U User Manual
Page 9
Page 9
1st Edition. October, 2004
USL, Inc.
PSA-200U Instruction Manual
NOTE: If the camera is not connected,
an error message will be displayed. (See
Troubleshooting on page 19.)
9. Turn the projector on with no film
inserted. Turn the projection lamp
on. Open the dowser to illuminate the
screen. WARNING: Do not leave the
dowser open for more than one (1)
minute. Heat from the projection lamp
light can damage the projector lens.
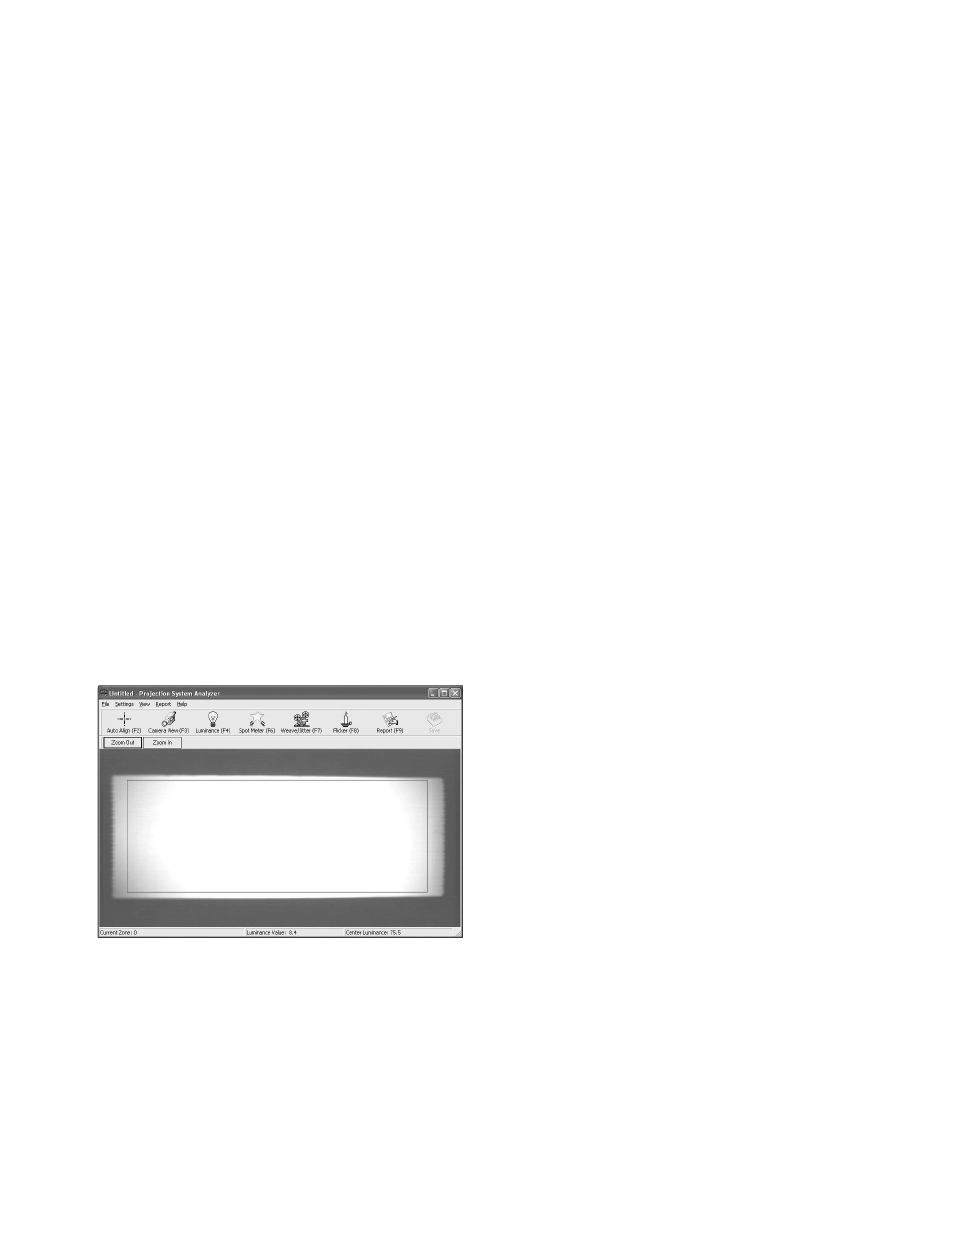
10. Press F3, or click on Camera View.
The display should show the movie
screen as seen by the camera (see
Fig. 3). It should look centered on the
laptop computer screen. The image
of the movie screen should fill about
90% of the laptop computer screen
and all edges of the movie screen
should be visible, along with a darker
border around the edges. If no border
is visible, zoom out until the movie
screen’s border appears. You can use
the zoom control on the camera or the
zoom control on the laptop computer
(Camera View [F3]) screen, whichever
is more convenient.
(Fig. 3) Camera View
11. Press F2, or click on Auto Align. This
function automatically senses the
edges of the movie screen image. It
creates an artificial border for the lu-
minance measurements. This border is
a rectangle inset from the screen edges
by 5% of the screen dimensions. All
screen luminance measurements are
made within this border.
12. Press F4, or click on Luminance. The
displayed grid will now show the ac-
tual luminance readings for each of
the 45 zones of the grid (Fig. 2). The
shading of each zone should show the
relative brightness with respect to the
other zones, giving a good display of
the light pattern for ease of lamp house
adjustment.
NOTE: The PSA-200U and laptop computer
require a warm-up period of at least two
minutes before measurement readings are
accurate.