Toa C-CC574 PL User Manual
Page 19
19
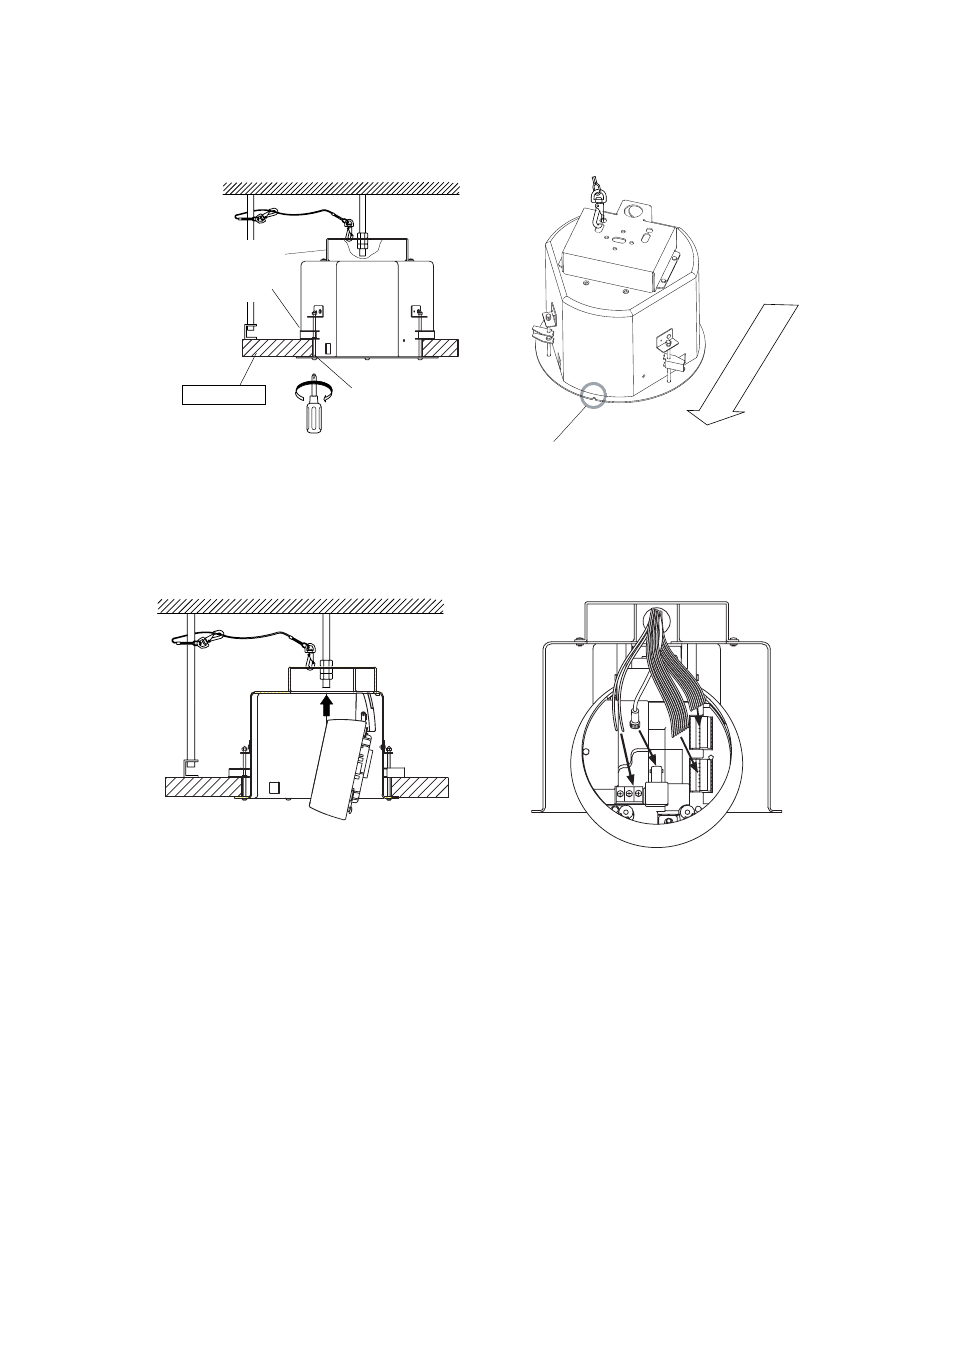
9. Perform steps 3 – 5 on p. 9 – 10.
7. Place the flush ceiling mounting bracket in the ceiling behind the ceiling panel by inserting it through the
mounting hole in the ceiling panel, then secure the bracket using the three supplied ceiling mounting
screws.
Turning the mounting screws clockwise clamps the ceiling holding plate to the ceiling panel. Ensure that the
notch in the bracket is pointing in the camera's intended direction.
7
Flush ceiling mounting
bracket
Ceiling holding plate
Ceiling panel
Ceiling panel
mounting screws
Turn clockwise.
8. Fix the flush ceiling mounting bracket to the anchor bolt for flush ceiling mounting and connect the video,
communications, and power cables to the base unit.
(For details, please refer to p. 29; "Connections.")
Tighten
Notch
Cam
e
ra directio
n