Installation – StarTech.com SV3253DXI User Manual
Page 8
Instruction Manual
3
Installation
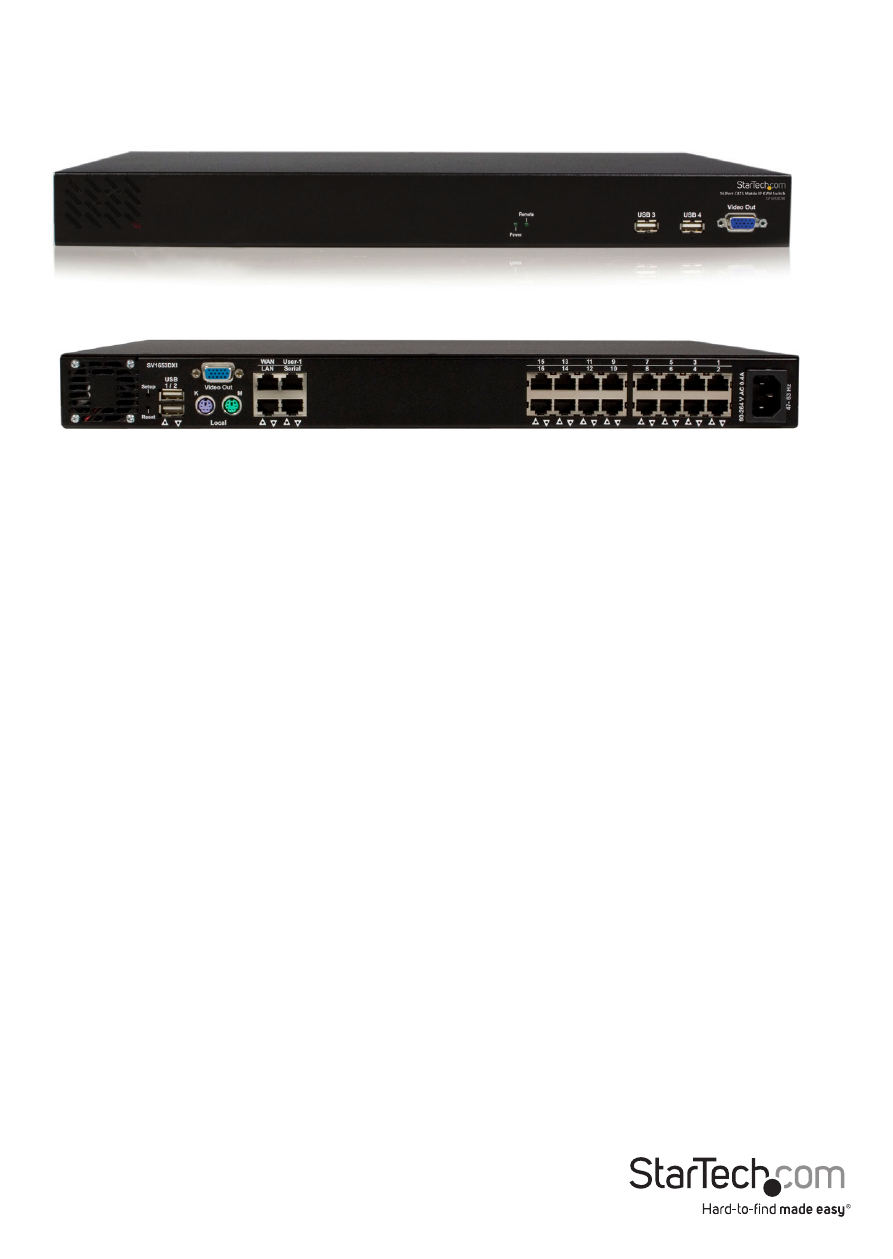
*SV1653DXI front panel
*SV1653DXI rear panel
To connect the KVM Remote Control Unit to the Host Computer and Network:
1. Using a Category 5 Ethernet patch cable, connect the LAN connector
on the rear panel of the SVxx53DXI to a network data jack (usually
on a hub, switch, router, or pre-wired wall jack).
2. Connect a standard PS/2 or USB keyboard to the Local Keyboard port
on the rear panel of the SVxx53DXI.
3. Connect a standard PS/2 or USB mouse to the Local Mouse port on
the rear panel of the SVxx53DXI.
4. Connect an XGA-compliant (or higher) monitor to the Video Out port
on the front panel of SVxx53DXI.
5. Connect the power cord (provided) to an available electrical outlet. Plug
the opposite end of the power cord into the AC power connector on the
rear of the unit.
6. Power up the KVM.
IMPORTANT: SVxx53DXI is cooled by fans and convection. As such, please ensure
the vents on both sides as well as the rear panel are unobstructed.