Great Planes Venus II 60 ARF - GPMA1027 User Manual
Page 13
❏
6. Use a single-edge razor blade or a hobby knife to cut
off any covering wrapped around the edges of the belly pan.
Also cut the covering from the holes in the bottom of the
belly pan where the wing bolts go through.
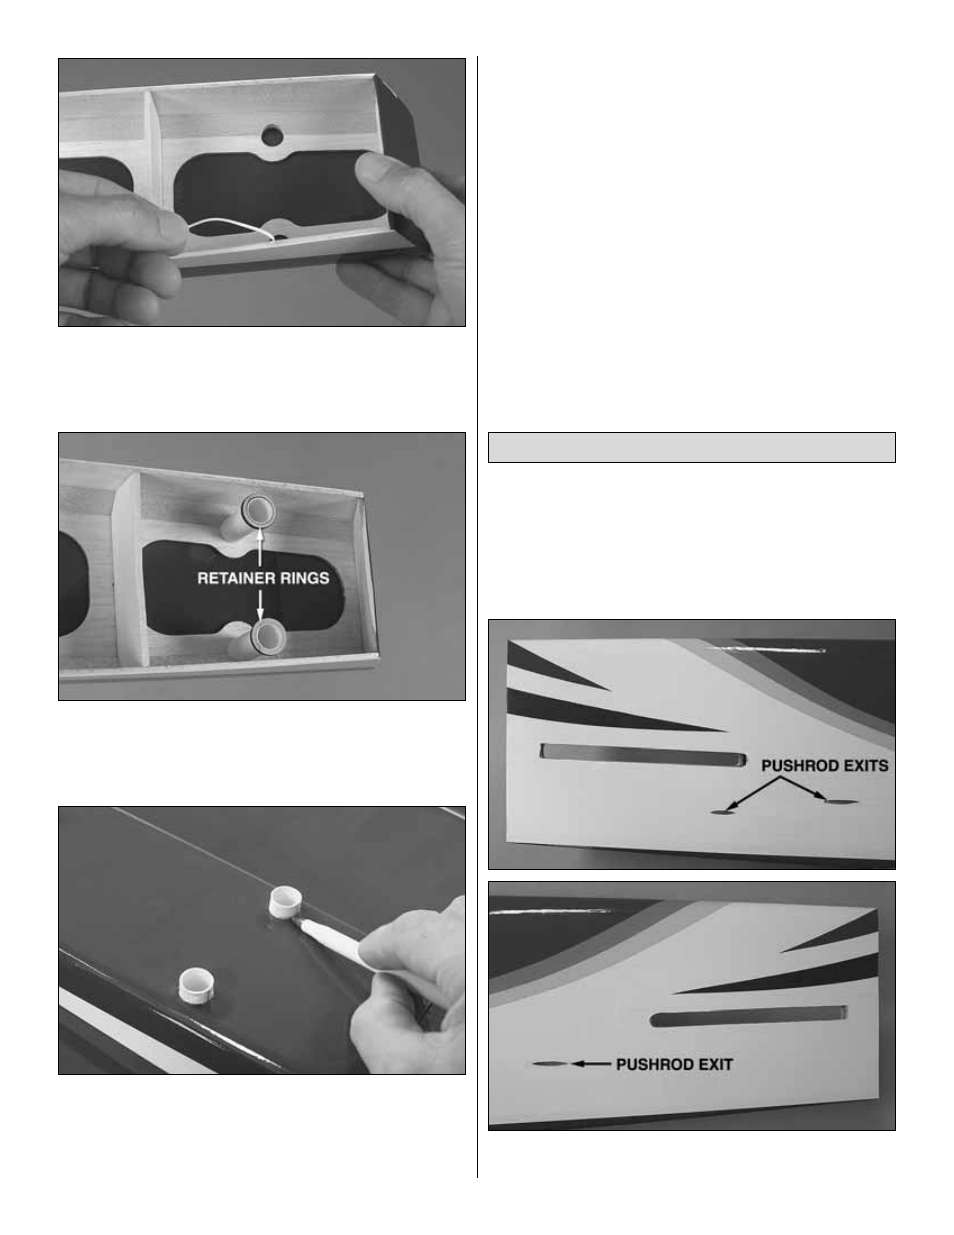
❏
7. Cut two 2" [50 mm] pieces from the 1/2" x 8" [13 x 200 mm]
paper tube. Glue the plywood tube retainer rings to the bottom
of the paper tubes. Then, insert the tubes up through the holes
in the belly pan, but do not glue them in.
❏
8. Position the belly pan assembly on the wing. Make
sure the paper tubes are fit over the heads of the wing bolts,
and then press down on the paper tubes. Use a fine-point
ballpoint pen to mark the bottom of the belly pan all the way
around both paper tubes.
❏
9. Remove the assembly and take out the paper tubes. Then
cut them off along the bottom edge of the lines you marked.
❏
10. Reinsert the paper tubes into the belly pan and
reposition the assembly on the wing. Position the tubes as
necessary so the ends will be flush with the bottom of the
belly pan. Make adjustments and trim where necessary.
Remove the assembly and use medium CA or epoxy to glue
the tubes to the belly pan from the inside.
❏
11. With the wing bolted to the fuselage and the model
supported upside-down, use 30-minute epoxy mixed with
microballoons to glue the belly pan and the paper tubes to
the bottom of the wing—be careful not to inadvertently glue
the assembly to the fuselage. Place weights on the belly pan
to hold it down, wipe away excess epoxy and do not disturb
until the epoxy has hardened.
❏
1. Cut the covering from both sides of the fuselage over
the slots for the stabilizer. (The cutouts can be seen in
following photos.)
IF MOUNTING THE SERVOS OUTSIDE
THE FUSELAGE, GO TO STEP 3.
❏
2. If mounting the servos inside the fuselage, cut the
covering from the pushrod exits.
Join the Stabilizer and Fin
13