Install the aileron servo – Great Planes PT-19 EP ARF - GPMA1149 User Manual
Page 7
7
so that one overlies the other. You now have a single 5mm
thick wing joiner.
❏
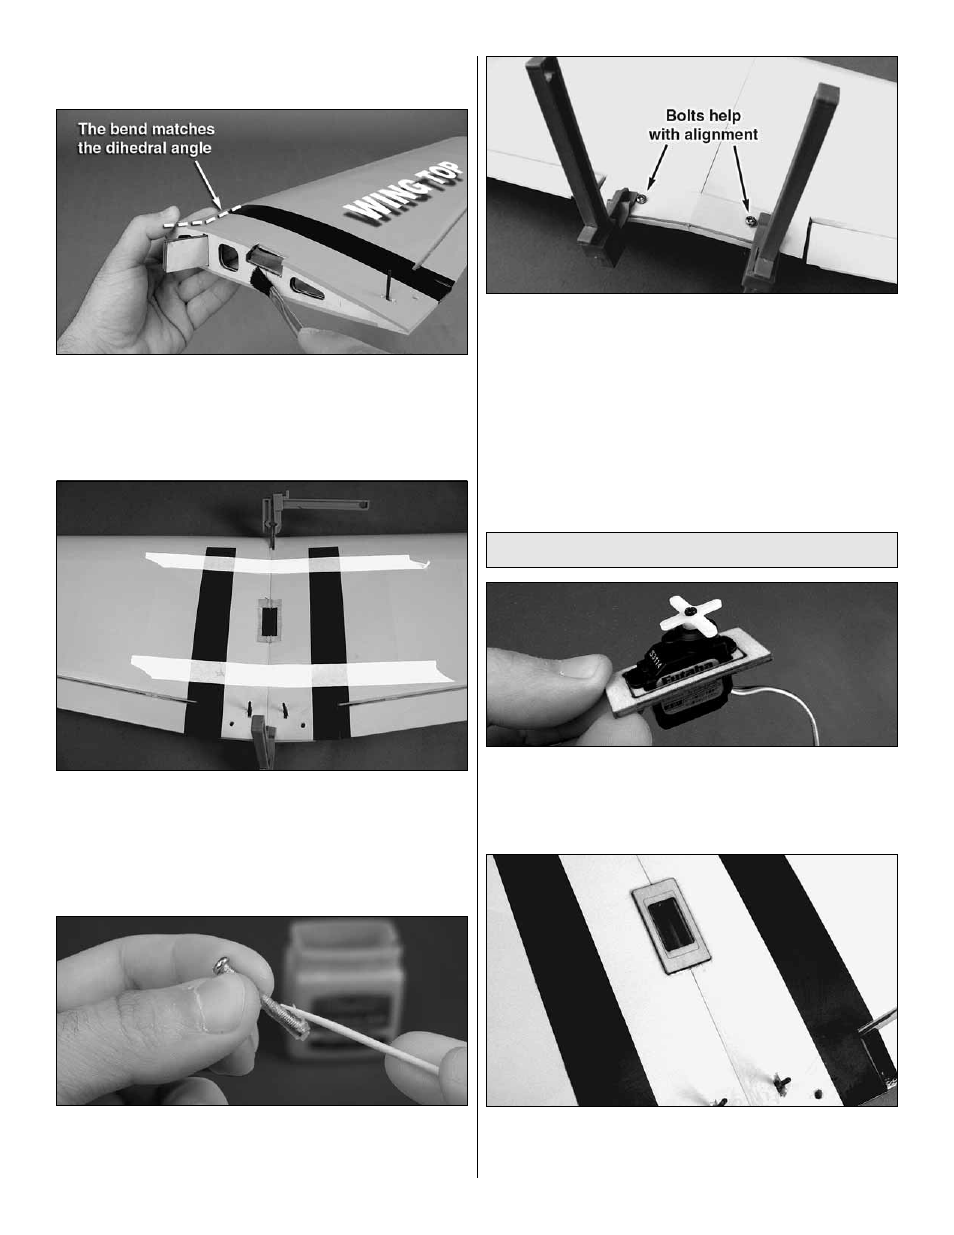
3. Coat both faces of the wing joiner with 30-minute epoxy
and fi t the joiner into the slot in one wing so that the bend
in the joiner matches the dihedral angle of the root wing rib.
Coat the root rib of both wings. Note: The top of the wing is
the side of the wing that the torque rod exits.
❏
4. Join both wings tightly. Clean up any epoxy that
squeezes out of the joint with paper towels and denatured
alcohol. Hold the wings together tightly with at least four long
strips of masking tape. Use two on the top and two on the
bottom. Use two small clamps to hold the wings in alignment
as the epoxy cures.
❏
5. Locate the two 3mm x 25mm wing bolts. Thoroughly
coat the threads of each bolt with petroleum jelly (Vaseline
®
or similar).
❏
6. After the epoxy cures, remove the clamps and the tape
from the wing. Turn the wing over. Apply some 6-minute
epoxy to the wing bolt plate and glue it to the bottom side of
the wing. Use the two wing bolts to align the plate with the
holes in the wing. Clamp the wing bolt plate to the wing and
clean up any epoxy that squeezes out of the joint. Allow the
epoxy to fully cure.
❏
7. Remove the clamps and wing bolts. Clean up the
bolts with denatured alcohol and set them aside with your
other hardware.
Install the Aileron Servo
❏
1. Test fi t a servo in the aileron servo mounting plate. If
you are using a servo larger than a Futaba 3114 micro servo,
use a Dremel
®
rotary tool or your hobby knife to enlarge the
opening in the plate to accommodate your particular servo.
❏
2. Center the servo mounting plate over the hole in the
top of the wing. Epoxy the servo mounting plate in place. Be
careful to center it.