Timer indicator, Power button menu button, Clear button – Philips VR350 User Manual
Page 15: Number, Buttons, Make sure, Remote control to make corrections, Select the menu screen, Select the program mode, Select normal, daily or weekly recording
Attention! The text in this document has been recognized automatically. To view the original document, you can use the "Original mode".
T
o record while you’re away, follow steps 1-12 below. For each program you set, the VCR will turn itself on, do the
recording, and turn off automatically. You can store up to eight programs. Instmctions for each step appear on the TV screen
after you begin. You must use your remote control.
1
Make sure... |-----------------------------------------------
• the steps in “Hook Up Your VCR” have been
completed, an antenna or cable system is connected to
the VCR, and the VCR and TV are turned on.
• CABLE or NORMAL has been selected and channels
have been programmed into the VCR’s memory. See
“Turn On Your VCR” and “Adding/Deleting a
Channel”.
• the TVA^CR selector is set to “VCR.”
• the clock is set to the correct time.
• a cassette tape is inserted in the VCR and the record
tab is in place on the cassette.
• the tape is long enough to record the programs.
FOR EACH STEP BELOW, YOU HAVE 60 SECONDS
TO COMPLETE m IF YOU DON’T, PROGRAMMING
WILL HAVE TO BE RESTARTED FROM STEP I.
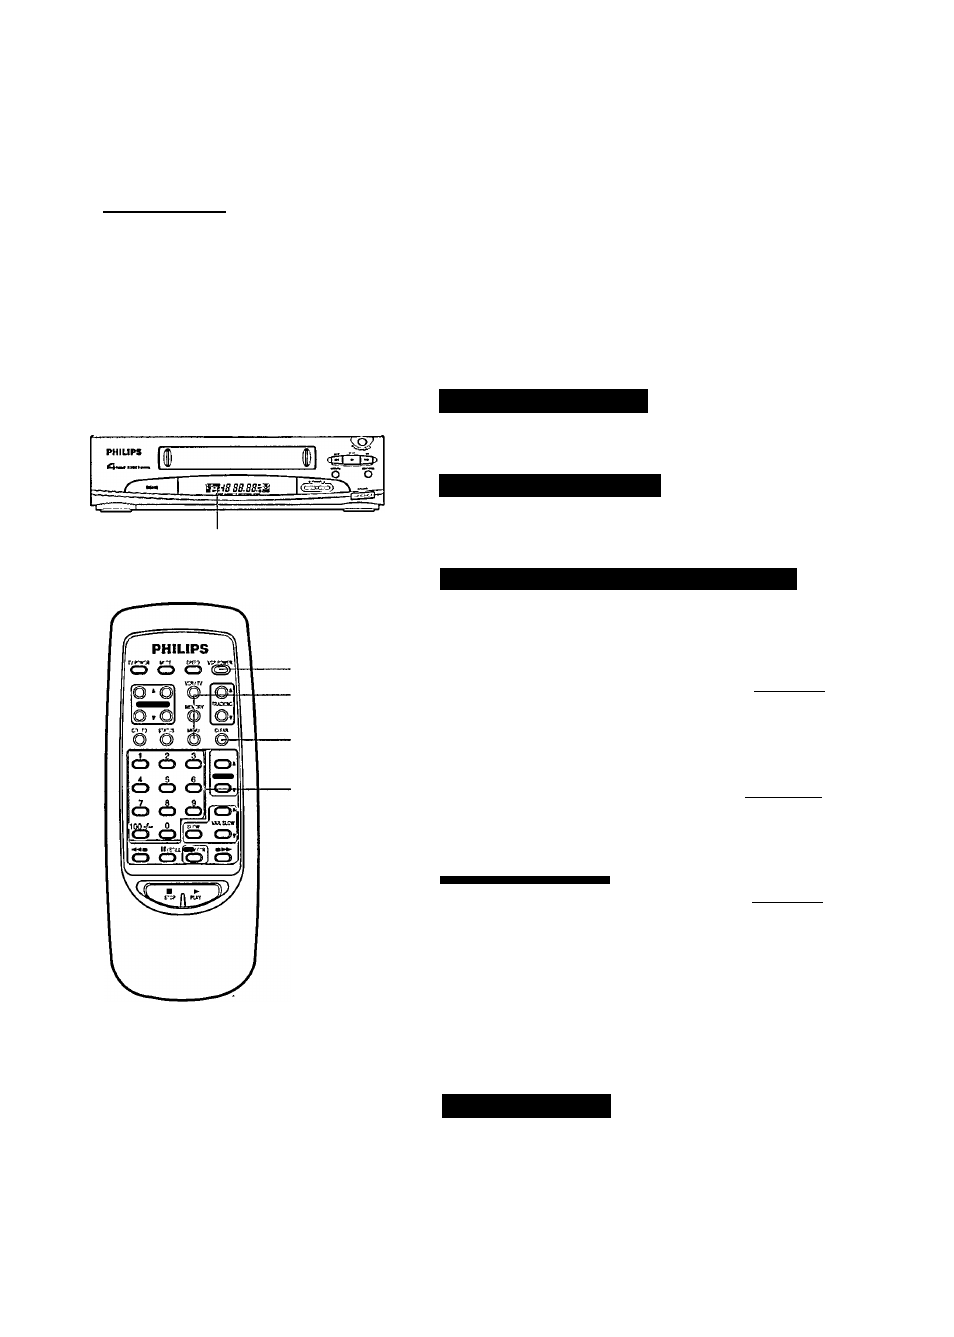
VCR
TIMER Indicator
POWER
Button
MENU Button
CLEAR Button
NUMBER
Buttons
Remote Control
To Make Corrections...
Press the CLEAR button while the screen
you wish to change is displayed. This
moves the flashing indicator to the number
you want to change. Now, enter the correct
number. You may have to press the
CLEAR button more than once to reach
the numbers you want to change.
Select the Menu Screen
Press the MENU button on the remote control.
The main menu screen at right will appear.
TO SELECT PUSH NO. SHOWN
1 PROGRAM
2VCRSETUP
3TUNERSETUP
4 INPUT SELECT
5 CLOCK SET
TO END PUSH MENU
Select the Program Mode
I Press the NUMBER 1 button on the remote control to select the
1 Program mode.
Remember, use the NUMBER buttons on your remote control.
Select Normal, Daily or Weekly Recording
I
Normal Recording
' Press the 1 button to record a TV show on any
day you choose up to 12 months away.
Or
Daily Recording
Press the 2 button to record a TV show every
day (Monday through Friday) at the same time
and length.
Or
Weekly Recording
Press the 3 button to record a TV show once a
week at the same day, time, and length.
TOSELECTPUSHNO SHCT.'JN
10NCE
2 DAILY
3
v
;
eekly
4 PROGRAM REVIEW
TO END PUSH MENU
DAILY PROGRAM, (MON-FBI)
\ \ \ I I I / / 4 ^
PROGRAM-12345678-
• ' / / i I » \ \ N
SOECT PROGRAM NUMBER
. TO END PUSH MENU
" WEEKLY PROGRAM
s \ \ M t / / -^
PROGRAM-1 2345678-
^ / / I I I 1 \ N
Select the Position
SELECT PROGRAM NUMBER
TO END PUSH MENU
1
Press the NUMBER buttons 1-8 to select one of the 8 positions to
store a timer record program. The flashing numbers indicate an open
position where a program can be stored.
If you select a position number that has
already been set, “PREVIOUSLY SET
PROGRAM” appears for a few seconds,
then the position contents will be displayed.
If this happens, press the MENU button
twice and start over.
PREVIOUSLY SET PROGRAM
Select the Channel
I Enter two numbers for the TV channel. For
' channels above 100, press the 100 button, then
two numbers for the channel.
For example, for channel 10, press NUMBER
button 1, then 0. Or, for channel 11.5, press 100,
then press 1 and 5. To record firom line input,
press 0 and 0.
“AJW
IN” will appear on the screen.
ONE TIME PROGRAM
PROGRAM }
TO CORRECT PUSH CLEAR
TOENDPU^METAJ
(Continued on next page.)