Dynaflite DYFA3040 User Manual
Page 33
Q 1. Finish the cockpits. The cockpit area was
designed to be structure free so you can add as
much detail as desired.The simplest is to glue a
couple of Williams Brothers pilots to the top
deck. The kit includes two instrument panel
decals which can be positioned on the front
instrument panel and rear former CT, or you can
fashion separate instrument panels. Details in
the cockpit area will really dress up the
appearance of your model.
Q 2. Install your engine and mount on the
firewall.You should shim your mount as needed
to obtain three degrees of down thrust and two
degrees of right thrust.
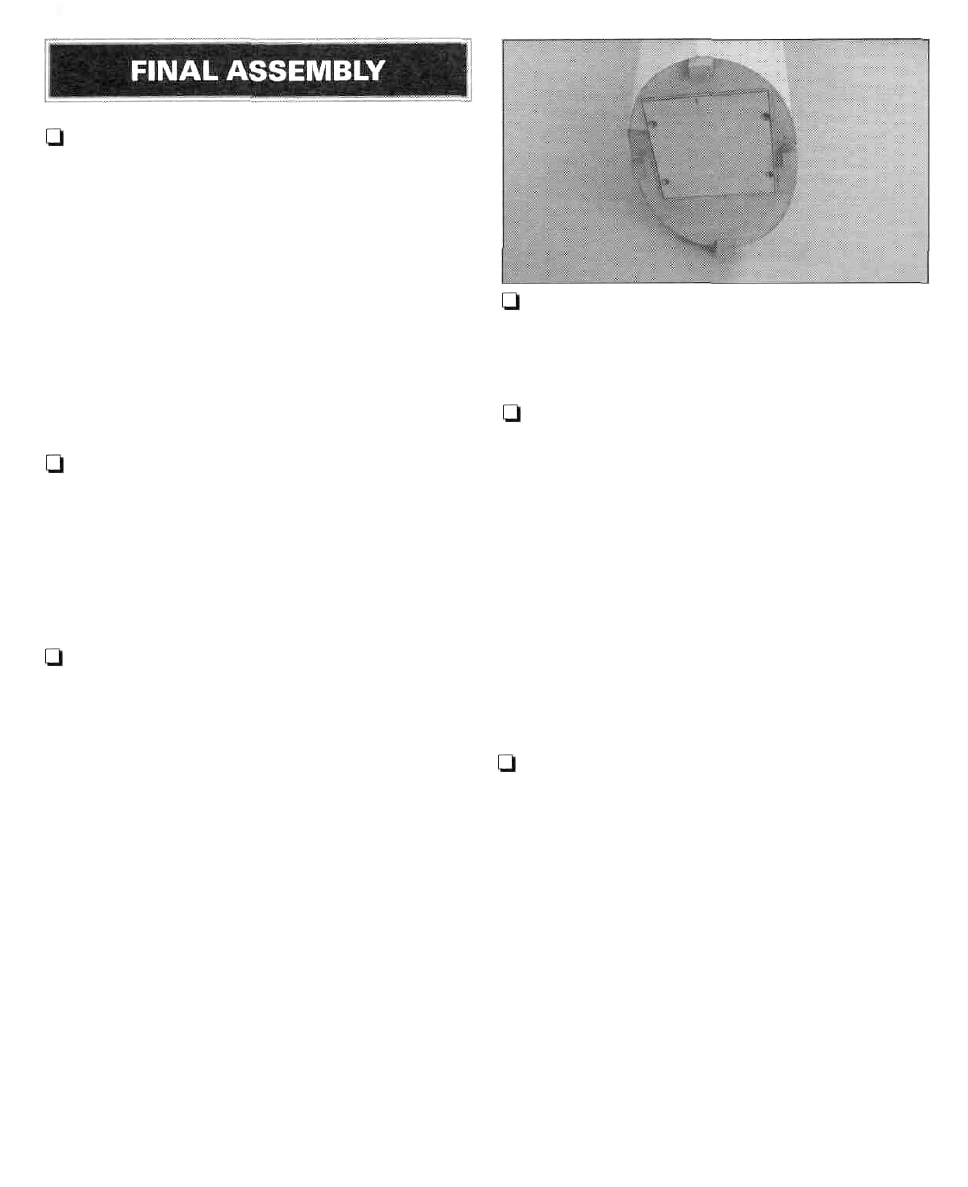
Q 3. Fit the cowl. The plastic cowl comes in
halves and needs to be glued together. Before
gluing them, trim them to the proper width.The
kit includes a strip of plastic that is used to
reinforce the joint on the inside. Thin CA works
well for this. When you have glued the cowl
together, cut a small hole where the prop shaft
needs to exit the front. Slip the cowl onto the
fuselage and enlarge the hole as needed to
clear the engine thrust washer. As you continue
to fit the cowl to the fuselage and engine, you
may need to remove and reinstall the engine
several times. We have found that using a piece
of cardboard taped to the side of the fuselage is
the easiest way to locate the cutout for the
engine. Tape the cardboard to the fuselage and
cut an opening in it to fit your engine. Remove
the engine, install the cowl and transfer the
cutout to the cowl. If you go slowly and remove
a little material each time from the cowl, you
will be rewarded with a good looking cowl.
Q 4. When you are satisfied with the fit of the
cowl, remove it and glue the four 1/2" x 1/2"
x 3/4" hardwood blocks into place on the firewall.
Sand them to blend to the curve of the cowl.
Ql 5.To drill the mounting holes in the cowl use
the cardboard technique again. Tape some
cardboard to the fuselage side and mark the
center of the mounting blocks. Slip the cowl
into position and mark the location of the holes,
Drill the holes and mount the cowl with #6 x
1/2" sheet metal screws and washers.
Note: The following describes installing the
hinges for the elevators, ailerons, rudder and
flaps (if installed). It is highly recommended
that you obtain a Great Planes Slot Machine™
(GPMR4010) as it will greatly simplify the
process and make for a better installation.
Q 6. Hinge the control surfaces.The kit includes
a hinge strip from which you can cut CA hinges,
or you can use other hinges of your choice.The
following general guidelines will discuss
hinging. We will discuss hinging the elevator
but the same process is used to hinge the
rudder, ailerons and flaps.
A. If you have not already done so, mark the
centerline of theTE of the stab.
B.The LE of the elevators has already been
sanded to a "V," so this will be used as the
centerline.
C. Using the plan as a reference, mark the
locations of the hinges to be installed.
33