Dynaflite DYFA3040 User Manual
Page 25
satisfied with the fit, glue the dowels into the
wing with 6-minute epoxy. Use caution not to
get any epoxy on the fuselage.
Q 13. Using the leading edge wing skins you
prepared earlier, sheet the bottom LE of both
wing panels. We find it easiest to use aliphatic
resin on the ribs and medium CA on the spar.
Thin CA can then be used on the LE.
Q 14. Using 3/32" x 3" x 36" balsa, sheet the bottom
center of the wing from W3 to W3. Using one
continuous piece across the entire center-section
will increase the strength of the joint.
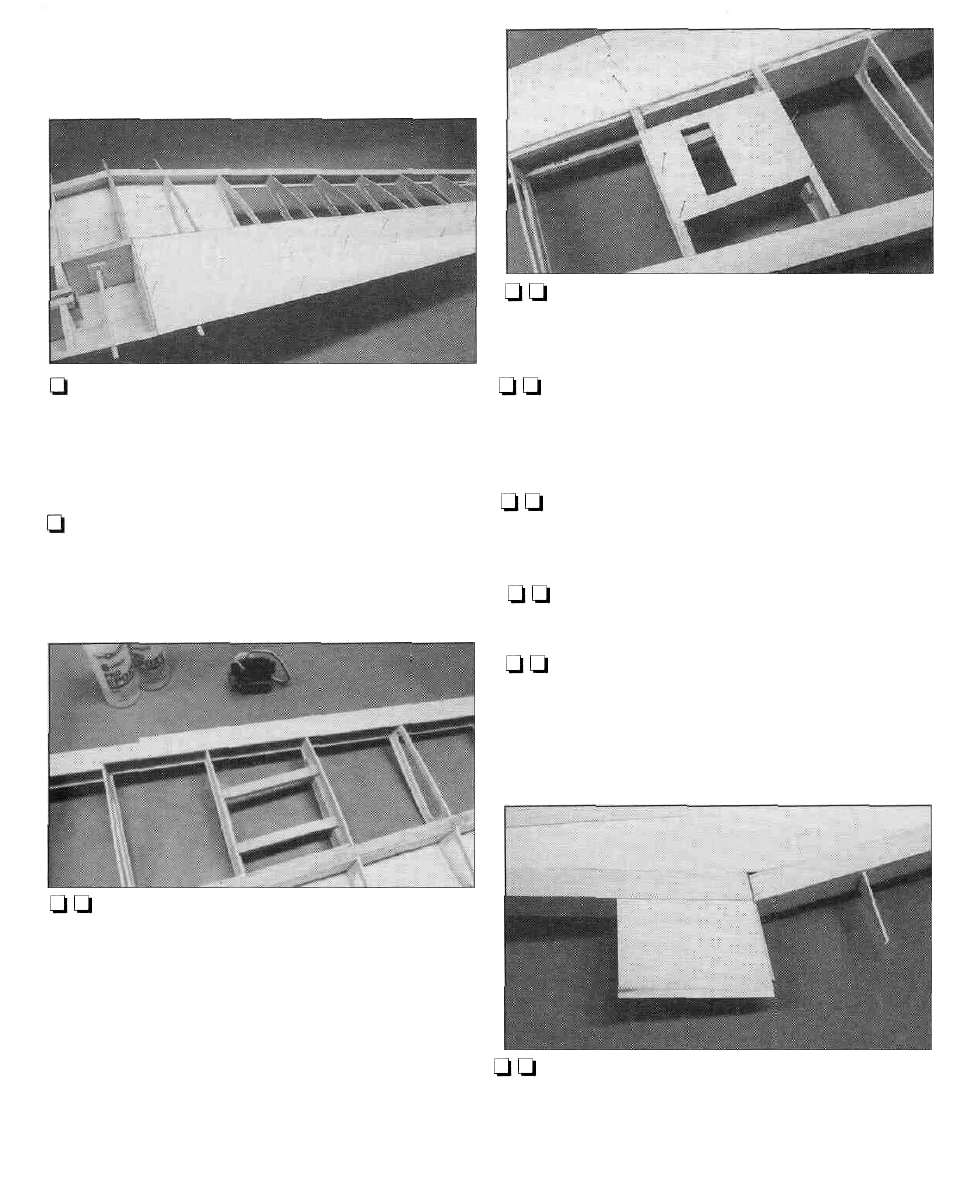
Q Q 15. Working on the left wing panel, build
the aileron servo mount between ribs W8 and
W9. Cut two servo mount rails from the 1/4" x
3/8" x 44" basswood shim stick used earlier. Cut
two 3-3/4" long bracing strips from die-cut 1/8"
ply servo rail brace strip. Fit and glue these
pieces into place, spacing the rails to fit the
servo you will be using. Position the rails so the
top of the servo will protrude below the wing
the desired amount.
Q Q 16. Sheet the area around the servo using
leftover 3/32" x 3" balsa.This gives the covering
a place to adhere to.
Oil-] 17. If you are installing flaps on your Chipmunk,
build the flap servo mount between ribsW4 and
W5 as you did above for the aileron servo. Sheet
the area around the servo.
Q l-l 18. Using 3/32" x 1/4" x 30" balsa strips cut,
fit and glue cap strips on the bottom of ribs
W 4 - W 7 a n d W 1 0 - W 1 2 .
Q t-1 19. Cap strip ribs W8 and W9 where there
is no sheeting.
Q Q 20. Locate a 1-1/2" x 1-5/8" x 9-1/2" balsa
block. Shape the block to the outline of the wing
tip using the plan as a guide. Glue the block
onto tip rib W12. Rough carve and sand the
wing tip block to shape.
l-l l-l 21. Use some leftover 3/32" x 3" sheeting to
cut aTE sheet to go between ribs W1, W2 and
W2A (W2A is added in the next step). Use the
25