Dynaflite DYFA3040 User Manual
Page 21
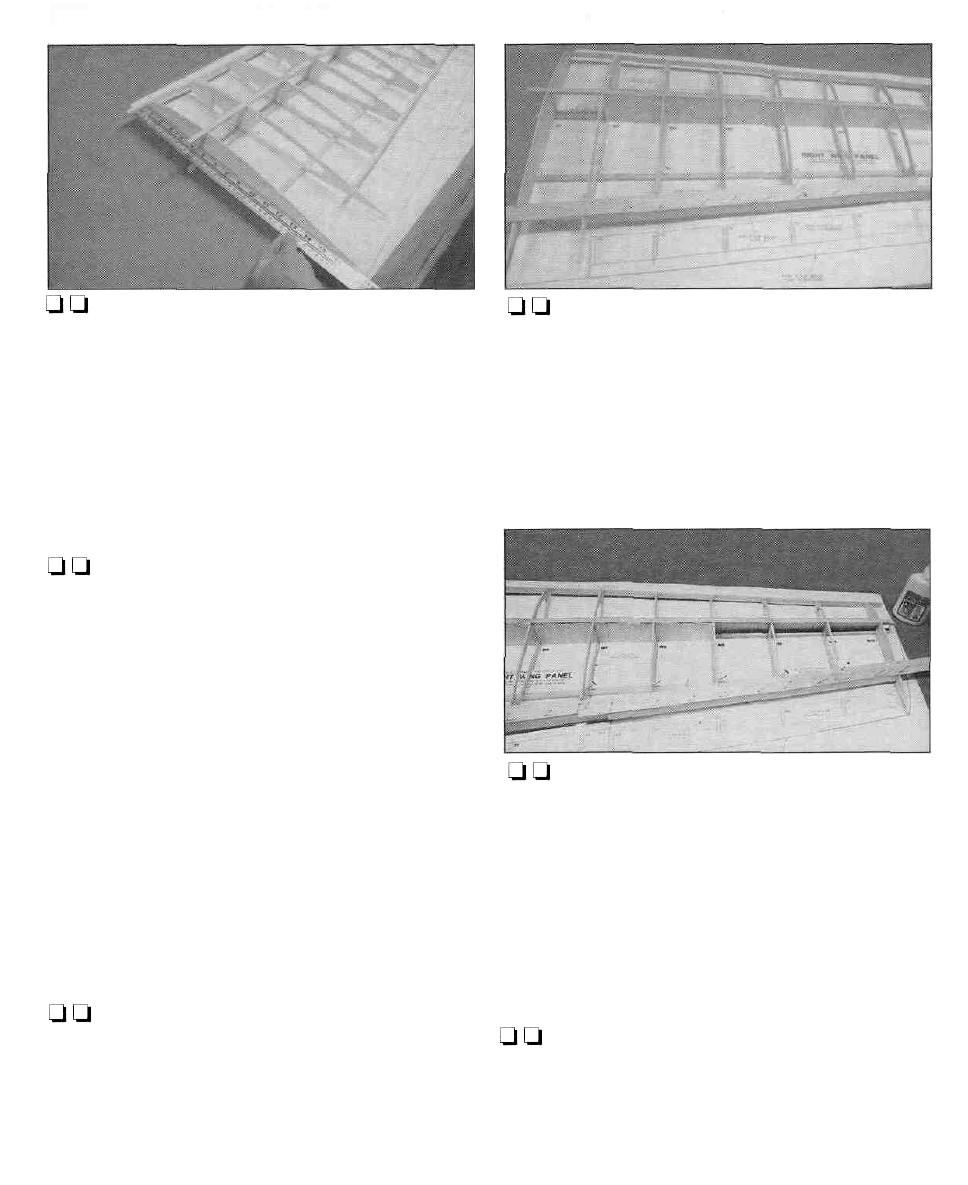
13. Glue the 1/4" x 1/2" x 48" balsa leading
edge stick to the front of the ribs. Align the top
of the LE even with the tops of the ribs. Use a
long metal straightedge to get the LE as straight
as possible. IMPORTANT: Use a straightedge
along the sides of W1 and W12 to insure that
they are straight and flat.
Q Q 16. Glue a 3/32" x 15/16" x 24" balsa TE
sheet to the inner TE and ribs using aliphatic
resin. Note that the sheeting extends from W1
toW7 and is trimmed at an angle. Use your long
straightedge to keepWI straight.
Q Q 14. Use a 3/32" x 4" x 36" balsa sheet to
prepare the spar webs. Note: The sheeting
provided is ample to prepare all of the webs,
but there is no extra material so work carefully.
There is webbing from W2 to W12 glued to the
front of the spars and from W2 to W9 glued to
the rear of the spars. Start with the ribs that are
spaced the widest first. Trim and sand the sheet
to fit between the two ribs. Sand the bottom
edge of the sheet to fit the angle of the lower
spar, then mark and cut the sheet to the proper
height. Continue cutting, trimming, sanding, and
gluing the sheet for all of the webbing. Be sure
to remove any pins that will be hidden by the
webbing before gluing it into position.
Q Q 17. Glue a 3/32" x 15/16" x 24" balsa TE
sheet to the outer TE and ribs using aliphatic
resin. Note that the sheeting extends from W7
to W12 and is trimmed at an angle. Study the
plan to see how the sheeting is trimmed to fit
the flap tip.
Q Q 15. Prepare the TE that you installed in
steps 10 and 11 for sheeting. Carve and sand the
TE to blend with the top of ribs W1-W12. If you
are not a careful sander you may want to put
some masking tape on the tops of the ribs so
that you won't alter their shape.
[-1L118. Prepare the 1/4" x 1/2" balsa LE that you
installed in step 13 for sheeting. Carve and sand
the LE to blend with the tops of the ribs. Use
masking tape on the ribs so that you don't alter
their shape.
21