Dynaflite DYFA3040 User Manual
Page 13
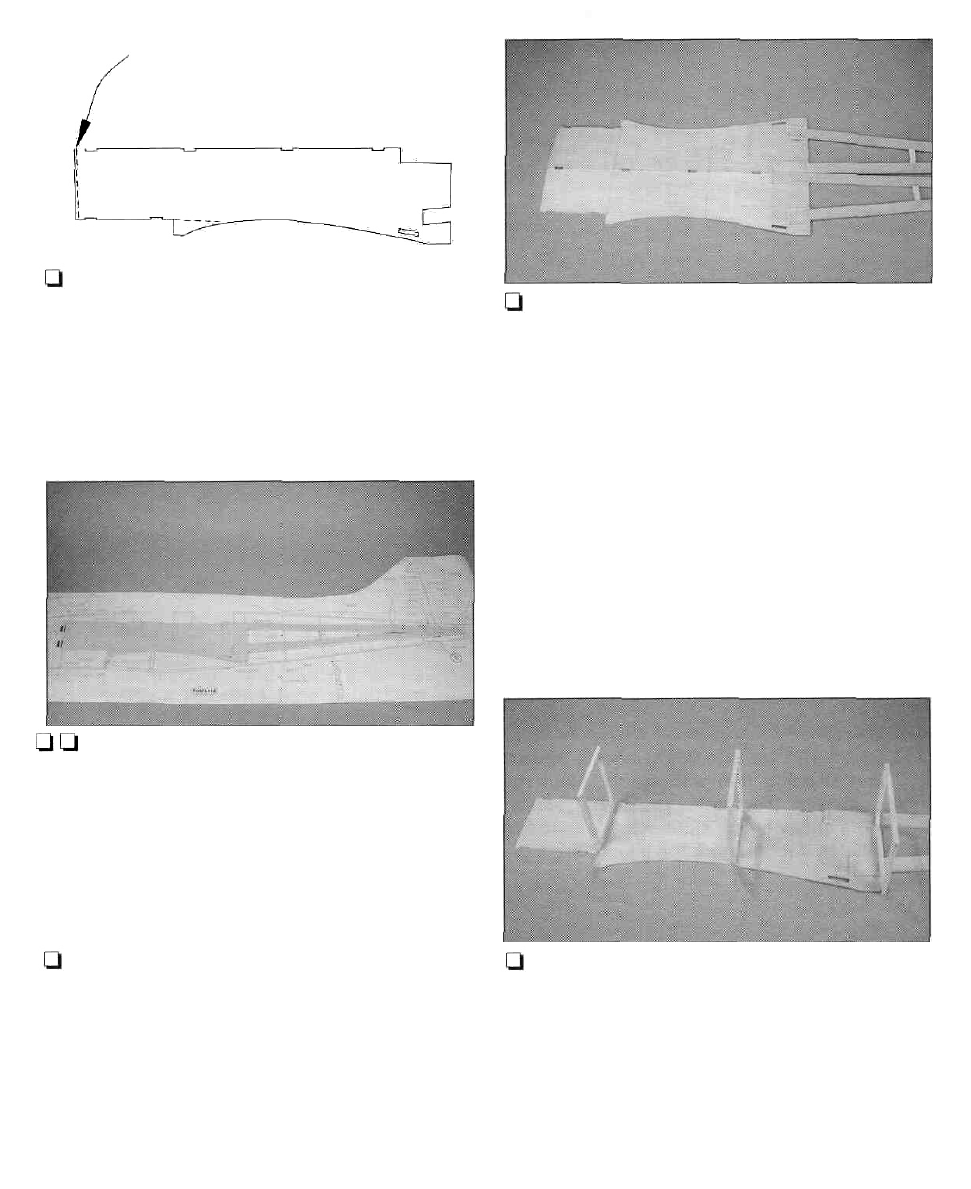
[-] 7. Locate one of the die-cut 1/8" ply forward
fuselage sides. Cut off the front end of this side
along the embossed line.This will establish two
degrees of right thrust. Note: Only the right
forward fuselage side has this cut made.
I-J10. Place the right fuselage side over the plan
and mark the locations of bulkheads B, C, D, E,
F, G, H, HTW and I on the side. Place the left side
over the right and transfer the marks to the left
side. Next, mark each inner bulkhead at the
center of the top edge. These marks and lines
will be used to align the fuselage in the
following steps.
CUT ALONG
EMBOSSED LINE
RIGHT FUSE SIDE
l-l Q 8. Fit this ply fuselage front to the fuse rear.
Cut doublers for the two joints from 1/8" x 1/4"
x 30" balsa. When satisfied with the fit, glue the
ply front and doublers to the fuse rear with
6-minute epoxy.
Q 9.The left fuselage side is built over the right
side. Remove the right side from your building
board and turn it over. Use the leftover 1/8" x
1/4" stick to shim the forward ply side. Cover the
side with Plan Protector. Follow steps 5, 6 and 8
to build the left side, aligning the parts over the
right side. Do not cut the front end of the
left forward ply side.
Q 11. Glue inner bulkheads B, C and D to the
right fuselage side using 6-minute epoxy. Be
sure the bulkheads are at a 90° angle to the
side. Epoxy will produce the strongest joint but
you can use thin CA with accelerator if you are
in a hurry. Inspect each joint for gaps and re-glue
if necessary. Note:The top edge of each bulkhead
is 1/8" below the top edge of the ply side.
13