Dynaflite DYFA3040 User Manual
Page 10
[.-111. Build both elevators at the same time. Cut
the leading edges from 5/8" x 1/2" x 30" balsa
and pin them to the plan.The leftover 5/8" x 1/2"
balsa will be used later for hinge blocks.
Ql 12. Cut some shims from 3/16" x 3/8" x 24"
balsa and place them in position over the plan
at theTE.The remainder of this stick will be used
for the fin ribs so be sure to save at least 14".
l-t 13. Cut the trailing edges from 1/4" x 3/4" x
30" balsa. Pin them into position on top of the
shims.
Q 14. Cut and fit the eight elevator hinge blocks
from 5/8" x 1/2" x 30" balsa. Glue them into
position where shown on the plan.
Ql 15. Cut and fit the ribs from 1/8" x 5/8" x 36"
balsa. Cut the longer ribs first. When satisfied
with the fit, glue them into position. Note that
the root and tip ribs extend full length. Note: It
is important that the ribs fit the LE andTE well.
It is not important that each rib fit the exact
location shown on the plan.
Q 16. Notch the LE of both elevators where
shown on the plan and fit and glue the die-cut
1/8" ply horn bases into place.
Q 17. Remove the elevators from the plan and
rough sand them to the shape shown in the
cross-section. Use care not to gouge the ribs.
Q 18. Mark the centerline of the elevator
leading edges along their entire length. Using
the cross-section on the plan as a reference,
sand the leading edges to the "V" shape
shown. Make sure the angle of the "V" is
enough to allow for the full up and down
movement of the elevators.
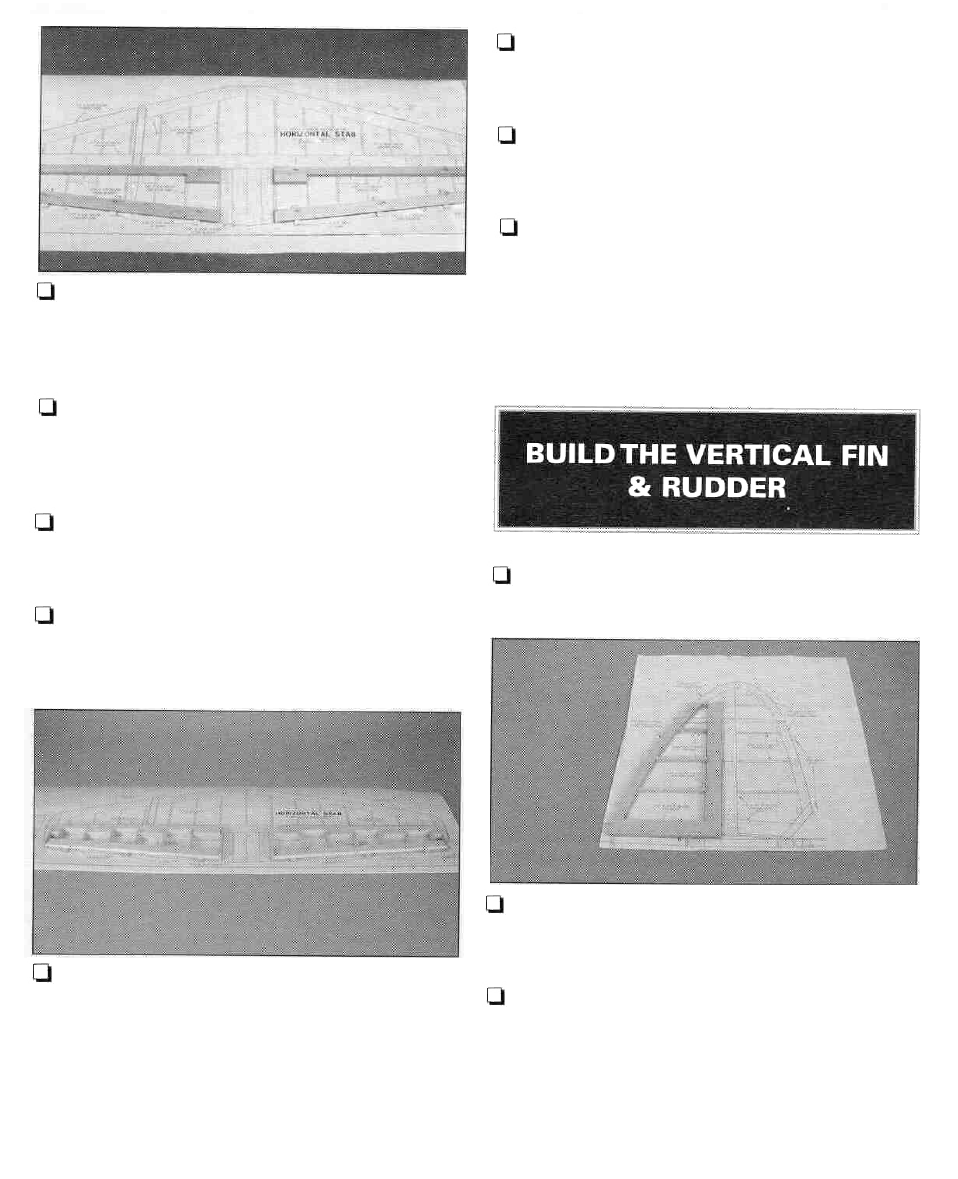
Q 1. Cover the fin/rudder drawing with Plan
Protector.
Q 2. Glue the three die-cut 1/8" balsa fin leading
edge pieces together to form a LE lamination.
Pin this in place over the plan.
[-I 3. Cut the fin post (trailing edge) from 3/8" x
15/16" x 18" balsa and pin it in position.
Q 4. Cut the fin base from the remaining 3/8" x
15/16" balsa and pin it into position. Glue all
three pieces together.
10