Dynaflite DYFA3040 User Manual
Page 27
[-I Q 12. Cut four additional hinge blocks from
the 1/4" x 1/2" balsa. Glue these into position in
theTE of the wing opposite the position of the
blocks in the aileron.
Q 13. Return to step one and build the left
aileron.
Note: You must build the flaps even if you will
not be installing working flaps. If you will not be
installing working flaps, simply glue the flaps to
theTE of the wing
Q [-I 7. Remove the flap from the plan. Carve
and sand the top of the LE to match the contour
of the ribs. Taper theTE as well. Be careful as it
is easy to sand into the ribs.
Q Q 1. Cover the right wing panel with Plan
Protector. Cut the bottom LE sheet from 3/32" x
1/2" x 24" balsa and pin it to the plan.
Q Q 2. Cut the bottom TE sheet from 3/32" x 3/4"
x 24" balsa and pin it to the plan.
Q Q 3. Cut the LE from 1/4" x 7/8" x 24" balsa.
Sand the bottom of the LE to match the angle of
the flap ribs at their LE. Glue and pin it to the
3/32" x 1/2" LE sheet.
Q Q 4. Glue ribs F2 - F7 into place. Note that
there are two F7 ribs.
Ql Q 5. From a 1/4" x 1/2" x 36" balsa stick, cut
and glue two horn reinforcement blocks where
the flap horn will mount.
Q Ql 6. Cut and glue hinge blocks into position
from 1/4" x 1/2" balsa.
Q Q 8. Glue the top 3/32" x 1/2" LE sheet
into position.
Q Q 9. Glue the top 3/32" x 3/4" TE sheet
into place. Cut, fit and glue cap strips to the top
and bottom of the flap ribs using 3/32" x 1/4"
x 30" balsa.
Q l_l10. Fit the die-cut 1/8" ply horn base where
shown on the plan and glue it in place.
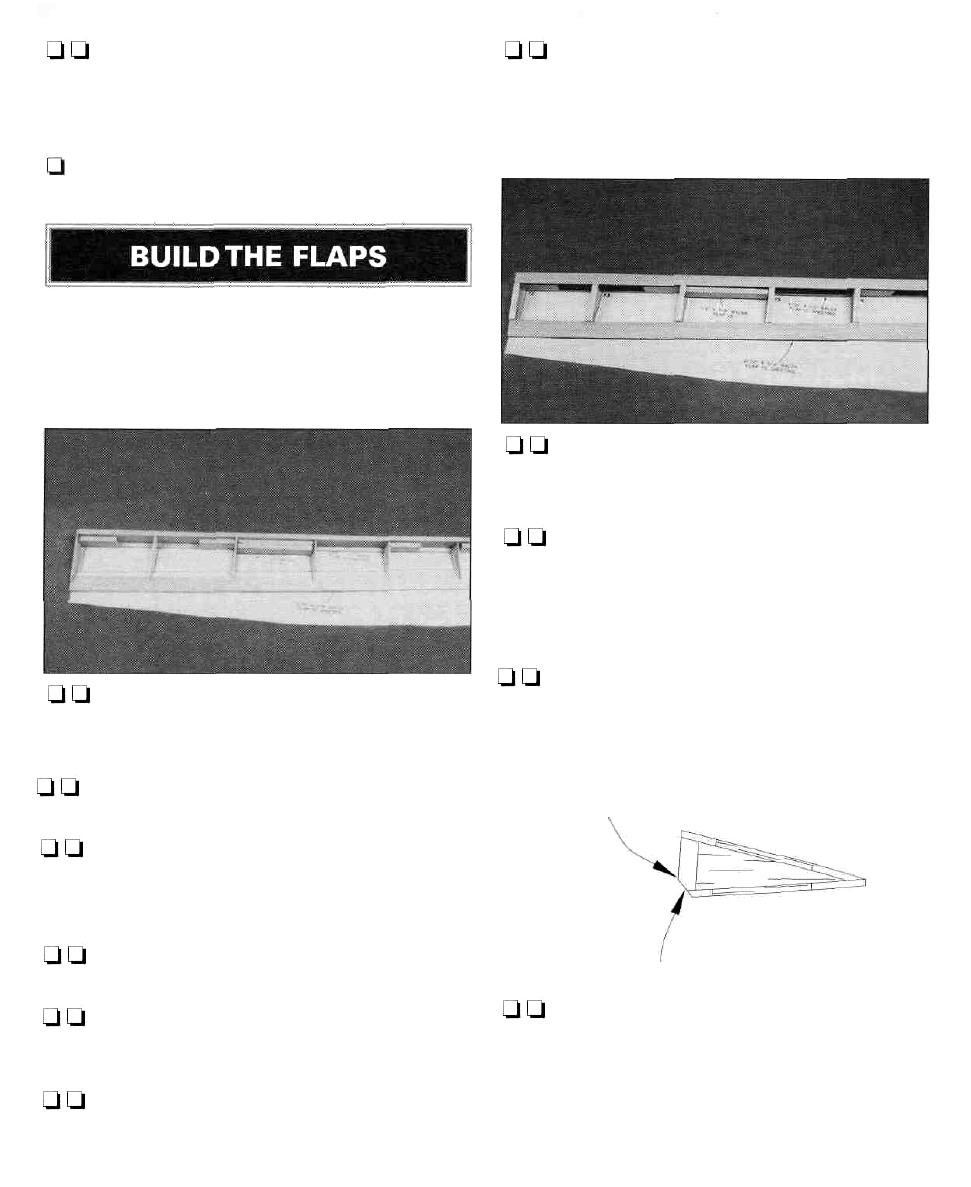
HINGE
GOES HERE
SAND ANGLE
LJ U 11. Sand the flap to fit the wing. The flaps
are hinged along the bottom of the flap, not
along the centerline as the ailerons were. Sand
an angle along the bottom 1/4" of the flap LE.
Make sure the angle is large enough to allow
for the full down movement of the flap.
27