Build the wing, Build the inner wing panels – Dynaflite GPMA0090 Butterfly User Manual
Page 9
9
❏
3.
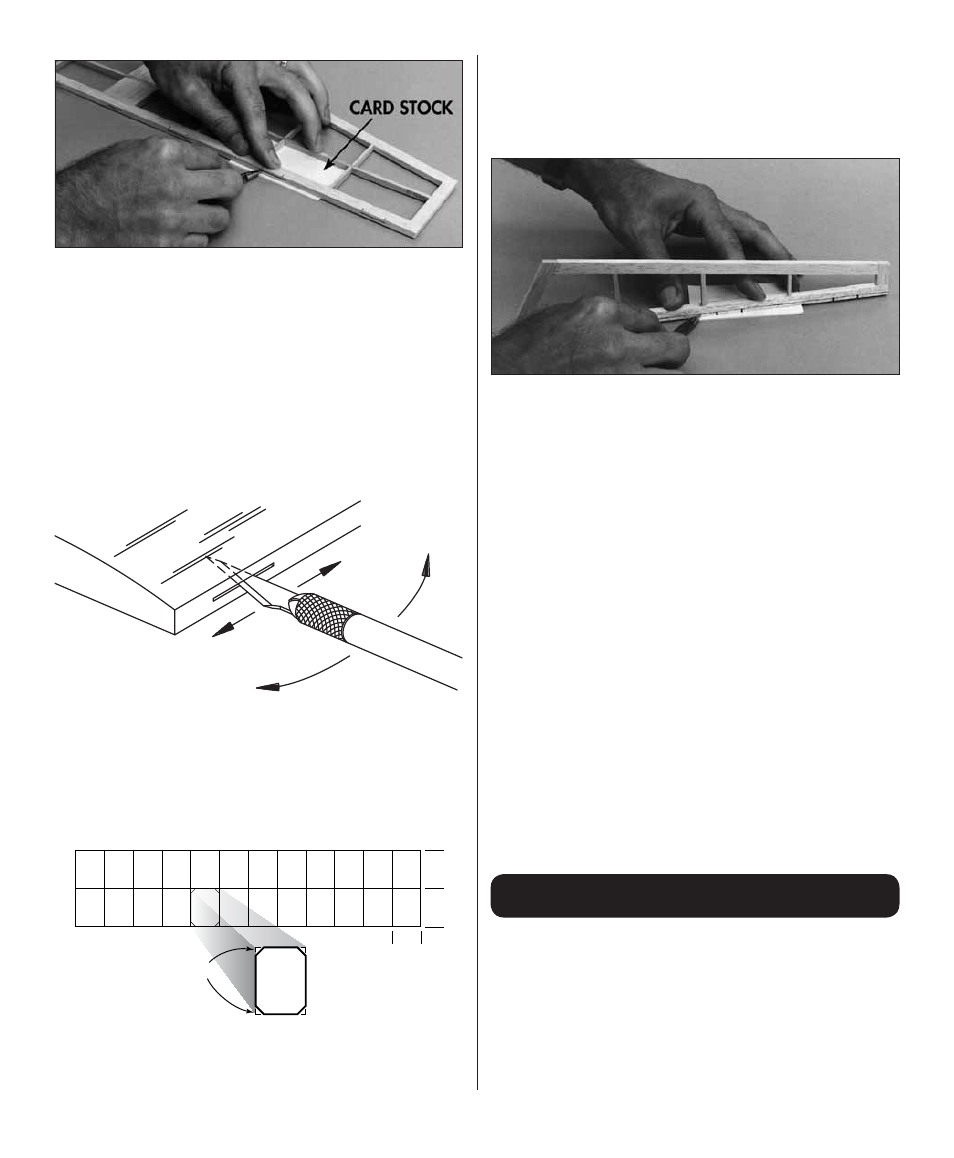
Lay the stabilizer on your building table. Use
thin card stock or business cards to raise the stab
so you can mark the hinge slots in the
center
of
the TE at the hinge locations. Mark the hinge slots
in the TE of the fi n the same way.
❏
4.
Use the same procedure to mark the centerline
the
entire length
of the LE of the rudder and the
elevator.
Cut the Hinge Slot with a
Hobby Knife and a No. 11 Blade
❏
5.
Use a hobby knife with a #11 blade to make
the hinge slots. The fi rst cut should be a
shallow
slit to establish the hinge slot location. After the fi rst
cut, make several more cuts going slightly deeper
each time. Move the knife from side to side and
widen the slot as you cut.
1"
1"
3/4"
Snip the Corners
Cut eight hinges from the hinge material supplied
as shown in the sketch. Snip the corners off so
they go into the slots easier.
❏
6.
Test join (remember, this means no glue)
the elevator to the stab and the rudder to the fi n
with the hinges. Adjust the width of the hinge
slots if necessary.
❏
7.
Separate the elevator from the stab and the
rudder from the fi n. Use the “pen-and-card stock”
technique to mark a
guideline
3/32” to 1/8" from
the LE on both sides of the elevator and rudder.
The guidelines indicate where to round the LE for
control movement.
❏
8.
Use the guidelines and a sanding block or
razor plane to round the leading edges of the rudder
and elevator equally.
❏
9.
Mark a
centerline
on the trailing edge of the
rudder and elevator with a ballpoint pen. Use your
bar sander or sanding block and 150-grit sandpaper
to taper the rudder and elevator as shown on the
cross-section of the plan or simply round the trailing
edges the same as the leading edges.
Build the Wing
Build the Inner Wing Panels
Build the
right
wing half fi rst so your progress
matches the photos in the manual. Lay the right
wing plan over your building board, then cover the
plan with wax paper.