Dynaflite GPMA0090 Butterfly User Manual
Page 11
11
❏ ❏
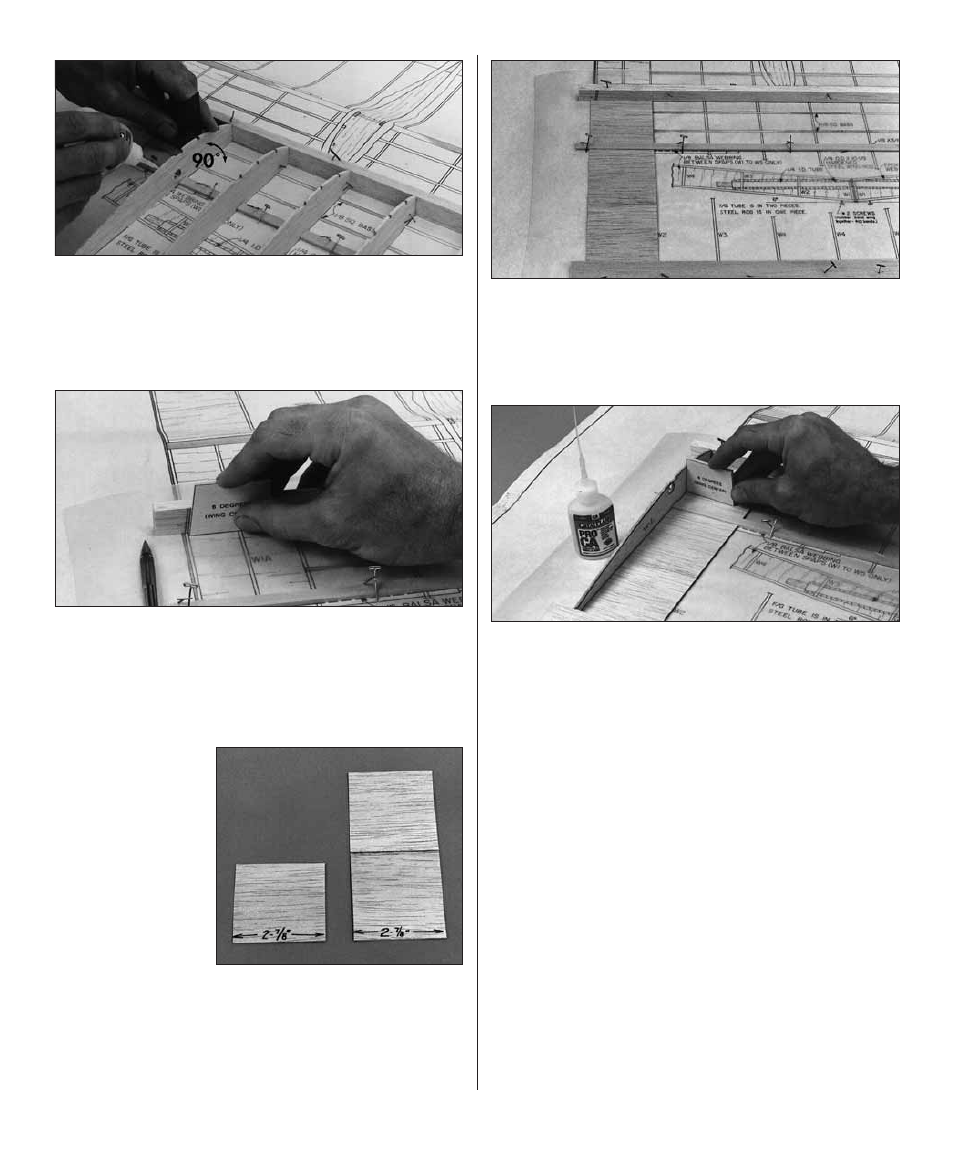
7.
Remove the T-pins in rib W-3. Use a 90-
degree triangle to hold W-3 perpendicular to the
building board, then glue it to the spar, LE and TE
with medium or thin CA. Glue the W-4s to the spar,
LE and TE the same way.
❏ ❏
8.
Use the die-cut 1/8" plywood
wing center
gauge
to accurately mark where the balsa W-1
contacts the LE so you know where to position W-1
after the bottom sheeting is glued in place. Mark
the TE the same way.
❏ ❏
9.
Cut three
2-7/8" wide strips
from the 1/16" x 3"
x 36" balsa sheet.
Glue two of the
strips together
to make the
aft
bottom sheeting
behind the bottom
spar. The other
strip is to be used
for the
forward bottom sheeting
ahead of the spar.
Use a straightedge and a sharp #11 blade to trim
the sheets so they fi t between the LE and bottom
spar and the TE and bottom spar, but leave the
sheets 2-7/8" wide.
❏ ❏
10.
Use medium or thin CA to glue the sheets
in position so the outer edges align with the
outer
edge
of rib W-2. The sheeting will be sanded fl ush
with the balsa W-1 after the wing is removed from
the plan.
❏ ❏
11.
Align
W-1
with the marks on the LE and
TE, then glue it in position using the wing center
gauge to set the correct angle.
❏ ❏
12.
Glue
W-2
in position with thin or medium
CA. While gluing, hold W-2 perpendicular to your
building board as you did with the W-4s.
❏ ❏
13.
Trim, test fi t, then glue the 1/8" balsa
vertical grain
shear webs
between only the W-4
ribs (that’s fi ve shear webs). Note that the shear
webs between the W-4s are centered on the bottom
spar. You will have to temporarily remove the T-pins
that interfere with the shear webs, then replace the
T-pins through the shear web after you glue each
web into position. See the following photo.
❏ ❏
14.
Trim and test fi t, but
do not glue
the
remaining shear webs. Use the wing center gauge
to cut the angle for the shear web that fi ts between
W-1 and W-2.