Carl Goldberg GBGA1045 User Manual
Page 5
5
2.
Trial fit the hinges into the holes on both the
aileron and wing.
If necessary use a 7/32” drill in each hole 1/8”
deep to allow the shoulder of the hinge to go in
Make sure all hinges insert half way.
3.
Place 1 drop of oil on each of the hinge joints
at the center. This is to keep the hinges loose
and prevent epoxy from sticking at the joint.
Caution: Do not get any oil on the length of the
hinge or it will not glue into the surface.
AILERON INSTALLATION
1.
Collect the following parts:
(1) Left wing
(1) Right wing
(1) Left aileron
(1) Right aileron
(10) hinges
(2) 1/4-20 nylon wing bolts
4.
Select the aileron for the wing half on which
you are working.
Mix up a liberal amount of 30 minute epoxy.
Using a piece of wire or a toothpick, work
some epoxy into each hole on the wing and
aileron.
Working with 1 hinge at a time, place a dab of
epoxy and insert the hinge half way into one of
the aileron holes.
Repeat for each of the other hinges for that
aileron.
5.
Working quickly, place some epoxy on the
second half of each hinge and insert the
aileron into the wing.
Slide the aileron toward the wing until no gap
remains between the aileron and the wing.
When satisfied with the alignment, flex the
aileron up and down to confirm that the hinges
are working freely. remove any excess epoxy.
Apply a few strips of masking tape to keep the
pieces in place.
Allow to dry before flexing the aileron.
6.
Repeat the above steps for the other half of
the wing.
AILERON SERVO INSTALLATION
1.
Collect the following parts:
(1) Left wing
(1) Right wing
(4) Servos
(2) Servo “Y” Harness
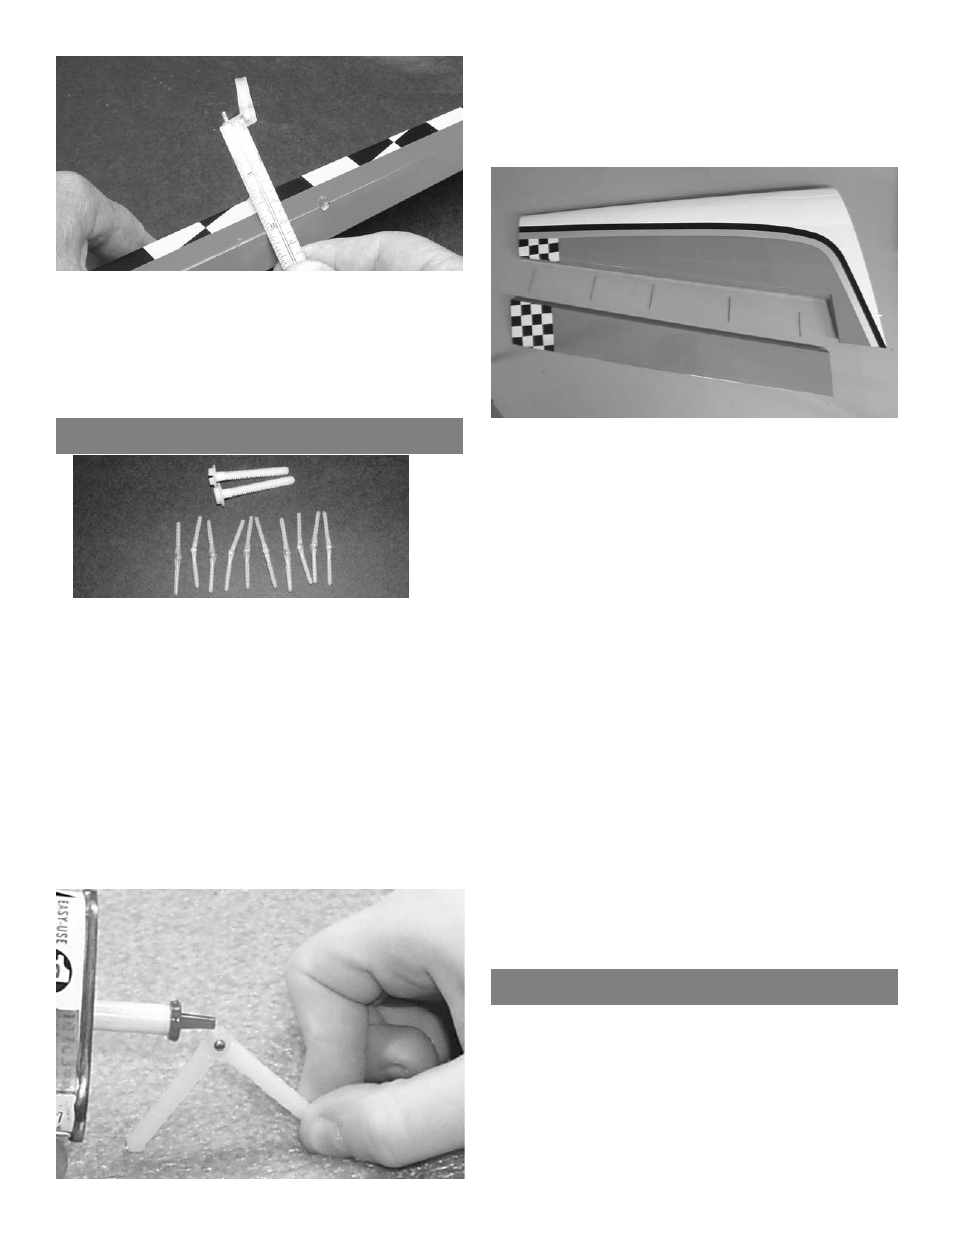
5.
It is important when two servos are to the
same aileron that both control horns are equal
length.
Measure from the center of the hinge line to
the top of the nylon control horn bracket and
adjust both to be equal.