Carl Goldberg GBGA1045 User Manual
Page 19
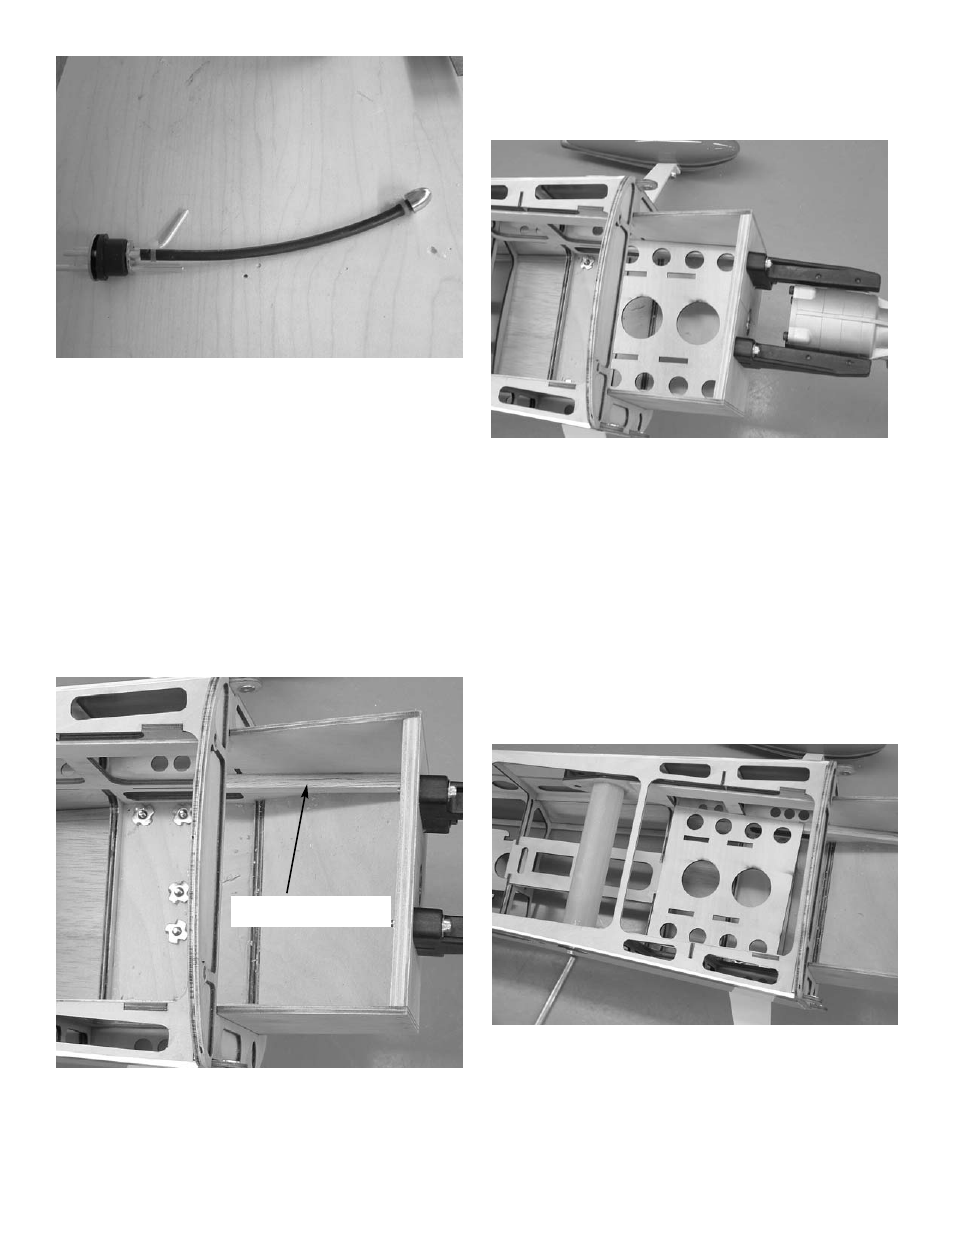
3.
Attach the fuel pickup line to one of the
straight tubes.
Attach the clunk to the other end.
Fit assembly into the tank and adjust the
length of the pickup line so the clunk is
about
1/4” off the bottom of the tank when held verti-
cally.
4.
When adjusted properly, tighten the screw
Be careful and don’t over tighten as you can split
the tank.
Mark the lines so you can identify the vent, fil-
lline and pickup line when ready to attach to
engine.
19
tank floor rail
5.
Locate the two 3/8” square balsa tank floor
support rails and the tank floor.
Insert the tank cap into the hole in the firewall
andmark the location of the tank along the top
edge.
Measure down from the line and allow for the
thickness of the tank floor and glue the 3/8”
square balsa to each side of the fuselage.
8.
If you use a gas motor or motor with a pump,
the tank floor can be installed in the rear most
position which will put the tank closer to the
CG.
6.
Glue the tank support floor in place on top of
the 3/8” square rails.
7.
Install the tank with the cap through the hole
in the firewall and sitting in the cradle in the
rear.
Put a thin piece of foam under the tank in the
rear cradle and hold tank in place with velcro
straps.
Install fuel tubing (not supplied) between the
fuel pickup line and the carb.
Route the fill line and vent tube out the bottom
of the cowl.
The fill line will have to be plugged, the vent
line must be left open.