E - 90, E - 50 – Checkline MST User Manual
Page 18

18
3.7 Calibration of the MST (Cont.)
b) Press the MEM key 4.
As long as the MEM key is depressed,
the DISPLAY shows a decimal value
which is higher by approx. 800 than the
second decimal value, e.g.
1800
cN
.
This decimal value may vary from
instrument to instrument.
Write down the decimal value.
- Release the MEM key when the value
shown on the DISPLAY is stable (the
reading might fluctuate greatly).
The DISPLAY shows
E - 90
cN
.
If the DISPLAY shows
E - 50
cN
again,
the value was not accepted. Check the
suspended weight and the material path
between the measuring rollers and re-
peat the procedure from step b.
3rd calibration point:
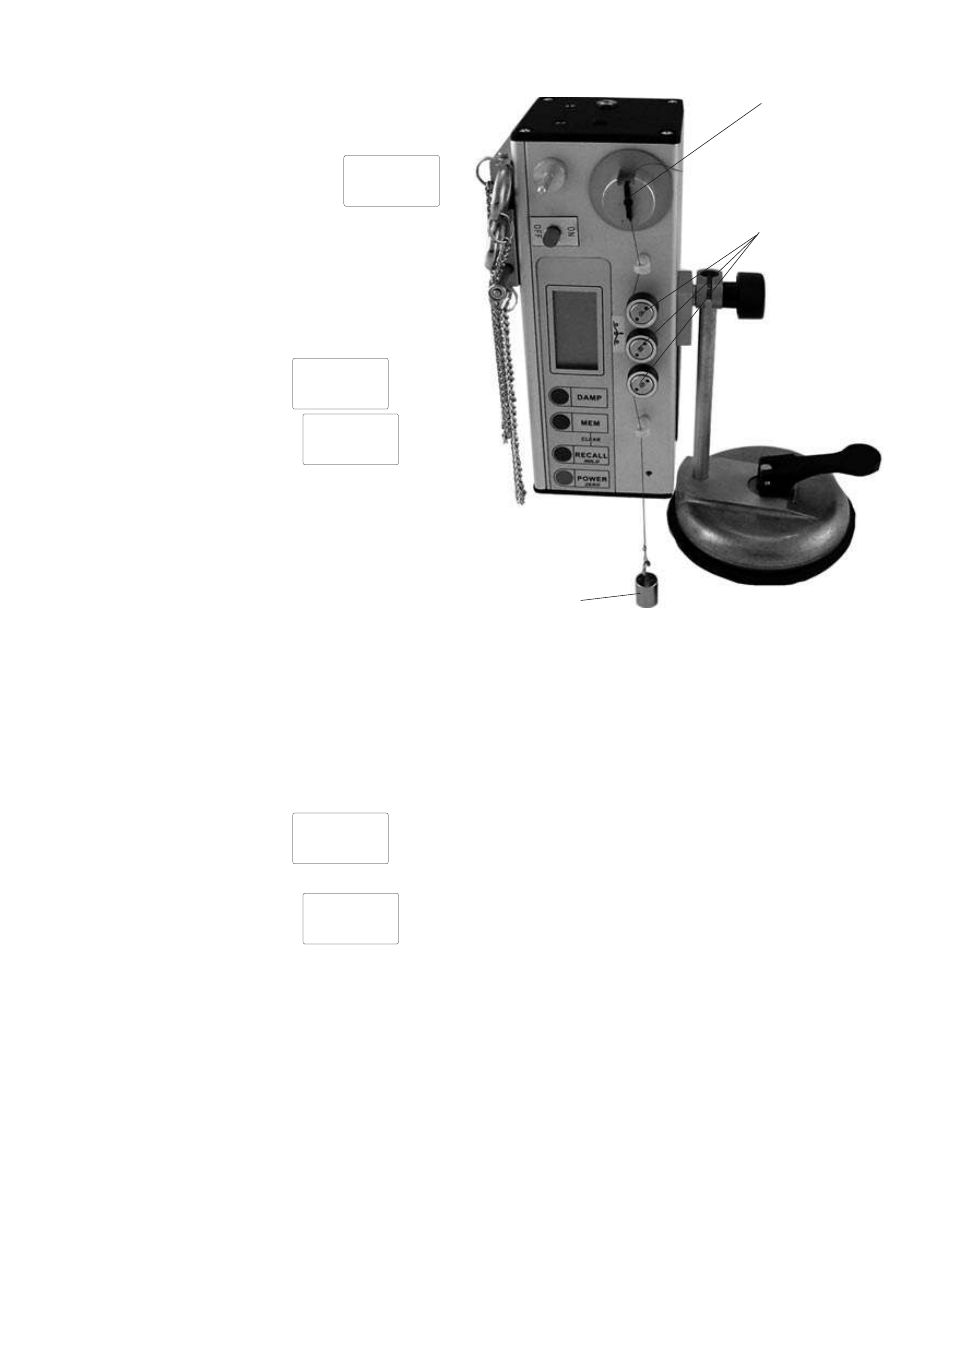
- Hang a weight which corresponds to 90% of the tension range from the measured
material, vertically, as shown in fig. 3.6.
- Clamp the process material in the rubber groove of the motor-driven DELIVERY
ROLLER and thread it through the MEASURING ROLLERS.
The correct material path is indicated by the red material path symbol on the front of the
tension meter.
c) Press the MEM key.
- Release the MEM key.
The DISPLAY shows
- - - -
cN
.
The new calibration has been stored.
If the DISPLAY shows
E - 90
cN
again, the value was not accepted.
Check the suspended weight and the material path between the measuring rollers and
repeat the procedure from step c.
- Press the POWER key.
The tension meter switches off.
Verify the new calibration, following the directions in Chapter 3.6.
If this procedure shows a deviation, you can recalibrate the tension meter again or restore
the factory calibration as described in Chapter 3.7.2.
If the verification of the calibration according to Chapter 3.6 shows a deviation beyond the
allowable tolerance and a reliable operation is no longer allowed, the instrument has to be
returned to Hans Schmidt & Co GmbH for factory recalibration. Please follow the ship-
ping instructions given in Chapter 8.
MEASURING
ROLLERS
DELIVERY ROLLER
Weight
fig 3.6
