5 prog (program mode) – Checkline FGS-100PV User Manual
Page 12
12
5.5 PROG (PROGRAM Mode)
Press the “MODE” key until the light emitting diode, LED, adjacent “PROG” is lit.
Length, speed or cycle count can be displayed as described in 5.3 SING mode of operation.
Cycles
To begin programming the test stand, press the “SET” key. The display will indicate a “C” in the
“No” box. The “C” designates that the digits programmed into the adjacent LED’s will determine the
number of cycles (number of times) a program will run. Using the “TIME/<” and the “RST/^” buttons
select the number of cycles you want the program to complete (0001-9999) or select four “0’s” if you
want the program to run continuously. Press “SET” to go to the next step.
Entering four zeros on cycle allows the test stand to perform the same programmed test continuously
until one of the three events occurs, the “STOP” button is pushed, emergency stop button is pressed,
or an overload condition is detected.
Force Limits
The display in “No” box now shows “F ”. The two arrows adjacent the “F” indicates that the test
stand is ready to accept compression or tension force limits. To program a force, use the “TIME/<”
and “RST/^” buttons to select a force value, and then press “SET”.
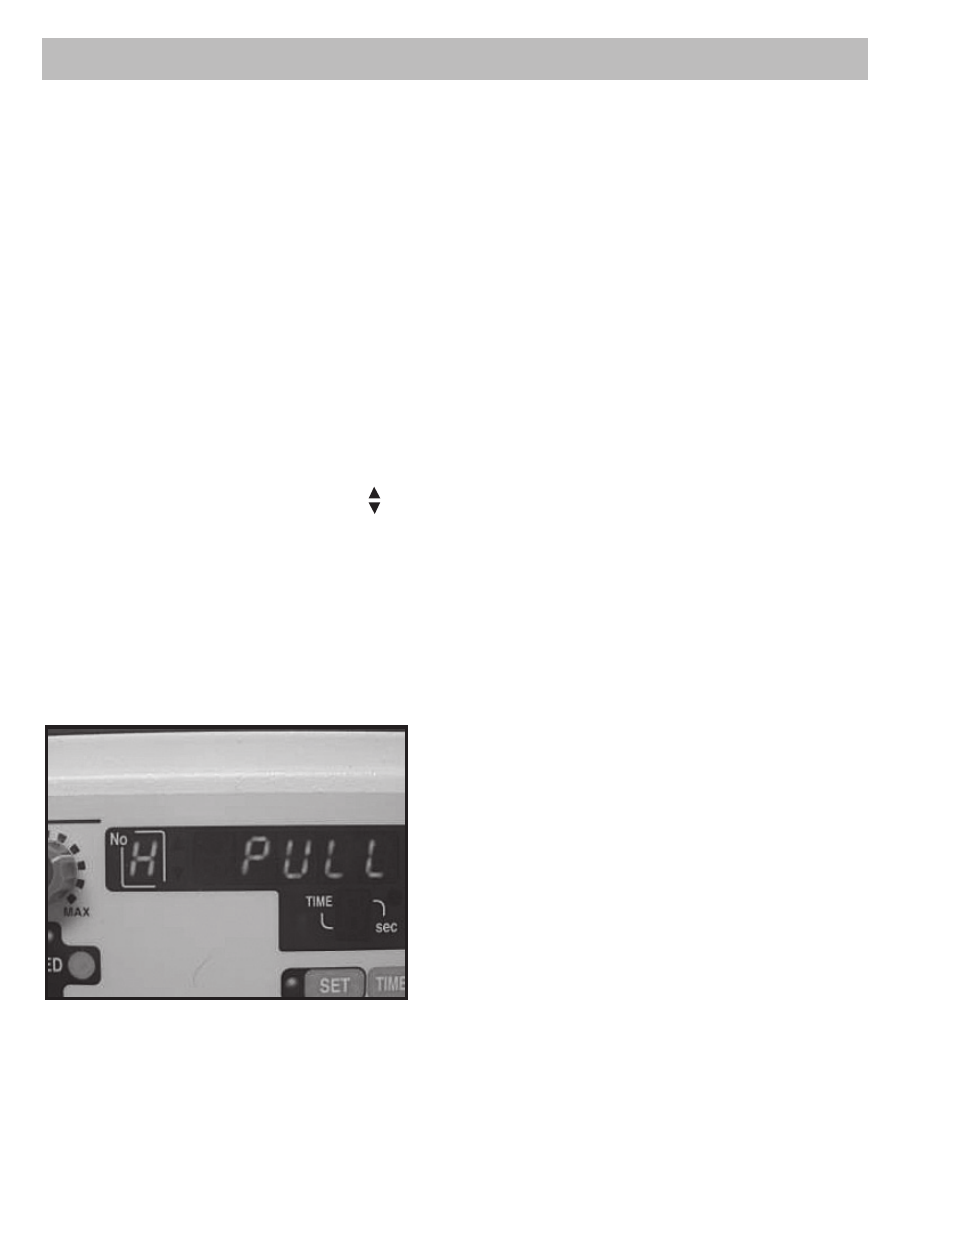
Home Position
The display in “No” box now shows “H”. The “H” designates the home position. Select “PUSH” or
“PULL” button to set the HOME position. Press “SET”. The test stand platform will automatically
move to the selected home direction, it will travel the set distance until the limit switch is activated.
Force “Zero”
The display in “No” box now shows “F”. The “F” designates the auto zero function. This function is
only available when using the Shimpo FGV-X or FGV-XY force gauges. Use the “TIME/<” and “RST/^”
buttons to program the “zero” force.
Home position set to pull direction. Test
stand will “look” for the upper limit switch.