4 cont (continuous mode) – Checkline FGS-100PV User Manual
Page 11
11
5.4 CONT (Continuous Mode)
This mode of operation is ideal if the user wants the test stand to repeatedly cycle up or down
continuously or for a user-programmed number of times. The stand will start in either direction
depending on whether “PUSH” or “PULL” is selected.
Length, speed or cycle count can be displayed as described in 5.3 SING mode of operation.
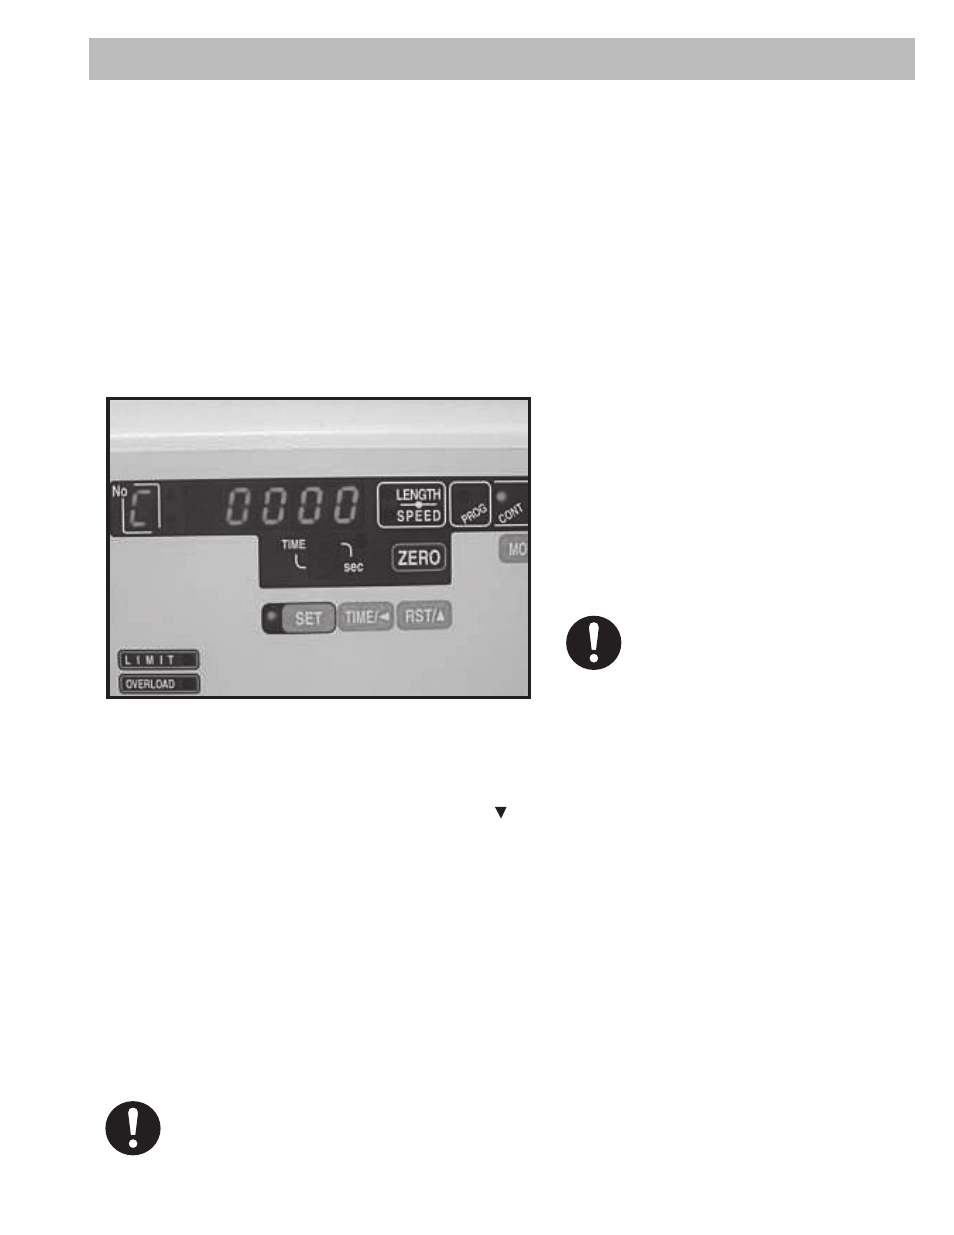
To begin programming the test stand, press the “SET” key. The display will indicate a “C” in the
“No” box. The “C” designates that the digits programmed into the adjacent LED’s will determine the
number of cycles (number of times) a program will run. Using the “TIME/<” and the “RST/^” buttons
select the number of cycles you want the program to complete (0001-9999) or select four “0’s” if you
want the program to run continuously. Press “SET” to go to the next step.
With no negative sign displayed, the test stand platform is programmed to move downward. With the
negative sign displayed, the test stand platform will move upward. Press “SET” to store the upper
force limit in memory. The down arrow LED (F ) will light, indicating that the test stand is ready
to have its lower force limit programmed. Program the force limit using the “TIME/>” and “RST/^”
buttons.
Note: The upper force limit must be greater than the lower force limit (Fupper > Flower). Again
press “SET” to store the lower force limit into memory. You may delay the time between upward and
downward movements by selecting 0, 1, 2, 3, 4 or 5 seconds using the “TIME/>” button. You may
view distance traveled by pressing “LENGTH/SPEED” until the LED adjacent “LENGTH” is lit. Speed
can be displayed by pressing “LENGTH/SPEED” until the LED adjacent to the indicator “SPEED” is
lit. Finally, the number of cycles completed can be displayed by pressing “LENGTH/SPEED” until no
LED’s are lit.
The letter F appears in the LED’s in
the “No” box. This indicates that it is
ready to accept the upper force limit.
Use the “TIME/<” and “RST/^” buttons
to select the desired force limit.
Set up for continuous cycle
NOTE: Pressing the “TIME/<”
button until no digits are blinking.
Allows the user to select a negative
sign by pressing the “RST/^”
button.
NOTE: An RS232C output is produced when using this mode of operation; see RS232C Output
Section 6.0 for details.