About date/time, Recharging the buiit-in iithium battery, Rpsti – Panasonic PV-GS80 User Manual
Page 16: Off on
Attention! The text in this document has been recognized automatically. To view the original document, you can use the "Original mode".
Before using
I How to turn the power on and off with
the LCD monitor/viewfinder
When the power switch is set to [ON], the power
can be turned on and off with the LCD monifor
and the viewfinder when the unit is in Tape
Recording Mode or Card Recording Mode.
OFF ON
f
Open the LCD monitor out or extend the
viewfinder to use.
(-I7-)
• The LCD monitor or viewfinder wiii be
activated.
2 Close the LCD monitor and retract the
viewfinder.
OFF ON
• The power will not turn off unless the LCD
monitor is closed and the viewfinder is
retracted.
• The Status indicator automaticaily goes off
and the power turns off. (If quick start is set to
[ON]
(-IS-),
the unit goes into quick start
standby mode and the Status indicator lights
green.)
• The power does not turn off even if the
LCD monitor is closed and the viewfinder
is retracted whiie recording on a tape.
Open the LCD monitor or extend the
viewfinder to turn the power on and use the
Camcorder again.
rPSTi
• *
OFF ON
• The Status indicator lights red and the power
turns on.
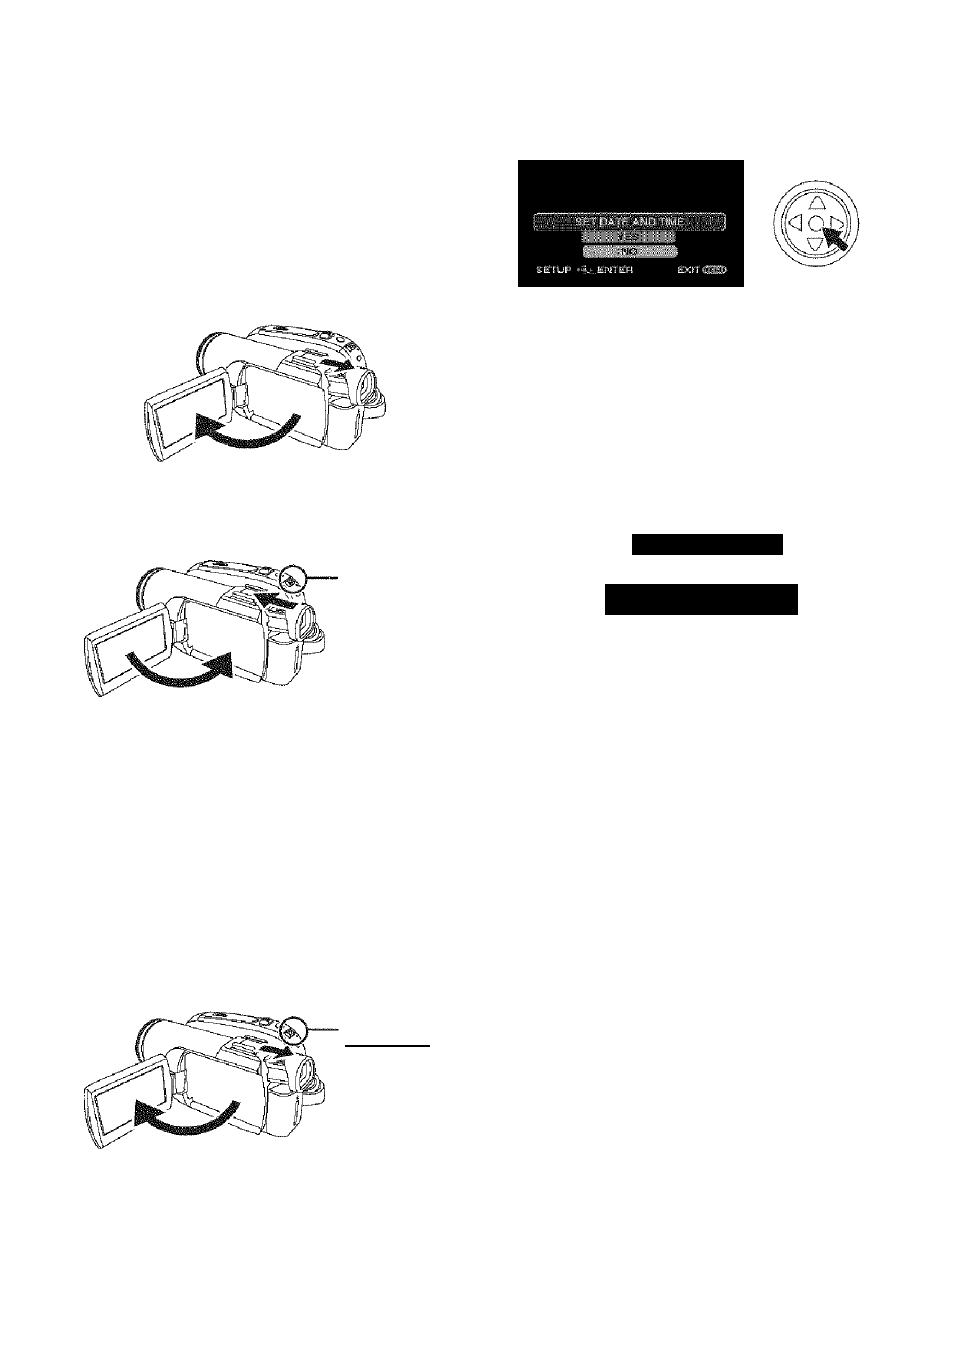
Setting date and time
When the Camcorder is turned on for the first
time, [SET DATE AND TIME] will appear.
• Select [YES] and press the center of the
joystick. Perform steps 2 and 3 below to set the
date/time.
If the screen shows the incorrect date/time, then
adjust it.
• Set to Tape Recording Mode or Card
Recording Mode.
f
Set [BASiC] » [CLOCK SET] » [YES],
(-2.J-)
ED EB ^PM
SETUP
SET.’^^NTER EXrîŒ>
2 Move the joystick left or right in order to
select the item to be set. Then move the
joystick up or down to set the desired vaiue.
• The year will change as follows:
2000, 2001, ..., 2089, 2000, ...
• The 12-hour clock is used.
3 Press the joystick to determine the setting.
• The clock function starts at [00] seconds.
■ About date/time
• The date and time function are driven by a built-
in lithium battery.
• Make sure to check the time before recording
because the built-in clock is not very accurate,
■ Recharging the buiit-in iithium battery
•If [£SJ Of [-] appears when the Camcorder is
turned on, then the built-in lithium battery has
run down. Use the steps below to charge the
battery. When turning on the power for the first
time after charging, [SET DATE AND TIME] will
appear. Select [YES] and set the date and time.
Connect the AC adaptor to the Camcorder or
attach the battery to the Camcorder, and the
built-in lithium battery will be recharged. Leave
the Camcorder as is for approx. 24 hours, and
the battery will drive the date and time for
approx. 6 months. (Even if the [OFF/ON] switch
is set to [OFF], the battery is still being
recharged.)
16
LSQT1121