Picture adjustments, Helpful hints, Picture norm – Panasonic PT-51G40 User Manual
Page 20
Attention! The text in this document has been recognized automatically. To view the original document, you can use the "Original mode".
Picture Adjustments
Picture Norm
Color
Tint
Brightness
Picture
Sharpness
Auto Color
Video NR (Noise Reduction)
Displays and Exits Menus
ACTION
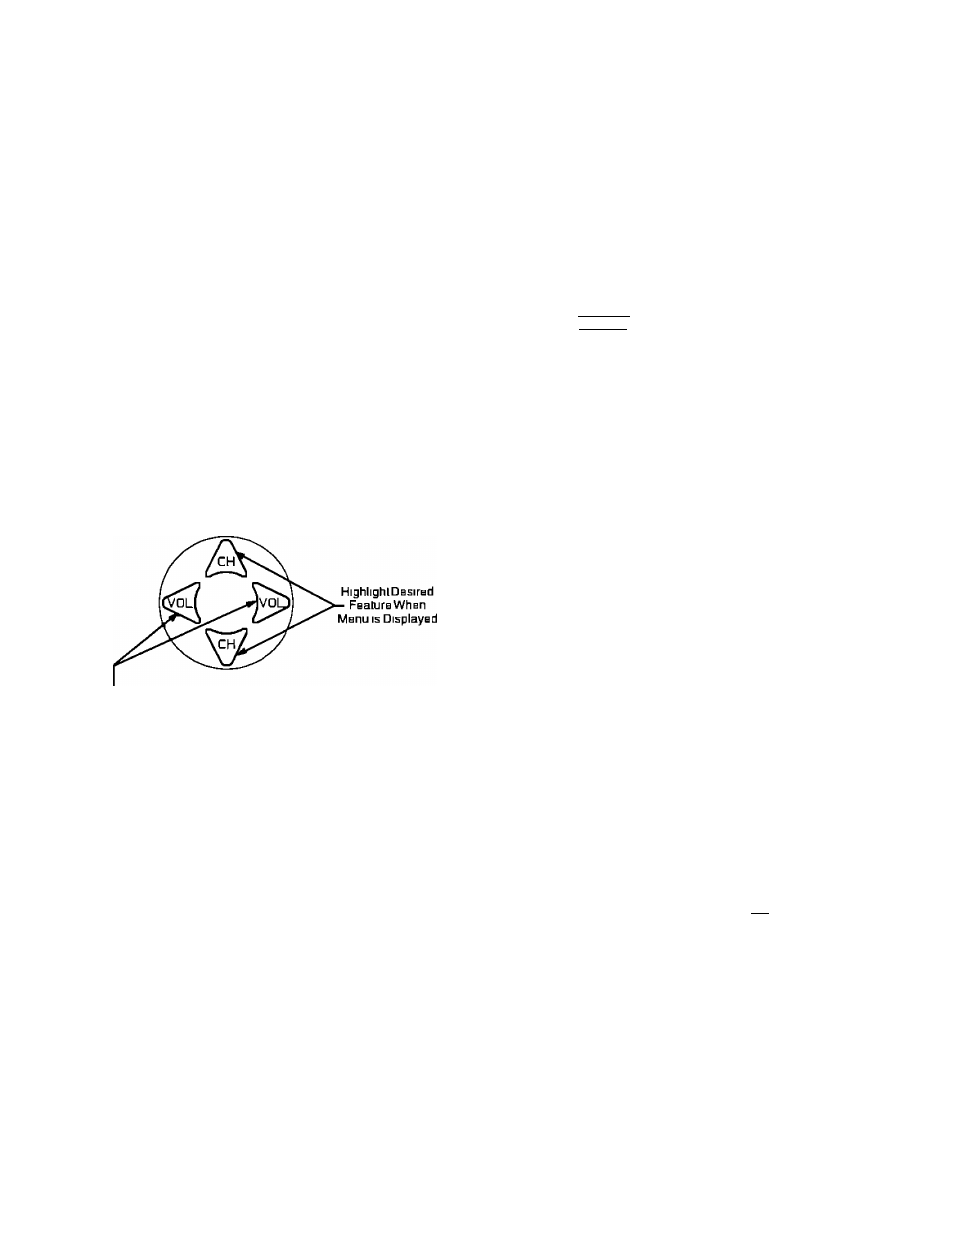
Located On Remote Control
S
b
I
bc
I
s
or Adjusts
pBaturHsWhHn
Menu
IS
Displayed
Helpful Hints:
COLOR - adjust for desired color intensity
TINT - adjust for natural flesh tones
BRIGHTNESS - adjust so dark areas of picture just
become black for a crisp detail
PICTURE - adjust so the white areas of the picture are
to your liking
SHARPNESS - adjust for best clarity of outline detail
Color, Tint, Brightness, Picture &
Sharpness Adjustments
Press the ACTION button to display the Mam Menu
Press the CH UP/DOWN and VOL LEFT/RIGHT
buttons to highlight the Picture Icon
Press the ACTION button to display the Picture
Adjustment Menu
PICTURE
VIDEO
PICTURE NORM
COLOR I ----------------
TINT
------
BRIGHTNESS----------
PICTURE ---------------
SHARPNESS ----------
AUTO COLOR
VIDEO NR
NO
------------^
ON
OFF
4
Press the CH UP or DOWN button to select the
desired Picture Adjustment (Color, Tint, Brightness,
Picture or Sharpness)
5
Press the VOL LEFT or RIGHT button to adjust your
selection (The Selected Picture Adjustment will be
displayed )
6
Repeat steps 4 and 5 for the remaining Picture
Adjustments
7
Press the ACTION button twice to exit the Picture
Adjustment Menu
NOTE. Pressing the ACTION button again will return
you to the Picture Icon
Picture Norm
— This feature is used to reset Col
or, Tint, Brightness, Picture and Sharpness adjustments
back to a factory preset level
1
Press the ACTION button to display the Mam Menu
2
Press the CH UP/DOWN and VOL LEFT/RIGHT
buttons to highlight the Picture Icon
3
Press the ACTION button to display the Picture
Adjustment Menu
PICTURE
r
VIDEO
PICTURE NORM
COLOR
TINT
BRIGHTNESS----------
PICTURE ---------------
SHARPNESS ----------
AUTO COLOR
VIDEO NR
NO
------------4_
ON
OFF
Press the CH UP or DOWN button to highlight
“PICTURE NORM”
Press the VOL LEFT or RIGHT button to select
“SET to Normalize Color, Tint, Brightness, Picture
and Sharpness
Press the ACTION button twice to exit the Picture
Adjustment Menu
- 2 0 -