Recording from compact discs – Panasonic S-PG340 User Manual
Page 16
Attention! The text in this document has been recognized automatically. To view the original document, you can use the "Original mode".
Recording from Compact Discs
The edit function of this unit is used when recording from compact
discs to tape. Tracks can be recorded on both sides (sides A and B)
of the tape, considering the length of the tape used, so that there is
no interruption of tracks at the end of one tape side.
1
Prepare the
cassette deck.
4
5 2
If you use this unit in combination with the Technics cassette deck
which has the SYNCHRO EDIT terminal, recording on the cassette
deck wiil start automatically at the same time you start CD play
(synchro recording function).
Also, if you set the cassette deck to the auto-reverse mode, both
sides of the tape will automatically be recorded.
The maximum numbers of tracks allowable for editing is 20 and the
biggest track number allowable for editing is 20. The edit function
does not work for more than 20 tracks nor the track number over
20.
1
Prepare the cassette deck for recording.
(See next page.)
2
Press TAPE LENGTH to select the tape length.
Each time the button is pressed the tape length indicator
changes as follows. Choose the length of the tape to be used.
r
-> C-46
C>
C-60
O
C-90
O
C“
• In the edit mode, silent gaps of approximately 3 seconds wiil
be automatically inserted between tracks automatically (auto
space function).
•To enter additional tracks at the tape end of side B, see “To
change the programmed contents" on page
^
9.
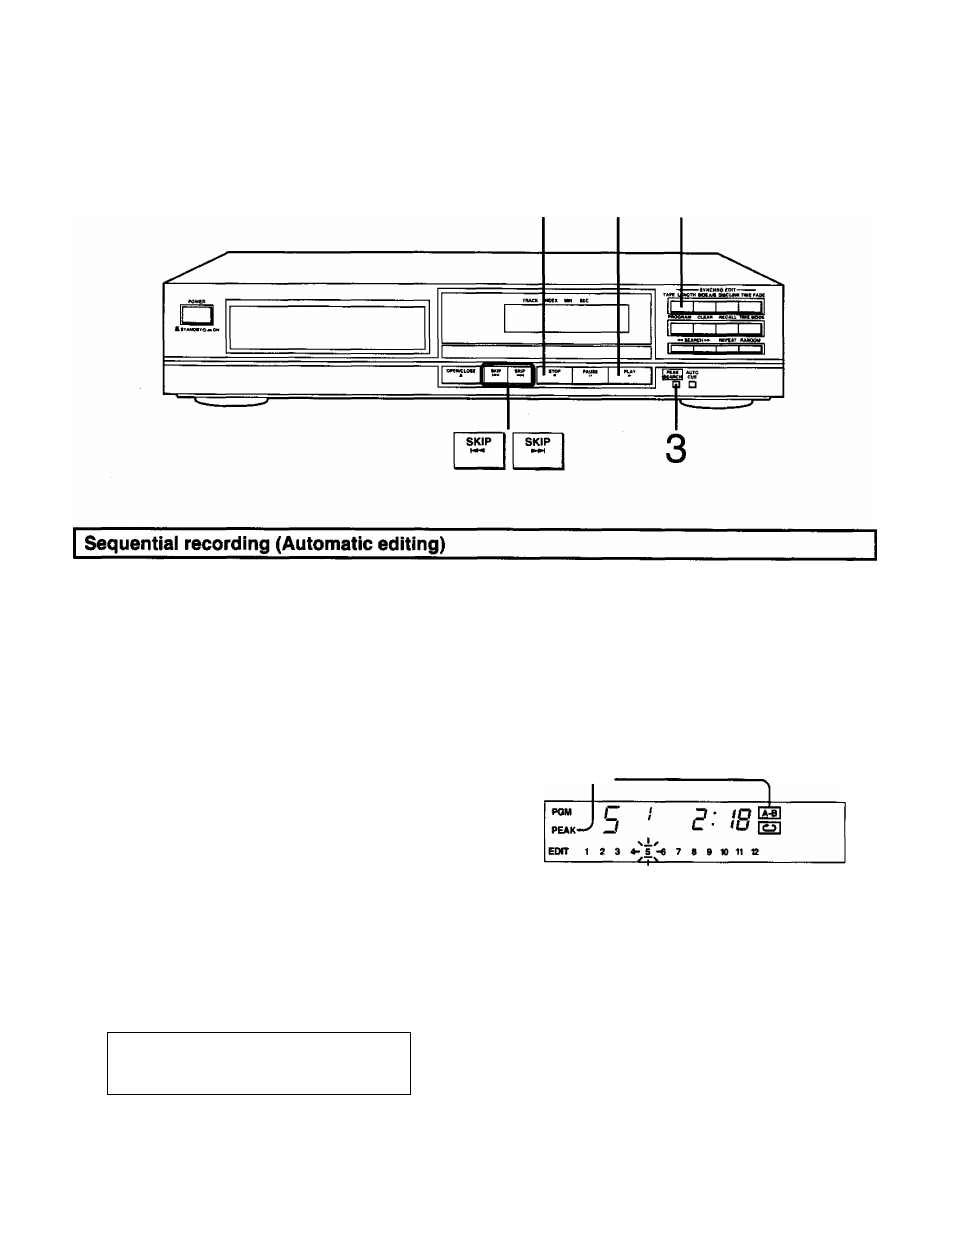
Press PEAK SEARCH to search for the peak
point then adjust the recording level on the
cassette deck.
It takes about 1.5 minutes to find the peak point for a 60-min
ute compact disc.
Illuminates
To enter desired recording time, see next page.
The unit will calculate how many tracks can be entered onto
tape side A and B, and then program ttiem automatically.
Number of tracks to be
recorded on side A
Last track of side A
Remaining time on side A
POM c 5
__f No.
5 BE
EDtT^*T i" 3 4[T
1 1 1 1 il,f* ®
T racks to be recorded
Tracks to be recorded
Side A —^ on side A (upper bars) on side B (lower bars)
•When the peak point is found, the unit repeatedly produces
the sound for about 6 seconds around the peak point.
•As there are many peak points on the disc, each time you
make a new peak level search the unit might find a different
point as the peak point.
(Refer to operating instructions for the cassette deck to find
out how to adjust the recording level.)
4
Press ■ STOP.
5
Press ^ PLAY to start.
Recording on the cassette deck will start at the same time.
•If the cassette deck is set to the auto-reverse mode, recording
from tape side B wilt follow automatically.
•When recording from tape side B is finished, the CO player will
automatically stop and the cassette deck will switch to recording
standby mode.
16