Detailed operation – Rane MPE MIDI Programmable Equalizer User Manual
Page 4
4
Rane MPE Users Guide
Detailed Operation
It’s time to roll up your sleeves and get your hands
dirty. If you haven’t already done so, plug in your
MPE, grab a fresh can of your favorite sudsy bever-
age, and feed some tunes through the equalizer.
We are about to discuss each user function in full
detail, one by one. The order in which we proceed
follows a normal session of recalling a curve from
Stored Memory, editing the parameters, comparing
these parameters to what we started with (Stored
Memory), and writing this new curve to Stored
Memory.
Once we master these elementary operations,
we’ll adjust the ramp step size, recall a few Factory
Presets, edit the expression parameters, do some
curve weighting and copying, and place the MPE in
lockout.
The final discussion brings us into the world of
MIDI. First, we’ll set the MIDI Channel, OMNI
mode, and Program Change Output options, pro-
gram the MIDI map, and then set the Device ID,
discuss Key Scan Echo and Parameter Echo, and
dump memory to a remote device.
Recalling Curves From Stored Memory
The most basic function of the MPE is to transfer
Stored Memories to Working Memory. To recall a
Stored Memory, you must tell the MPE which one
you want. That’s it. Here are the play-by-play
details:
1. Make sure you’re in Normal Operating mode.
Normal Operating mode is active if only the
MEMORY LED is lit, and the SYSTEM display
has a non-flashing number in it. If you’re not in
Normal Operating mode, then jump out of which-
ever mode or function you are in (since Normal
Operating mode is home base, you will always
return here from all other modes).
2. Enter the number of the Stored Memory you wish
to recall. Use the keys labeled with numbers 100,
0-9 below them. Numbers are entered tens digit
first, ones digit second. If the number is less then
10, you must type in a leading 0. If the number is
100 or greater, press the 100 key before the tens
and ones digits keys.
Notice that the MEMORY LED is lit, and the
SYSTEM display has some sort of number in it.
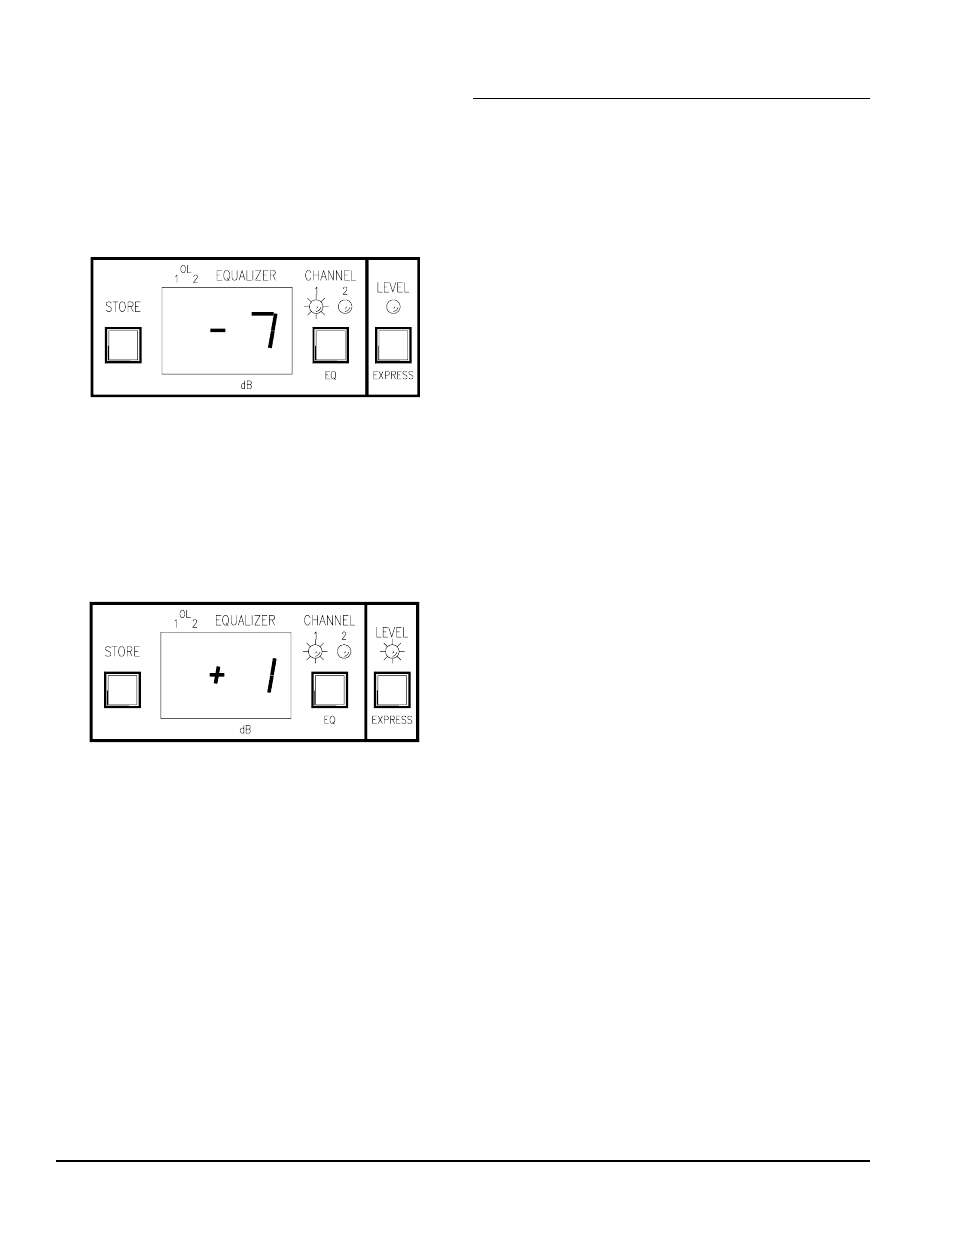
The EQ Edit mode can be recognized by the LEDs
above the EQ button. If either of these LEDs is lit,
(and not flashing) then you are in EQ Edit mode.
The following figure shows what the MPE 14 looks
like after a band is selected, the MPE 28 has a
similar appearance:
In the above example the MPE 14 is in Channel 1
EQ Edit mode, as shown by the CHANNEL 1 LED
and number in the EQUALIZER display.
Expression Edit mode is recognized if the EX-
PRESS LED is lit, and any of the LEDs above the
EQ key are flashing. On the MPE 14 it looks some-
thing like:
When you are in a user function within one of
these modes, the displays may look different. As we
describe each user function in detail, we will explain
what the displays show.
Bypass is the one user feature that transcends all
three user modes. You can place the equalizer in
bypass in any function in any mode at any time by
pressing the BYPASS key(s). Pressing this key
again removes the equalizer from bypass.
With the distinction between user modes and
functions in mind, we now proceed with detailed
operation of the MPE.