Rane MPE MIDI Programmable Equalizer User Manual
Page 15
15
Rane MPE Users Guide
S Y S E X
As mentioned earlier, there are two SYSEX
options that can be enabled for remote programming,
monitoring of MPE parameters, and sharing of data.
Wise use of these options is very important since
large amounts of MIDI data can be pumped into
your MIDI system if you’re not careful.
The three SYSEX options are Device ID, Key
Scan Echo, and Parameter Echo.
Setting The Device ID
Each MPE in a system is assigned a unique device
ID. This ID allows two MPE’s to communicate on
the same MIDI bus as millions of other MPE’s. Any
two or more MPE’s with the same device ID recog-
nize each other. MPE’s with different device ID’s
ignore each other.
A special “ALL” (universal) device ID is also
available. Devices assigned to the universal ID will
talk to everybody. An MPE assigned to the universal
ID receives messages sent with any device ID. Any
MPE (regardless of it’s own device ID) receives
messages transmitted with the universal ID.
To assign a device ID to an MPE:
1. Make sure you’re in Normal Operating mode, and
then enter the Set Device ID function by pressing
F-DEVICE . The FUNCTION LED illuminates,
and the DEVICE LED flashes to verify that
you’re in the Set Device ID function (see the
figure below). The SYSTEM display shows the
current device ID.
2. Enter the desired device ID ( 1-127) using the
number or UP/DOWN keys. Entering number
128 (or scrolling to it) assigns the unit to device
ID
all
all(universal).
3. Press F-DEVICE to return to Normal Operating
mode when you’re finished. The FUNCTION
and DEVICE LED’s turn off.
Now that your MPE has an identity, it can talk to
the outside world, via MIDI SYSEX. Two types of
SYSEX messages can be enabled for transmission,
Key Scan Echo and Parameter Echo.
In the above table, a received program change 1
recalls Stored Memory
10. Program change 2 also
recalls Stored Memory
10. Program change 3
recalls Stored Memory
3, and so on. In general, any
program change command can recall any Stored
Memory. Multiple program change commands can
recall the same Stored Memory, but a single pro-
gram change command can only recall one Stored
Memory.
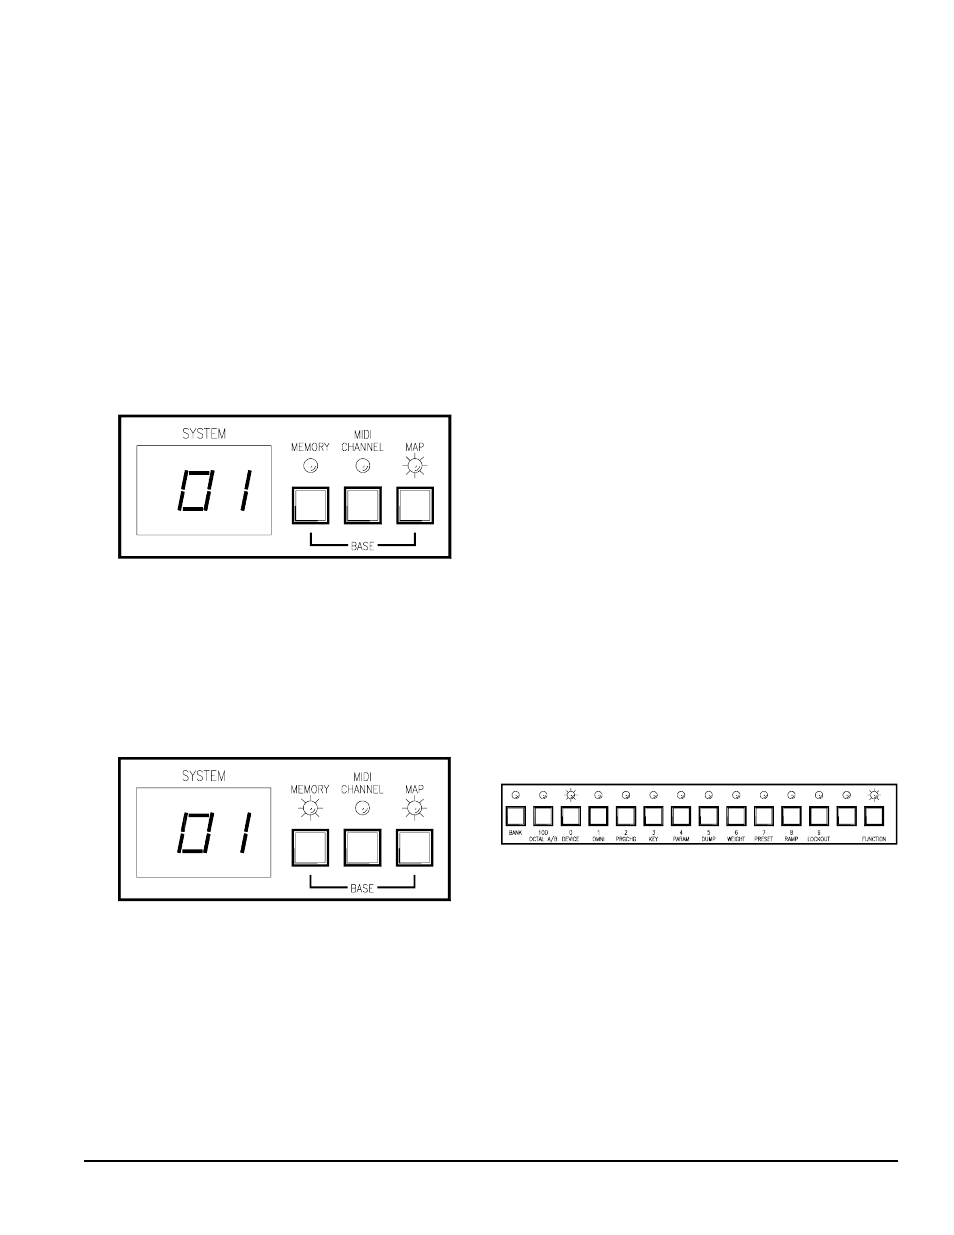
To program the MIDI map:
1. Make sure you’re in Normal Operating mode, and
then enter the Program MIDI Map function by
pressing the MAP key. The MAP LED illumi-
nates, and the SYSTEM display shows a MIDI
program change number (see figure below).
2. Enter a different MIDI program change number
(if desired) using the number keys.
3. Press the MEMORY key. The MAP LED re-
mains lit, the MEMORY LED flashes. The
SYSTEM display shows the Stored Memory that
the MIDI program change entered in step 2 will
recall. (See figure below.)
4. Enter a different Stored Memory number, if
desired, using the number keys.
5. Repeat steps 1-4 until all desired map entries are
programmed.
6. Press MEMORY to return to Normal Operating
mode. The MAP LED turns off, the MEMORY
LED stops flashing.