Nexen RPG25A-GE486T 966740 User Manual
Page 13

13
FORM NO. L-21235-G-0413
13. Clean the pinion flange and pilot where it will contact
the adapter (if used) or gearhead flange inspecting
for contaminates, burs, or surface defects that would
interfere with full contact between the pinion and
adapter (if used) or gearhead flange.
14. Apply a serviceable thread locking compound to the
pinion mounting screws and assemble the pinion to
the adapter (if used) or gearhead, leaving the mounting
screws snug but do not tighten at this time.
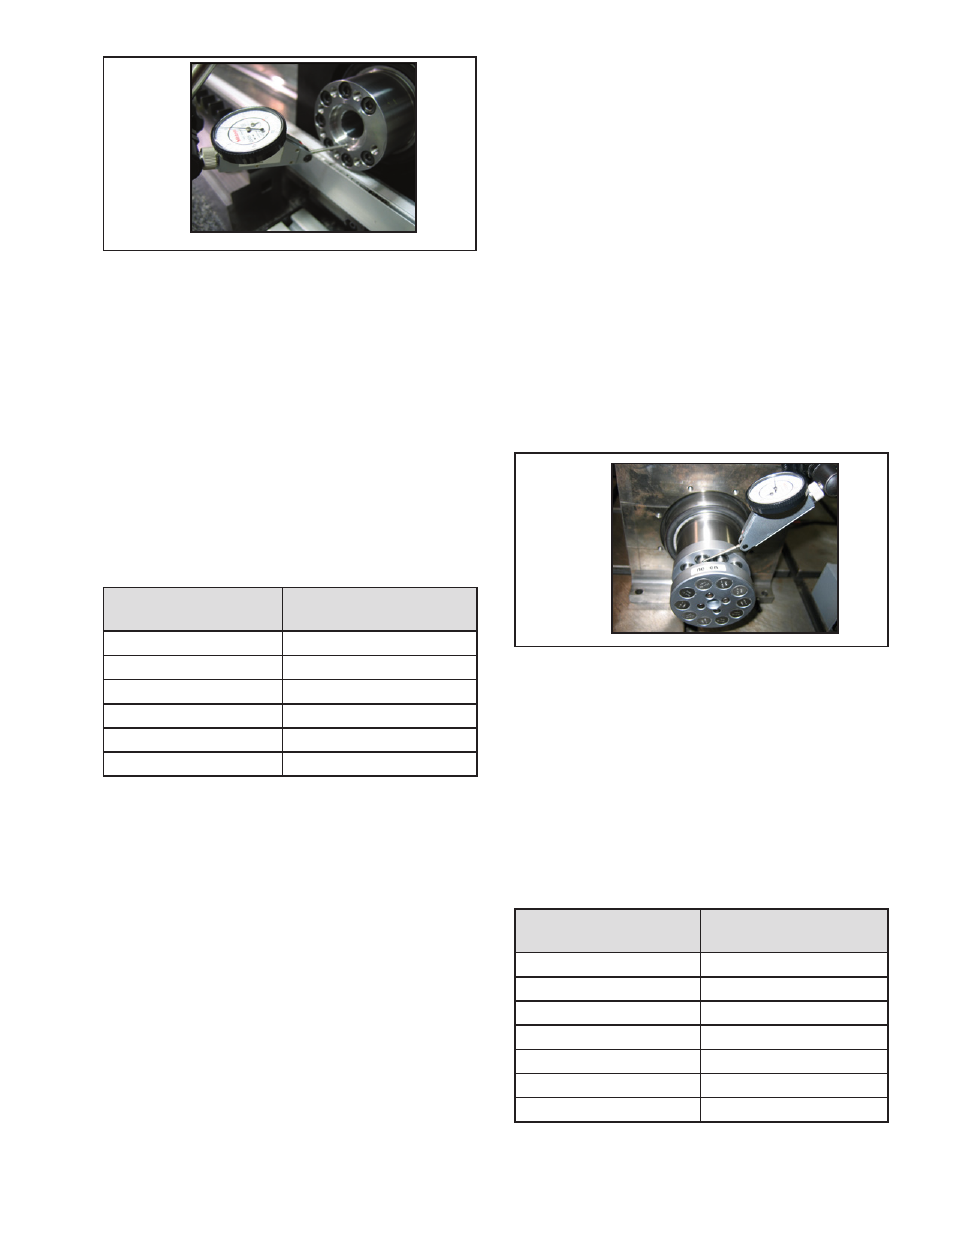
15. Position a dial indicator on the center of the pinion
rollers as shown in Figure 17 and zero it. Rotate pinion
a minimum of one complete revolution by turning the
gearhead input shaft while noting the amount of total
dial indicator runout and mark the angular location
on the pinion shoulder in which the highest reading
occurs throughout the rotation. When the pinion is
properly centered the concentric runout at the center
of the pinion rollers must be less than ± 0.030 mm [±
0.0010 in].
If the measured total indicator variance of the pinion
rollers is greater than ± 0.030 mm [± 0.0010 in], tap
gently on the O.D. of the pinion using a soft hammer
at the angular location in which the highest reading
occurred. Doing this will shift the pinion center closer
to the center of rotation.
16. Tighten the mounting screws to 50% of the specified
torque specified in Table 5 below in a star pattern that
allows for an even distribution of axial clamping force.
Then repeat the tightening pattern with 100% of the
recommended torque in Table 5.
Table 5
8. If the measured total dial indicator runout of the
adapter pilot bore is greater than 0.008 mm [0.0003
in], tap gently on the O.D. of the adapter using a soft
hammer at the angular location in which the lowest
reading occurred. Doing this will shift the center of
the adapter closer to the center of rotation.
9. Repeat steps 7 and 8 until the total dial indicator
runout is 0.008 mm [0.0003 in] or less.
10. Tighten the mounting screws to 50% of the specified
torque specified in Table 4 in a star pattern that
allows for an even distribution of axial clamping force.
Then repeat the tightening pattern with 100% of the
recommended torque.
11. Re-torque the mounting screws once more to the full-
specified torque value in Table 4 to ensure full torque
has been reached on all fasteners. Tighten in the same
order as above.
12. Repeat inspection Step 7 and verify the total dial
indicator runout listed in Step 8 is achieved after fully
torquing the adapter. If runout is out of specifications
the adapter should be removed inspecting for
contaminates, burs, or surface defects that would
interfere with full contact between the adapter and
gearhead flange. In some cases indexing the adapter
relative to the gearhead flange can be helpful. Then
repeat the adapter installation procedure starting with
Step 6.
Pinion Fasteners
Tightening Torque
Nm [in-lb]
RPS 16 (M3 x 0.5-APEX)
1.5 [13]
RPS 16 (M4 x 0.7)
5.3 [47]
RPS 20 (M5 x 0.8)
10 [88]
RPS 25 (M6 x 1.0)
17.5 [155]
RPS 32 (M6 x 1.0)
17.5 [155]
RPS 40 (M8 x 1.25)
40 [354]
RPS 4014 (M10 x 1.5)
70 [620]
Adapter Fasteners
Tightening Torque
Nm [in-lb]
ISO 16/20 (M5x0.8)
6.5 [58]
ISO 16/25 (M6x1.0)
11.5 [78]
ISO 20/25 (M6x1.0)
11.5 [78]
ISO 20/32 (M6x1.0)
11.5 [78]
ISO 32/40 (M8x1.25)
26 [156]
ISO 40/4014 (M10x1.5)
46 [273]
Figure 16
Table 4
Figure 17
- RPG20A-GE180T 966734 RPG20A-GE140T 966706 RPG32A-GE0450T 966685 RPG16A-GE400T 966656 RPG20A-GE150T 966615 RPG16A-GE150T 966557 RPG16A-GE936T 966556 RPG4014A-GE192T 966548 RPG4014A-GE072T 966547 RPS25 966679 RPS25 966678 RPS20 966707 RPG32A-GE0760T 966779 ISO9409-064-SS 960855 ISO9409-090 960850 ISO9409-064 960851 ISO9409-200 960854 ISO9409-140 960853 ISO9409-110 960852 RPS40 966543 RPS32 966533 RPS25 966523 RPS20 966513 RPS12 966508 RPS10 966507 RPS16 966503 RPS20 966618 RPS16 966715 RPS16 966687 RPS32 966677 RPS40 966697 RPS4014 966700 RPS25 966673 RPS20 966753 RPS20 966675 RPS20 966781 RPS16 966650 RPS32 966680 RPS4014 966693 RPS40 966690 RPS25 966670 RPS20 966660 RPS16 966850 RPS32 966853 RPS25 966852 RPS4014 966855 RPS40 966854 RPS20 966851 RPS16 966605 RPS16 966606 RPS16 966651 RPS32 966681 RPS16 966654 RPS32 966608 RPS4014 966695 RPS40 966692 RPS16 966652 RPS32 966682 RPS25 966672 RPS20 966662 RPS12 966769 RPS10 966768 RPS16 966777 RPS32 966609 RPS16 966709 RPS25 966671 RPS4014 966694 RPS40 966691 RPS20 966661 RPS16 966800 RPS32 966806 RPS4014 966811 RPS40 966809 RPS16 966801 RPS32 966807 RPS25 966805 RPS20 966803 RPS25 966804 RPS40 966810 RPS40 966808 RPS20 966802 RPS16 966741 RPS16 966742 RPS25 966755 RPS20 966619 RPS4014 966601 RPS40 966631 RPS4014 966647 RPS32 966642 RPS16 966602 RPS32 966632 RPS25 966622 RPS20 966612 RPS25 966621 RPS4014 966646 RPS40 966641 RPS20 966611
