Installing the rack front panel and bezel, Installing the rack front panel and bezel -13 – Dell PowerEdge 2600 User Manual
Page 17
Attention! The text in this document has been recognized automatically. To view the original document, you can use the "Original mode".
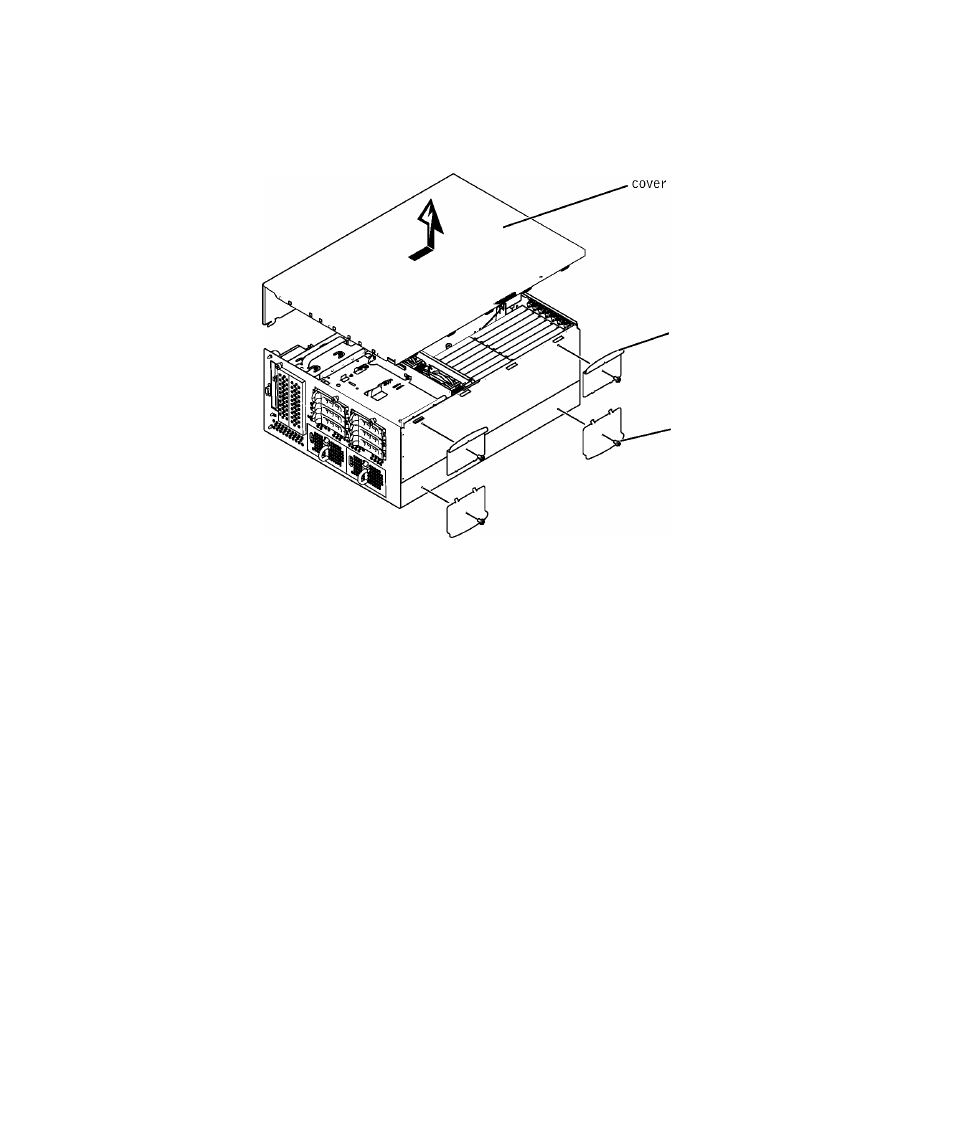
F i g u r e 1 - 9 . R e m o v i n g t h e F e e t a n d t h e S y s t e m C o v e r
. foot (4)
hex-head
Phillips
screw (4)
b
Slide the system eover baek and grasp the eover at both ends,
c
Carefully lift the eover away from the system and set it aside.
3
Remove the eosmetie trim panels on the left side of the ehassis:
a
Remove the seven T-10 Torx serews from the top, left, and bottom edge of the
front panel.
These seven serews seeure the eosmetie trim panel to the front panel and ehassis.
b
Slide the eosmetie trim panel about 0.5 ineh toward the baek of the ehassis and
lift it away.
5
Remove the 12 remaining T-10 Torx serews that seeure the tower front panel to the
ehassis.
6
Lift the front panel away and set it aside, out of the way.
Installing the Rack Front Panel and Bezel
1
Install the гаек front panel on the ehassis, seeuring it with 13 of the Torx serews you
removed in the previous proeedure (see Figure 1-10).
Notiee that the raek front panel is wider than the tower front panel and has handles
and thumbserews for the front vertieal rails.
R a c k I n s t a l l a t i o n G u i d e
|
1-13