Aria classic, Rv toilet service parts for, Fig. d – Thetford 19833 - Mechanism Blade Seal User Manual
Page 2
RV Toilet
Service Parts for
Aria CLASSIC
12
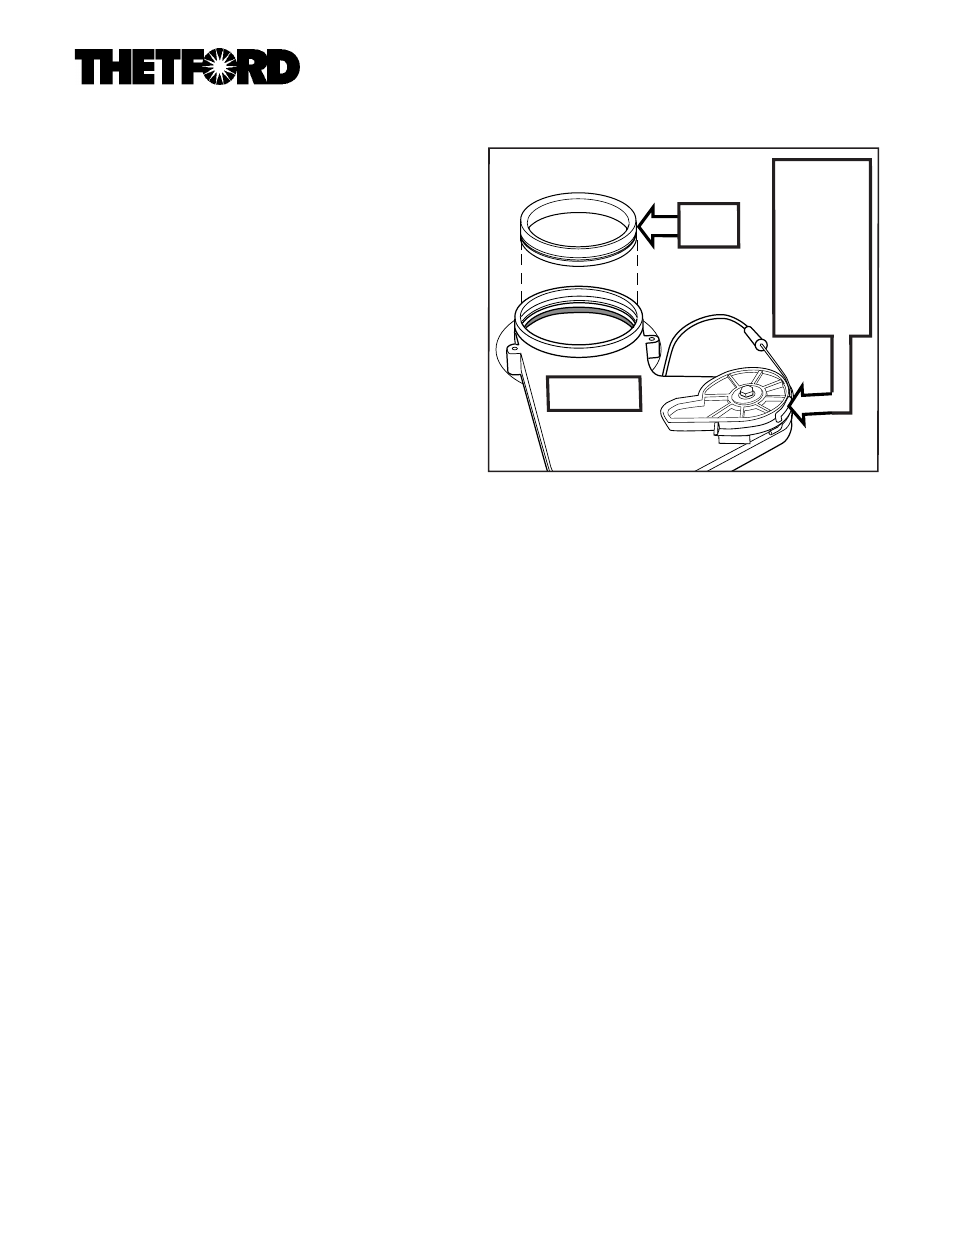
groove and is flush to Blade (Fig. D).
2. Slide Mechanism back into place and seat.
3. Replace 3 Screws that attach Mechanism to Plate (Fig. B).
4. Replace Mechanism standoff Screw (Fig. C).
5. Snap Cable Sheath fitting back into left side Mechanism Plate
slot (Fig. C).
6. Replace Mounting Flange, Mounting Bushings, Outfall Tube
(high-profile only) and Connector Seal (Fig. A).
To Reinstall Toilet To Floor
1. Install new Closet Flange Seal to Toilet Mounting Flange,
lip side outward. Friction holds it in place.
2. Keeping Mechanism Blade open to assure holes line up,
position Toilet over Closet Flange.
3. Reconnect Water Supply Line.
4. Secure Toilet to floor with Lag Screws. Tighten.
5. Turn on RV’s water supply. Flush test and fill bowl. Wait long
enough to make sure new Blade Seal holds water.
6. Install Bolt Caps.
Tools Needed
• Adjustable wrench
• 7/16” wrench
• Flat-blade screwdriver • Pliers
Part No. 19833 Mechanism Blade Seal, continued
Fig. D
Mechanism
Blade
Seal
Cable –
keep
connected
to actuator