7 data fields, See section 3.7 – Rice Lake 920i FlexWeigh Systems - 201/202 User Manual
Page 19
08/27/2012
02:15PM
SCALE #1
End
Enter Password=>
SCALE
#1
Gross
Lb
SETUP MENU
Program: Express 202 PN126057 Ver 1.00
ID #1: (Disabled)
ID #2: (Disabled)
Dual-Speed Enabled
Auto Print Disabled
Delay After Discharge (sec) :3.0
Zero Tolerance Weight: 0.04 lb
Discharge Option Disabled
Home
Cancel
0.00
Softkey Setup
15
.
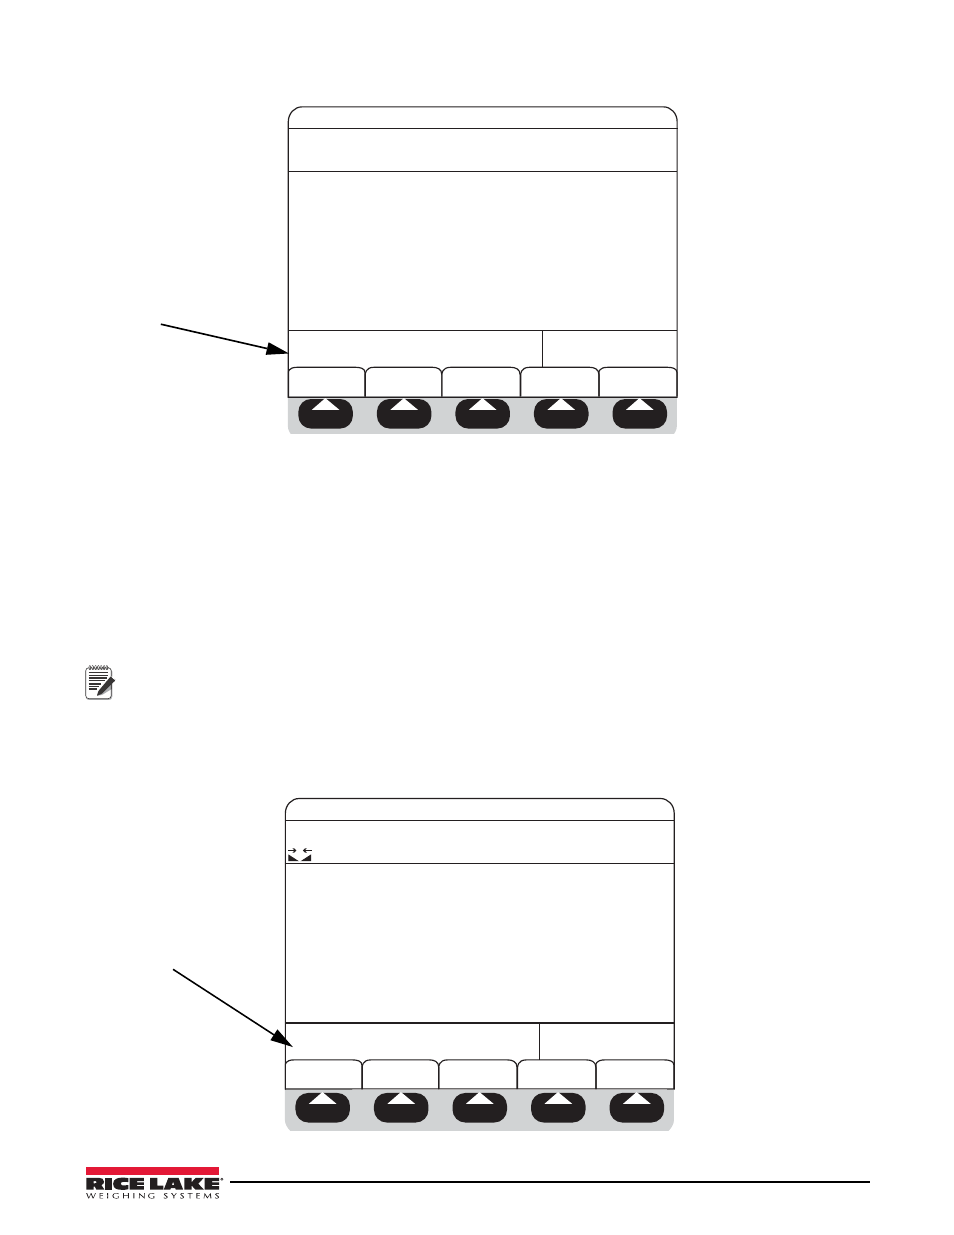
Figure 3-7. Enter New Password
2. Enter the new password and press
ENTER
.
3. The system prompts Re-enter password to verify. Re-enter the password and press
ENTER
again.
The system performs one of the following actions.
- If password entries match, the system displays
Password Changed.
- If password entries do not match, the system displays
Error: Passwords Did Not Match
and exits the
sequence of operation.
3.7
Data Fields
When using a printer, additional information can be shown by entering data in the
ID #1
or
ID #2
fields.
Note
If a password is in the system, see Section 3.4 to enter the setup menu.
1. From the main setup menu screen, press
ID #1
or
ID #2
.
2. The selected ID is displayed, select
Yes
or
No
to enable or disable the ID.
If
Yes
is selected continue to step 3.
If
No
is selected the display returns to step 1.
Program: Express 201/202 PN126057 Ver 1.00
ID #1 (Disabled)
ID #2 (Disabled)
Dual Speed Enabled
Auto Print Disabled
Delay After Discharge (sec) :3.0
Zero Tolerance Weight: 0.04 lb
Discharge Option Disabled
0
08/27/2012
02:15PM
SCALE #1
No
Enable ID #1
0.00
SCALE
#1
Gross
Lb
Yes
SETUP MENU
Figure 3-8. Enabling ID Datafields