Handling internal components, Opening and closing the kbox a-101, N 9.3.1 “opening and closing the kbox a-101 – Kontron KBox A-101 Users Guide User Manual
Page 31
9. Setting Up the KBox A-101
KBox A-101 – User’s Guide (Version 1.00)
9.3.
Handling internal Components
This section contains important information that you must read before accessing the internal components. You must follow
these procedures properly when handling any board components of the KBox A-101.
Before installing/removing an add-on card, please pay attention to the following information:
Please observe the “General Safety Instructions for IT-Equipment” provided with the system and the
installation instructions in this manual (see also chapter 4 and 9).
The installation/removal of add-on cards may only be performed by a qualified person, according to
the description in this manual.
Before removing the cover of the device, make sure that the device is switched off and disconnected
from the power supply.
Before you upgrade the KBox A-101 with add-on cards, pay attention to the power specifications in
chapter 11 “Technical Data” and make sure that the power consumption of the add-on cards does
not exceed 5 W per card.
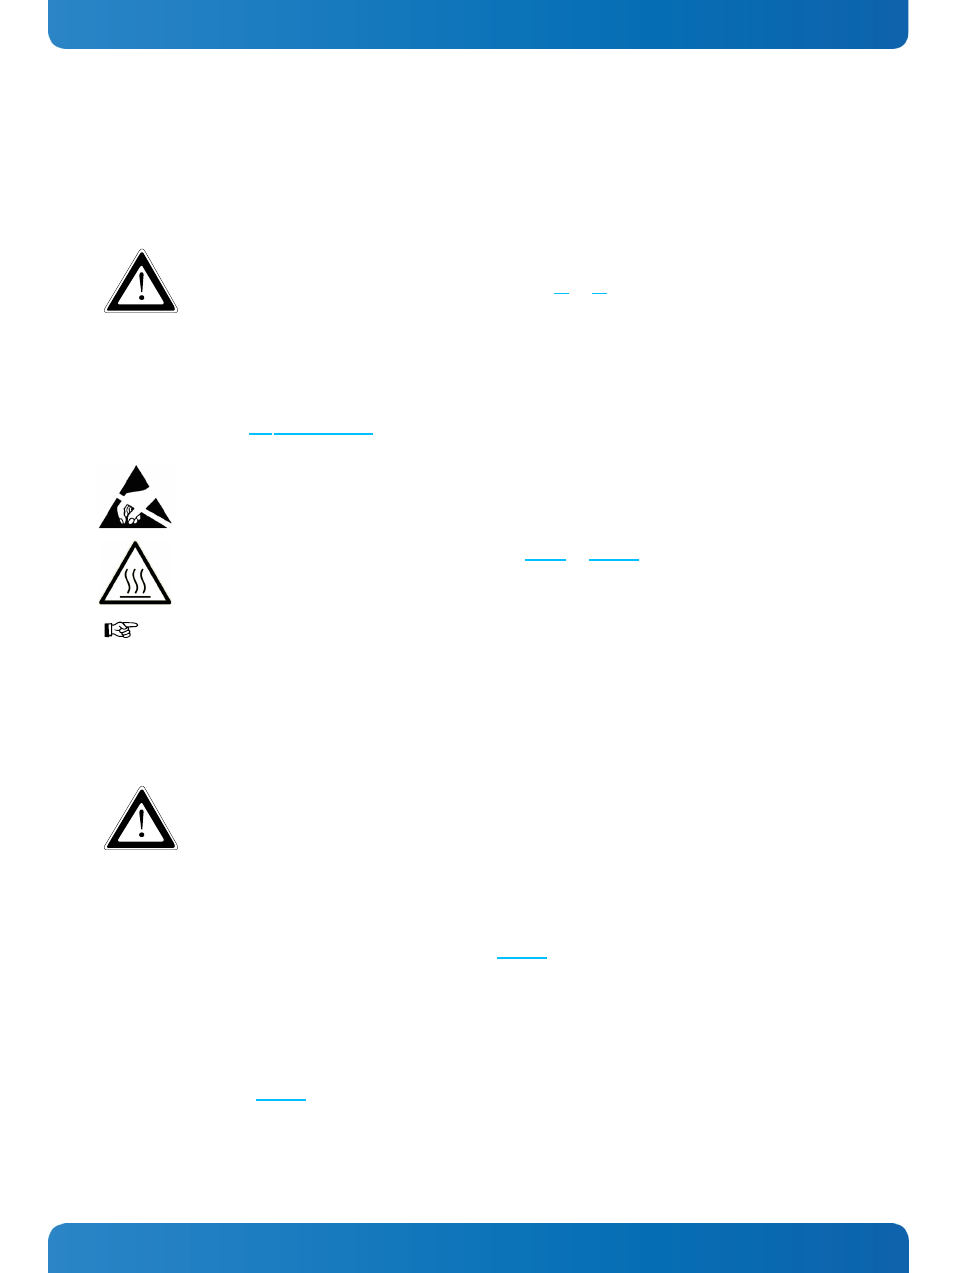
Please follow the safety instructions for components that are sensitive to electrostatic discharge
(ESD). Failure to observe this warning notice may result in damage to the device or the latter’s
components.
Please observe the warning label “Hot Surface” (see Fig. 7 and Fig. 17, pos. 3) in the area of the
cooling fins of the chassis. The KBox A-101 chassis may be hot during operation and should not be
touched without taking care. There is a risk of burns.
Please pay attention to the manufacturer’s instructions before installing/removing an add-on card.
9.3.1.
Opening and Closing the KBox A-101
In order to install or to remove optional hardware or to change the DIP switch settings, the KBox A-101 needs to be
opened. For opening and closing the KBox A-101, please perform the following steps:
Before opening the KBox A-101, the system must be switched off and disconnected from the main power
supply. Also disconnect peripheral devices from the KBox A-101. Before you begin, ensure that you have a
clean, flat and ESD-safe surface to work on.
1. Close all applications. Shut down the system properly and disconnect the power cord from the power source.
Disconnect all peripherals.
2. The KBox A-101should lay on a flat, clean surface with the top side (cooling fins) facing downwards.
3. Unscrew the 8x countersunk screws M3x8 ISO14581 torx (see Fig. 19, pos. 4) that secure the cover. Put the screws
aside for later use. Lift the cover (with the mounted HDD/SSD) carefully.
4. Remove the HDD/SSD data cable und power cable from the SBC and put the cover (with mounted HDD/SSD) aside. Now
all internal components inside the chassis and on the cover can be accessed.
5. For closing the KBox A-101, proceed in reverse order: Reconnect the data cable and the power cable of the HDD/SSD
(mounted on the cover) to the SBC, place the cover on the cassis and secure the cover with the countersunk screws
removed in step 3 (see Fig. 19, pos. 4).
www.kontron.com
29