Wall or table or cabinet mount using the brackets, Brackets for wall / table mount – Kontron KBox A-101 Users Guide User Manual
Page 27
9. Setting Up the KBox A-101
KBox A-101 – User’s Guide (Version 1.00)
9.2.
Wall or Table or Cabinet Mount using the Brackets
In order to mount the KBox A-101 to a wall (vertical, upright or longitudinal), on a table (horizontal) or into a cabinet, you
may order the corresponding mounting brackets with keyhole-shaped mounting slots or a DIN Rail mounting clip. You can
adapt your desktop KBox A-101 to a wall mount system by attaching the mounting brackets to the left and the right side of
the KBox A-101 bottom side.
When setting up the device, pay attention to the range of restriction areas around the KBox A-101. Refer to the subsection
11.2 "Mechanical Specifications").
Please observe the “General Safety Instructions for IT Equipment” (included) and the installation
instructions (refer to the chapters 4 and 9).
9.2.1.
Brackets for Wall / Table Mount
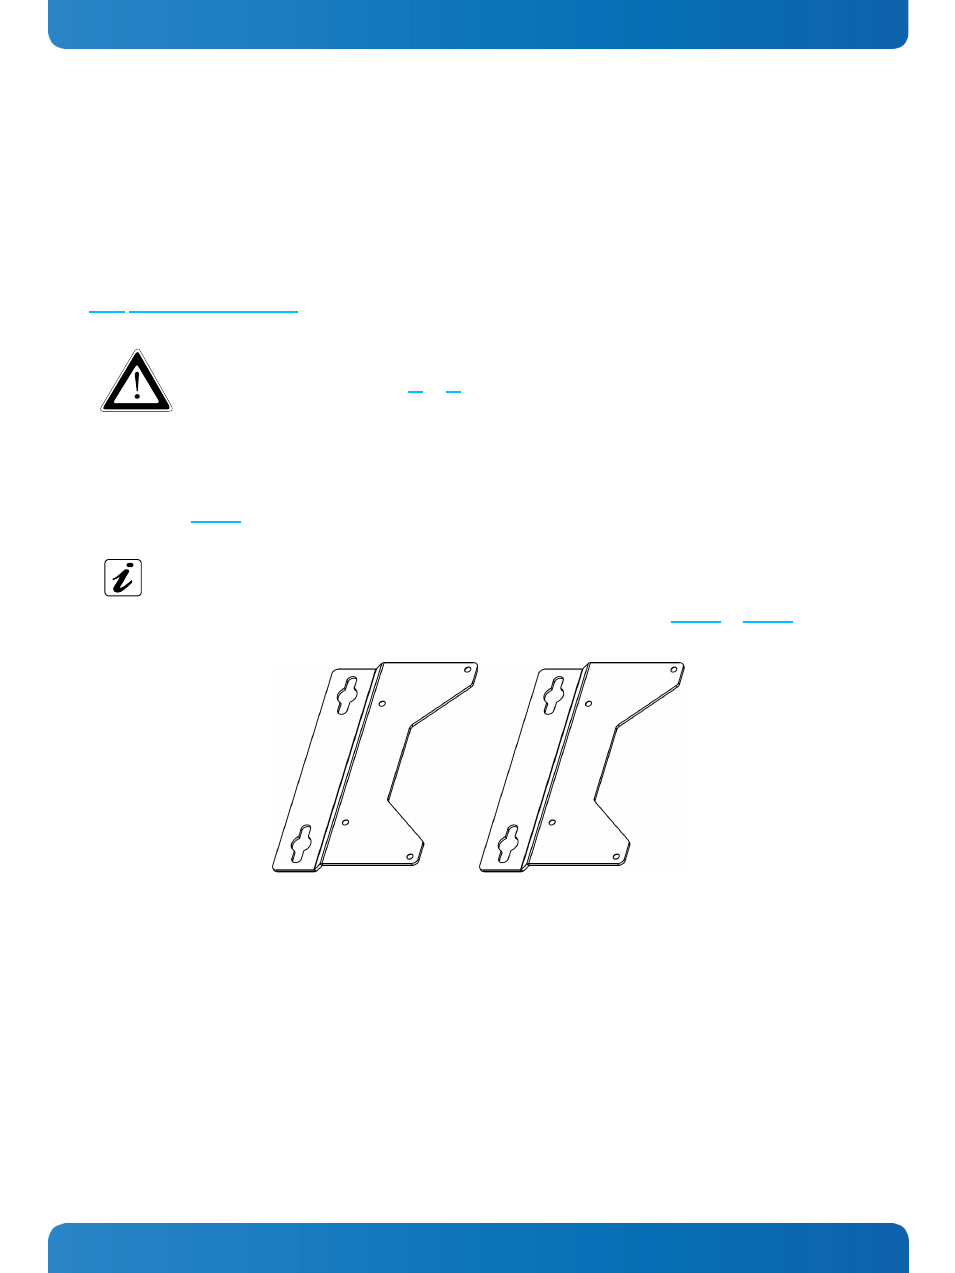
These brackets (Fig. 23) are used to mount the KBox A-101 in a vertical, a longitudinal or an upright orientation to a wall
or horizontally to a table corresponding to the desired orientation.
The wall mounting of the KBox a-101 is possible in the horizontal as well as in vertical orientation. You may
choose the mounting orientation witch side is facing up or facing down (four operating positions). The two
brackets are symmetrical and can be mounted on either the left or right (see Fig. 24 and Fig. 25).
Fig. 23: Left/right mounting bracket for wall / table mounting
www.kontron.com
25