Casio CW-K85 User Manual
Page 22
E
20
1.
Press
to turn on the printer.
•
A LAST DATA icon will also appear on the Main Menu if there is input
data left over from the last time you used the printer. See page 14 for
more information.
2.
Use
and
to select NEW, and then press SET.
•
This displays a print pattern selection screen.
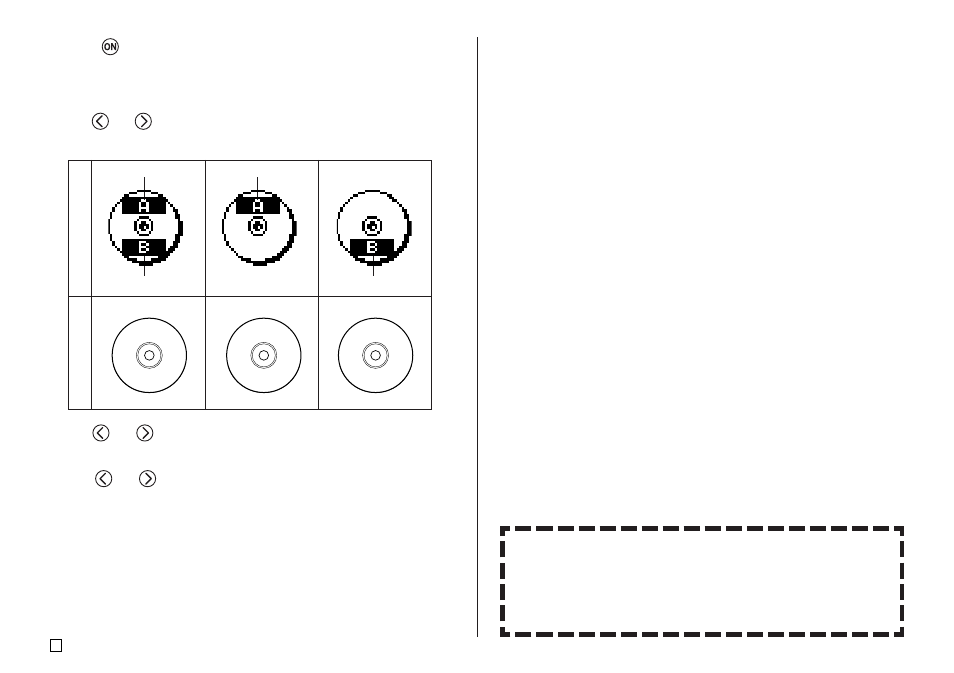
Print Pattern
Example
AREA A
AREA A
AREA B
AREA B
3.
Use
and
to select the print area(s) you want, and then press SET.
•
Here we will select print area A (upper only).
4.
Use
and
to select the label format you want, and then press SET.
•
Here we will select FORMAT 1.
5.
Input the text you want.
•
Here we will input “PROFILE DATA”.
•
See “Inputting and Editing Label Text” on page 33 for information about
inputting text.
6.
After inputting the text press SET.
•
Now you can preview your disc label (“To check the appearance of a
disc label layout”, page 21) or print it without previewing (“To print a disc
label in the upper label area”, page 21).
Controlling the Appearance of Your Disc Label
When creating a disc label, you can use the following procedures to
select the font, style, and layout.
•
Font: Page 41
•
Style: Page 42
•
Layout: Page 31
PROFILE
DATA
PROFILE DATA
PROFILE DATA