Step 13: exhaust pipe final install – BoonDocker ARCTIC CAT: M1000 Race Gas User Manual
Page 21
Revised 11/18/08
Arctic Cat M-1000 Turbo Installation instructions
Page 21
www.boondockers.com............................
BoonDocker
..........................................877-522-7805
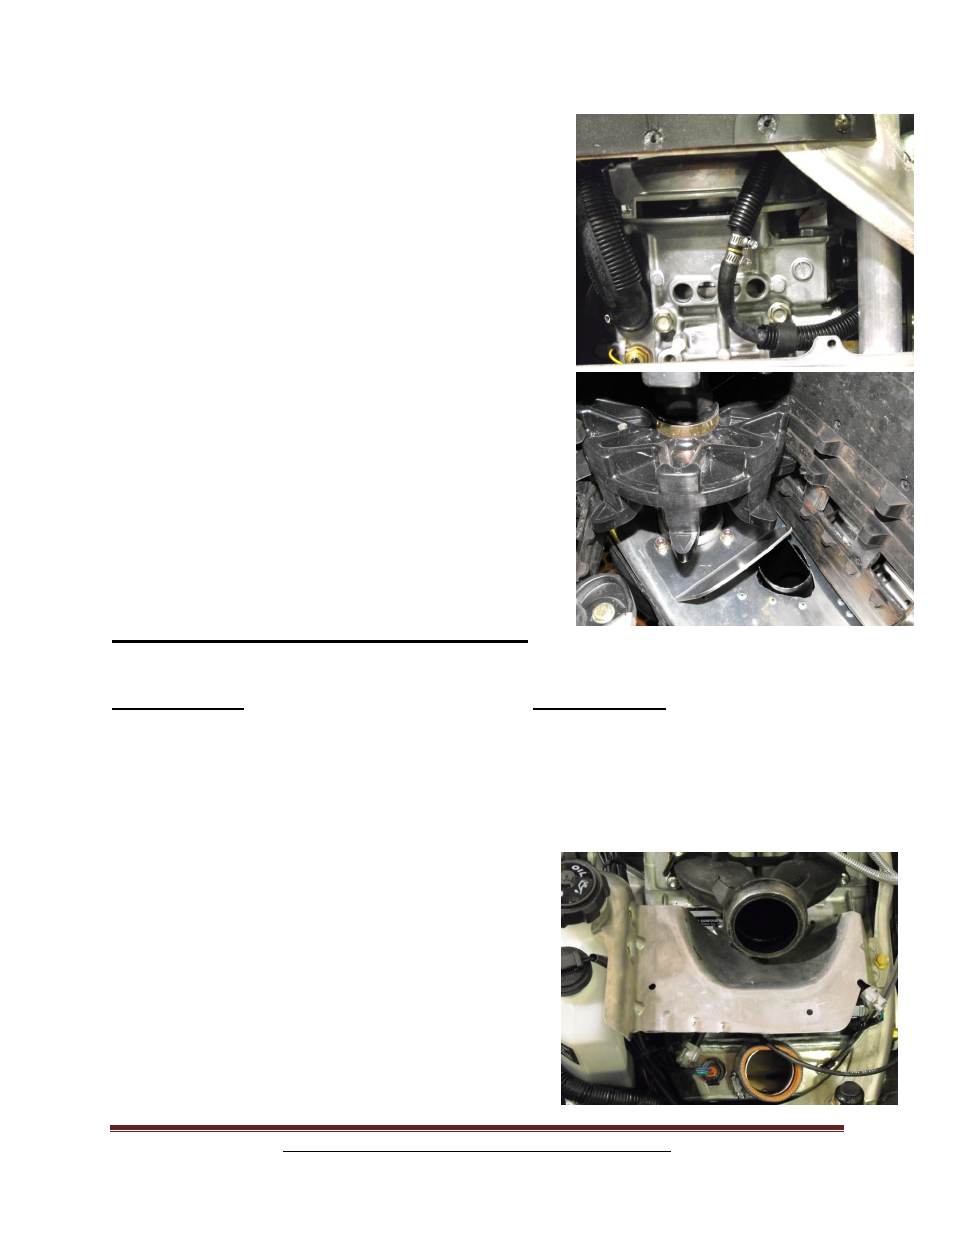
M. Route the 17” water line from the turbo to the stock
water line that you just pinched off. Trim the factory
water line to proper length and connect the factory
water line to the 17” turbo water line using the supplied
¼” barb and fasten with the 2 #4 hose clamps provided
in the kit, as shown in picture.
N. Install the piece of trimmed plastic sleeving on the
upper side of the water line, this will keep the hose
from rubbing on any sharp edges (see picture).
O. While the sled is on its side, install the heat deflector
plate as shown in picture. Fasten using the factory
bolts.
Step 13: Exhaust Pipe Final Install
Parts Needed: Tools Needed:
Air saw or band saw
4- High tension exhaust spring Basic tool kit
4- 8mm x 25mm bolts Spring tool
4- 8mm top lock nuts Black high temp spray paint
4 Hole exhaust gasket (packaged in turbo box)
Exhaust Pipe with heat shield
Factory heat shield
A. For a cleaner look, paint the welded inlet on the
exhaust pipe with a black high temp spray paint.
B. Reinstall the factory heat shield on exhaust pipe.