English, Osd menu description – AVer CP135 user manual User Manual
Page 24
ENGLISH
21
OSD Menu
Description
USB CONNECTION
USB CAMERA
IMG DOWNLOAD
SETTING > USB CONNECTION
Use ▲or▼ buttons to select the function of USB between
USB CAMERA and IMG DOWNLOAD. Then press ENTER.
USB Camera - can be used as a computer webcam or with
our bundled software to record video and capture still
image.
Img Download - transfer the captured images from the
built-in memory to computer hard disk.
FLICKER
50 HZ
60 HZ
SETTINGS > IMAGE > EXPOSURE > FLICKER
Use ▲or▼ to select between 50Hz or 60Hz. Some display
devices cannot handle high refresh rates. The image will
flicker a couple of times as the output is switched to another
refresh rate.
DEFAULT
NO
YES
DEFAULT
Use ▲or▼ to select YES to restore to original factory default
setting or NO to exit then press ENTER to make the selection.
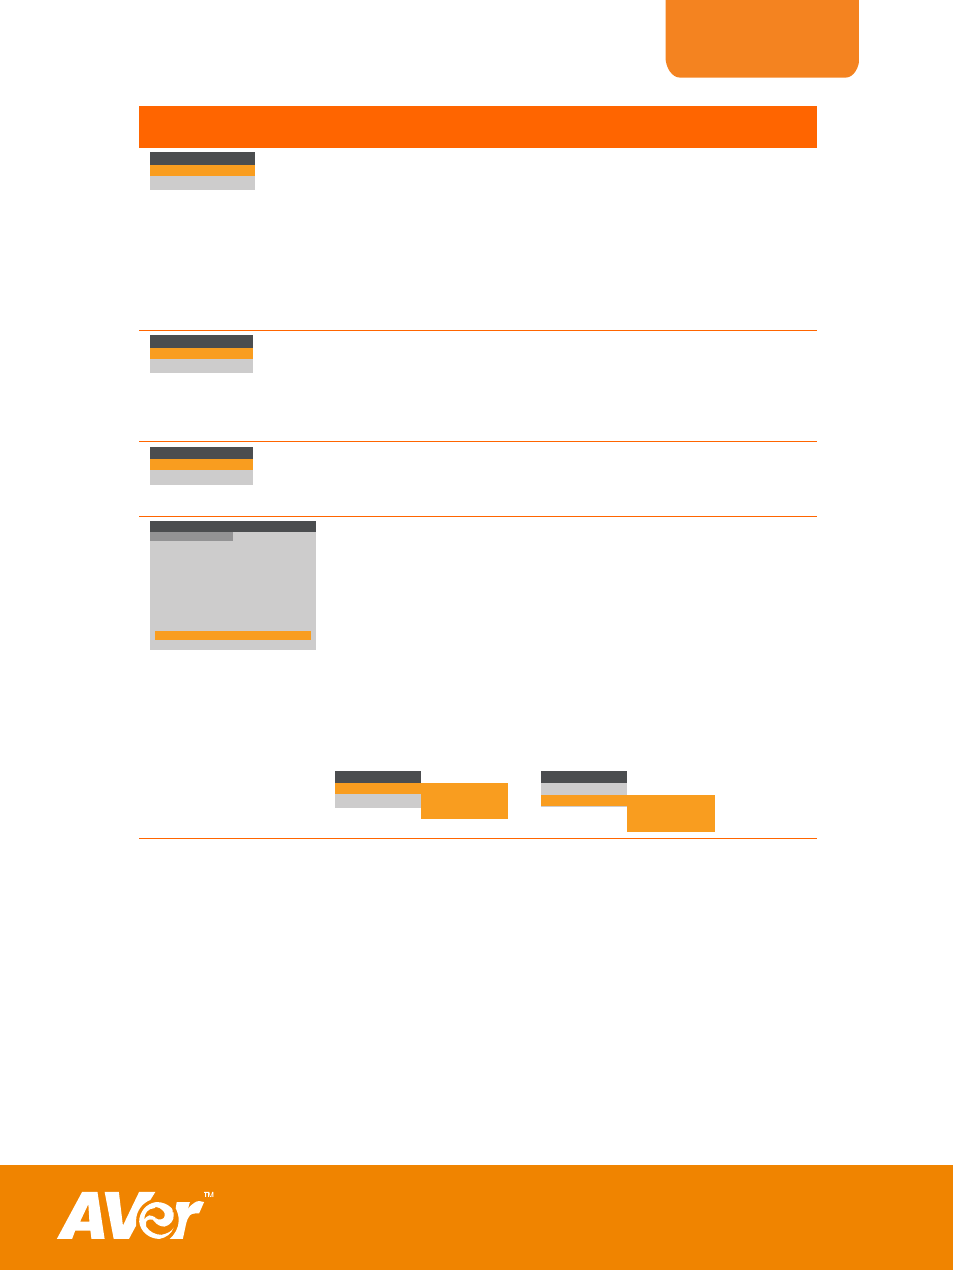
MENU
CONTRAST
BRIGHTNESS
FORMAT MEMORY
RESOLUTION
LANGUAGE
USB CONNECTION
FLICKER
DEFAULT
PROFILE
92
32
NO
1024 X 768
ENGLISH
USB CAMERA
60 HZ
NO
OFF
IMAGE
SETTING
SETTING > PROFILE
Press ENTER and use ▲or▼ to select between SAVE or
RECALL. Then press ENTER again to make a selection.
SAVE - store the current setting in the selected profile
number. Only effect, mode, brightness and contrast settings
can be saved.
RECALL - restore the setting back to the selected profile
number.
In the SAVE/RECALL selection, use ▲or▼ to select
saving/restoring the setting from the three profile number then
press ENTER.
PROFILE
SAVE
RECALL
PROFILE 1
PROFILE 2
PROFILE 3
PROFILE
SAVE
RECALL
PROFILE 1
PROFILE 2
PROFILE 3