Taylor-Wharton XL-55HP (with dual regulators) User Manual
Page 17
Contents Gauge Installation
Before installing a new or repaired gauge, inspect the gasket seals. If any damage is
apparent, replace the gasket. (See following page for illustration.)
1. When inserting the gauge assembly, lower the float rod through the gauge opening
until about 8 in. (203 mm) of the float rod remains above the container.
2. Grasp the clear cover portion of the gauge assembly with two fingers so that the
assembly hangs free and plumb.
3. Lower the assembly about 4 in. (102 mm) slowly and try to keep the rod in the center
of the threaded entrance hole as you do. If you are careful during this portion of inser-
tion, you will drop the float rod straight through the guide ring inside the cylinder.
4. To confirm that the rod is correctly positioned in the cylinder, stop where you can still
grasp the top of the rod (see illustration) and try to swing the lower end from side to
side.
5. When rod is engaged in the guide ring, the rod will be restricted to lower end movement
of about ½ in. (12.7 mm); if you can feel greater movement, withdraw the rod to the
point where its top is 8 in. (203 mm) above the gauge opening and try again.
NOTE:
The yellow band will
move approximately
¼ in. (6.4 mm) to each
10 turns of the rod.
NOTE:
Remember this
procedure is
performed with gauge
in an upright (vertical)
position.
NOTE:
Make sure that the
Gauge Assembly is not
bent or out of line
before reinserting the
gauge into the
container.
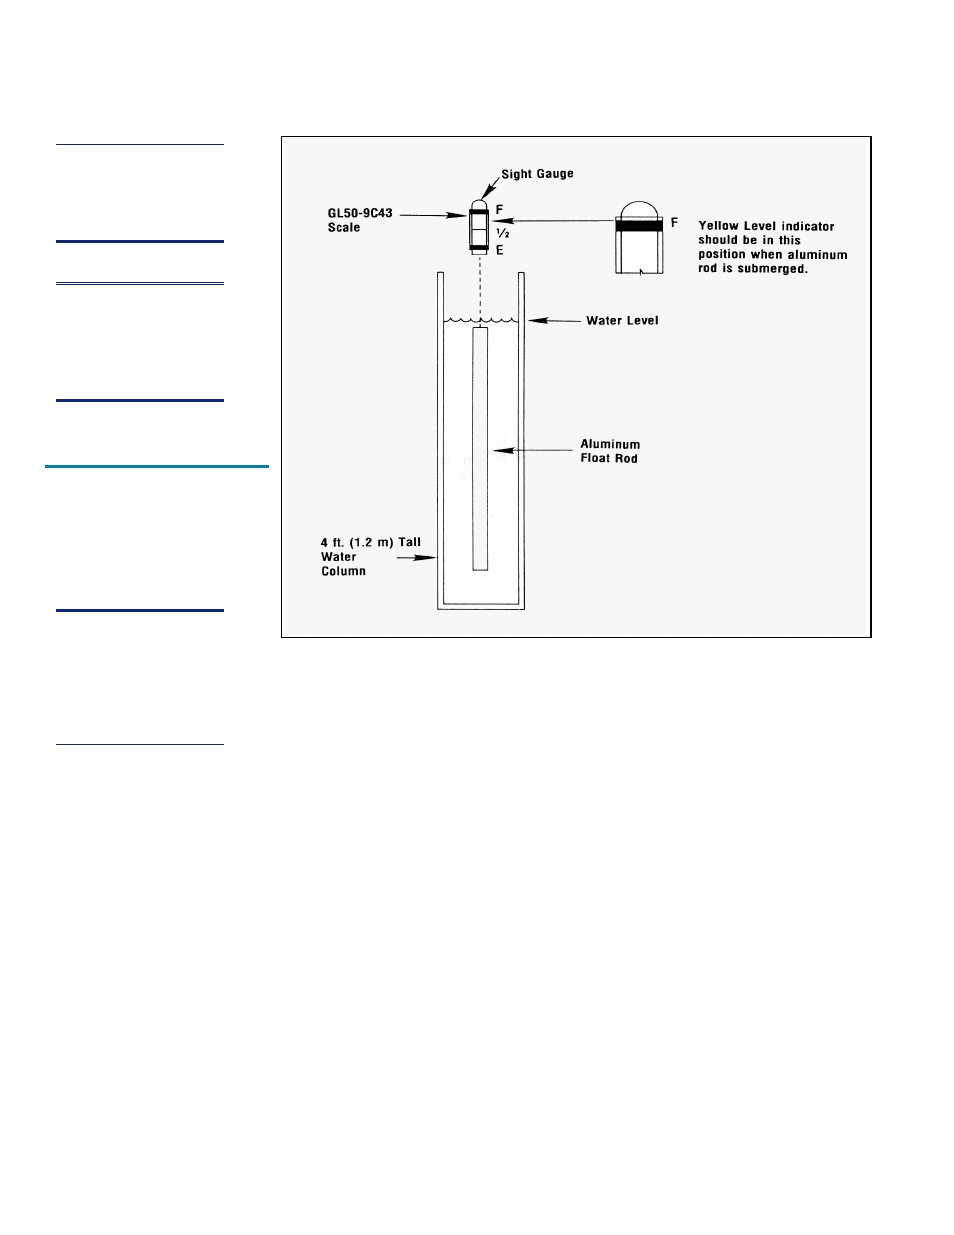
Calibration
for XL-45HP, XL-50HP,
XL-55HP & XL50VHP
17