Maintenance procedures – Taylor-Wharton XL-55HP (with dual regulators) User Manual
Page 12
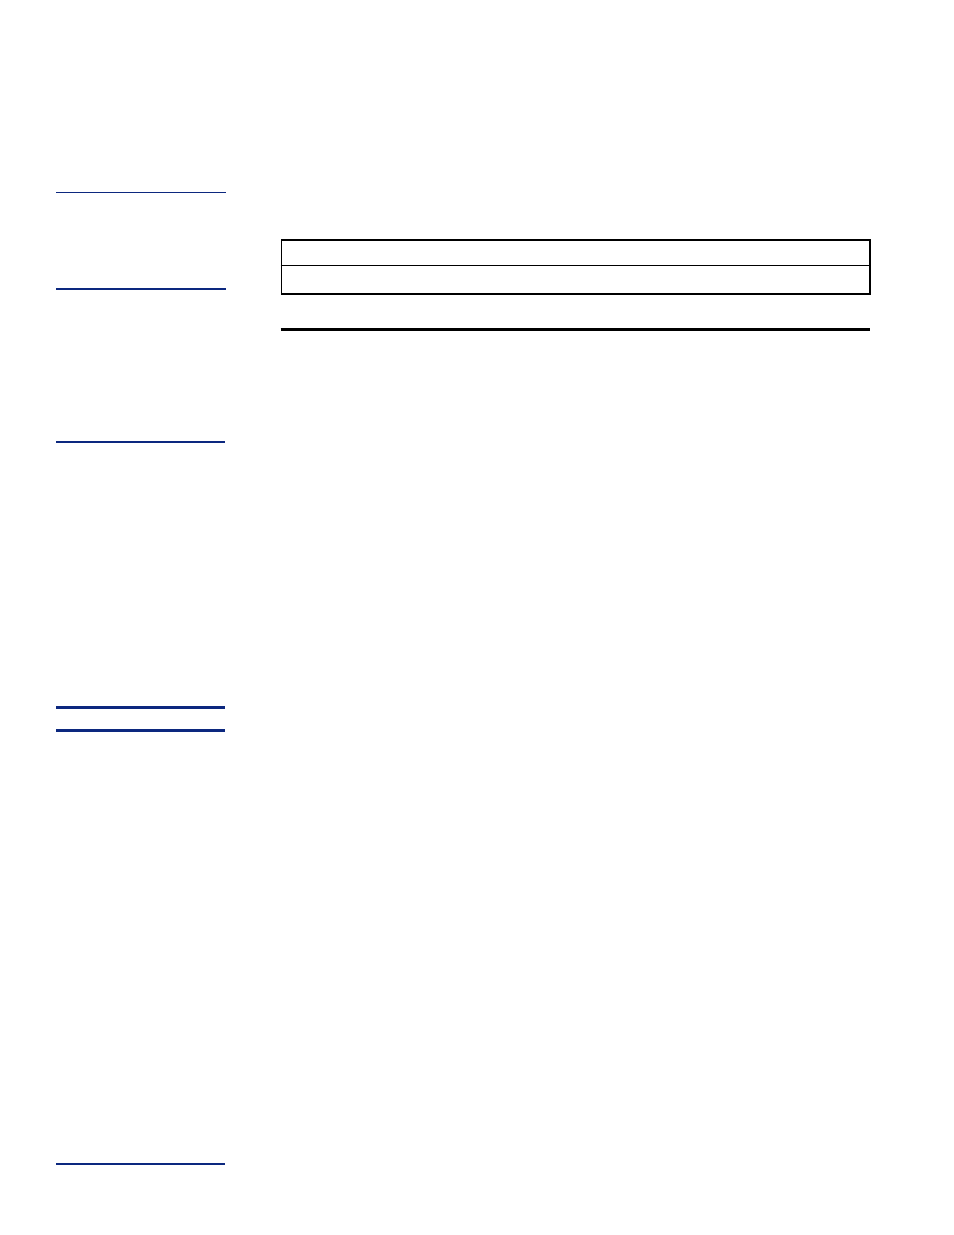
VENT TEE CHART
The vent tee chart connects to a transfer hose to complete a fill line kit. Each assembly
includes a 3/8 in. pipe connector to CGA fitting with a 350 psig (24 bar/2413 kPa) relief
valve, and a ball-type dump valve.
Service
CGA Connection
Part Number
Inert (N
2,
Ar)CGA 295
GL50-8C60
Read the Safety Precautions in the front of this manual before attempting any repairs on
these containers. Also follow these additional safety guidelines while performing con-
tainer maintenance.
Never work on a pressurized container. Open the vent valve as a standard practice
during maintenance to guard against pressure build-up from residual liquid.
Use only repair parts cleaned for oxygen service. Be certain your tools are free of oil
and grease. This is a good maintenance practice, and helps ensure you do not create a
combustion hazard when working on containers for oxygen or nitrous oxide service.
Leak test connections after every repair. Pressurize the container with an appropriate
inert gas for leak testing. Use only approved leak test solutions and follow the manufacturers
recommendations. Snoop Liquid Leak Detector is one approved solution, it is available
from: Nupro Co., 4800 E. 345
th
St., Willoughby, Ohio, 44094 U.S.A.
CONVERTING A CONTAINER TO A DIFFERENT GAS SERVICE
XL-45HP/50HP/55HP/50VHP cylinders may be converted from one service to another
within the confines of the argon, carbon dioxide, nitrogen, nitrous oxide, and oxygen
service for which the containers are designed. Conversion consists of changing end con-
nections at the USE, LIQUID and VENT valves; then changing the liquid level gauge scale
by changing its plastic cover; and revising product decals. Parts are available in kit form
for each gas service as illustrated in the following table.
Service Change Procedure
Before removing any parts, empty the container and open the vent valve to prevent any
pressure build-up in the unit.
1. Remove the LIQUID, VENT and USE end fittings, one at a time, with standard wrenches.
Install new fittings from the Gas Service Change Kit, using Teflon tape or another
oxygen-compatible thread sealant.
2. Remove the protective cover over the liquid level gauge. Replace the contents scale
with the scale for the new gas service from the service change kit, then replace the
protective cover.
3. Install new fittings for the USE, VENT and LIQUID connections from the Gas Service
Change Kit. Leak test the fittings you just replaced, and change the gas service de-
cals to complete the conversion.
WARNING:
Never put any liquid
cylinder into another
service once it has
been in CO
2
service.
MAINTENANCE
PROCEDURES
WARNING:
For O
2
users: Residue
of leak detectors
solutions can be
flammable. All
surfaces to which the
leak detector solutions
have been applied
must be adequately
rinsed with potable
water to remove all
traces of residue.
Reference CGA G-4,
Section 5.9
CAUTION:
Carbon dioxide may
form into the solid
phase (dry ice) if the
pressure of the liquid
is allowed to drop
below 70 psig (4.8 bar/
483 kPa). Pressure in
the container must be
maintained above this
value to ensure a solid
block of CO
2
will not
form inside the
container. Before
performing
maintenance on an
XL-45HP/50HP/55HP/
50VHP in CO
2
service,
the contents must be
transferred to another
container so that
container pressure
can be released.
12